Summary
- Choose two USDA Choice tri-tip roasts trimmed of excess fat and silverskin.
- Apply Santa Maria-style rub.
- Smoke at 250-275°F to 130°F internal temperature.
- Move cooking grate directly over hot coals and reverse sear tri-tips until nicely browned.
- Let meat rest for 10 minutes then slice across the grain.
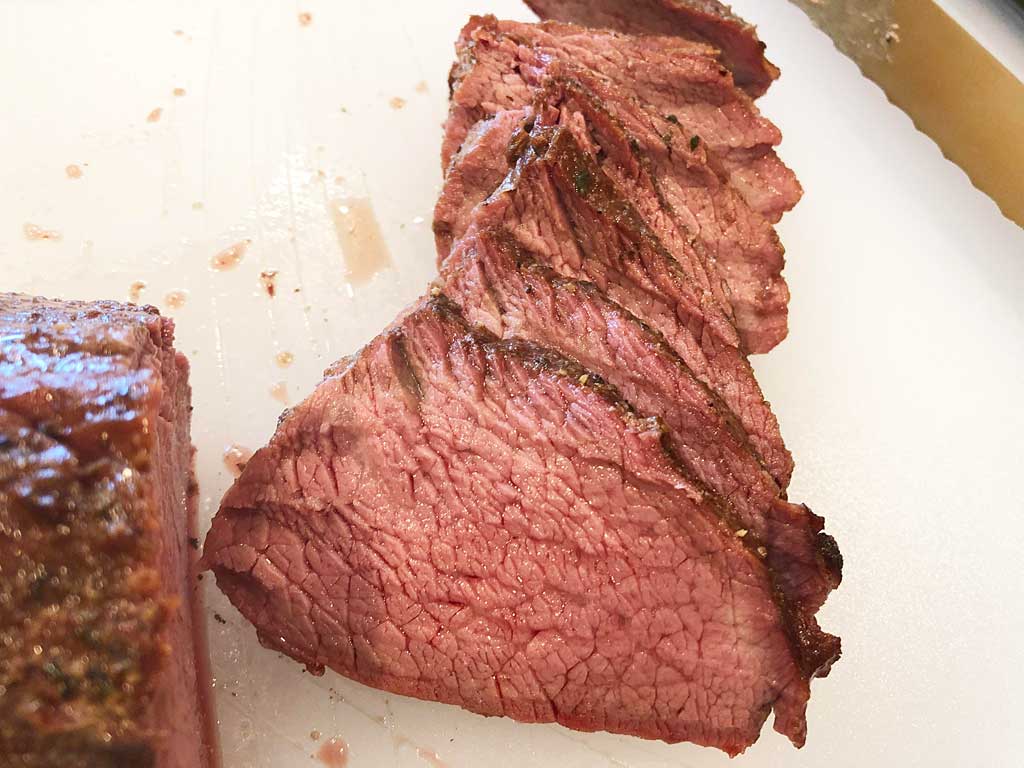
Over the past 20 years, I’ve cooked tri-tip roasts both low & slow and hot & fast in the Weber Smokey Mountain Cooker. In recent years, I’ve advocated cooking tri-tip hot & fast because it’s quick, easy, and tastes great. But sometimes I question my assumptions and recently decided to go back and cook tri-tip low & slow for old-times’ sake. I was pleased with how well it turned out and how delicious it was, so I decided I’d write about it in this article.
I also wanted to share with you some photos of a new toy I got recently that makes slicing tri-tip a real pleasure. Look for that at the end of this article.
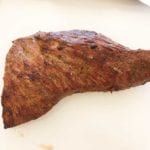
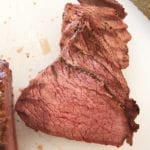
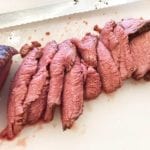
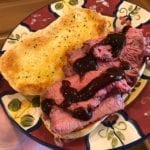
Here are some pictures I took on May 25, 2019—WSM Smoke Day 15—when I prepared and smoked these two tri-tip roasts on the Weber Bullet.
Video: Tri-Tip – Low & Slow
This video provides additional details on the recipe and method described in this article.
Select & Prepare The Tri-Tip Roasts
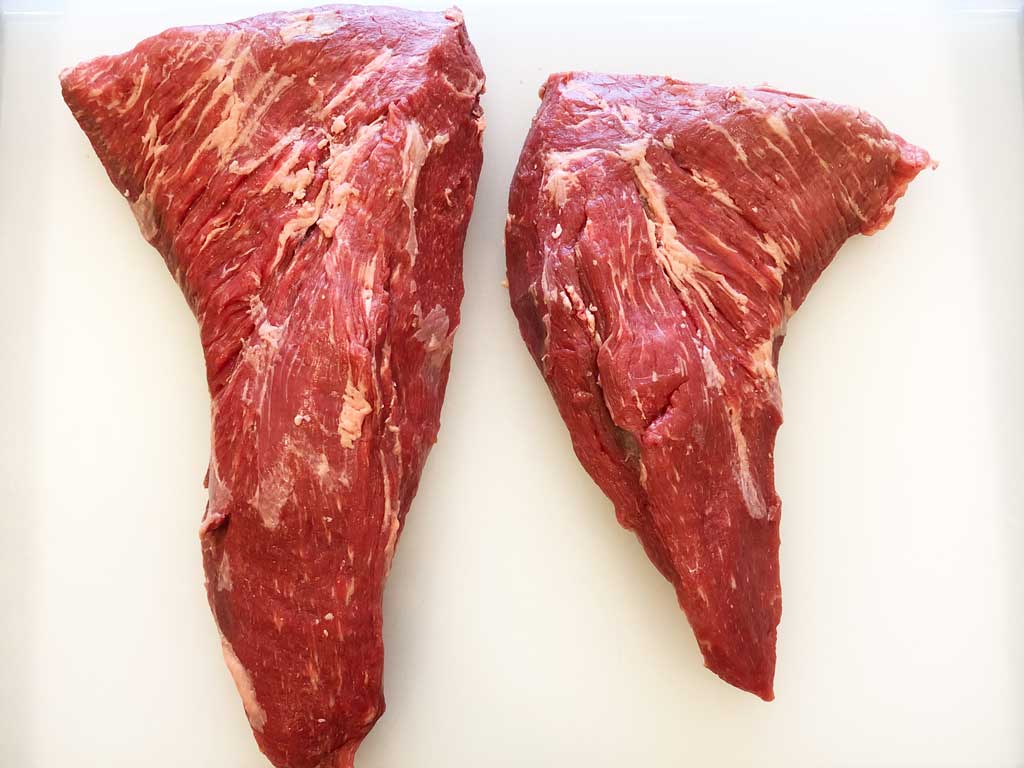
You can find tri-tip at virtually any supermarket in the Western United States. However, it can be hard to find in other parts of the country. Sometimes when you do find it, it’s pre-marinated and vacuum packed—not the tri-tip you want for this recipe.
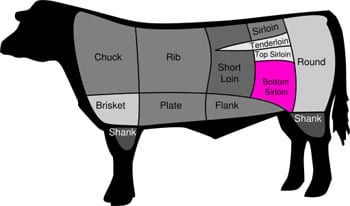
Tri-tip also goes by the name “bottom sirloin butt” and “triangle roast”, due to its triangular shape. In many parts of the country, your butcher will look at you funny if you ask for tri-tip…they have no idea what you’re talking about. Try taking this document titled Cuts From The Bottom Sirloin to your butcher and ask them to order or cut a tri-tip for you.
Many of us buy tri-tips at Costco because of easy availability, reasonable prices year-around, and high quality meat that’s well trimmed and ready to cook. The two roasts shown here are USDA Choice and weigh a total of 5.27 pounds. I like this grade of tri-tip a lot. Costco also offers a USDA Prime version that contains more intramuscular fat. It’s great, and many people prefer them over the USDA Choice version. But for my low & slow purposes, the USDA Choice tri-tips are just fine and I don’t mind saving a few bucks in the process, either.
Prepping these tri-tips requires nothing more than trimming off any odd bits of surface fat or silverskin that don’t look appealing to you.
Apply The Rub
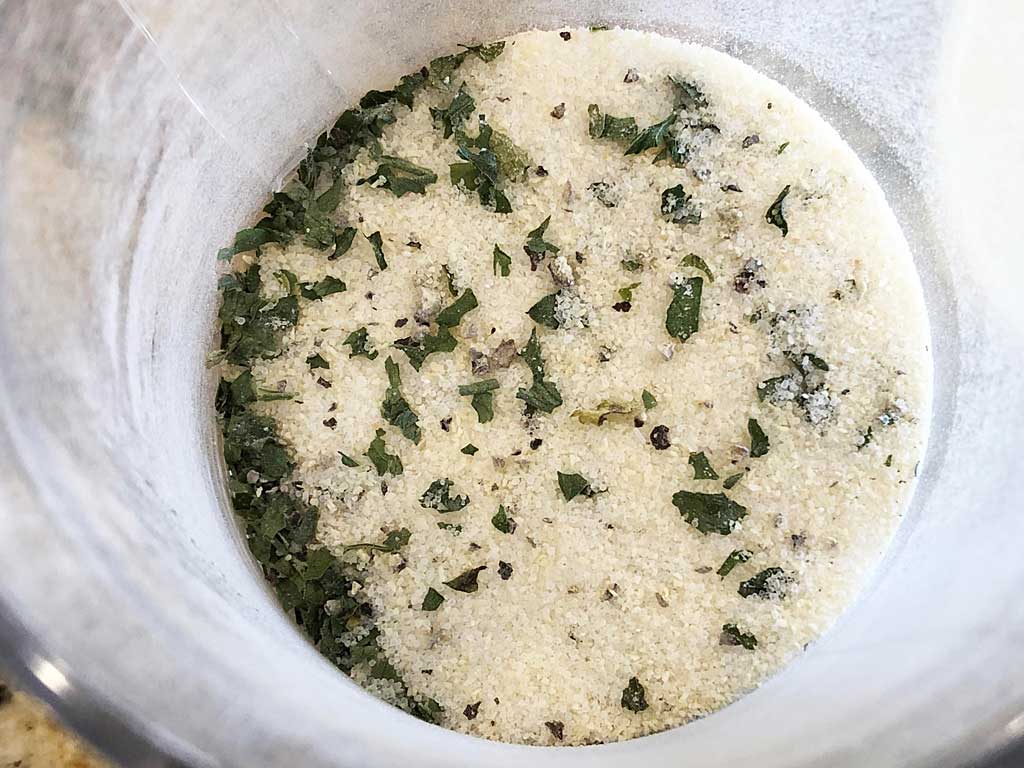
Pat the meat dry and apply a generous amount of this classic Santa Maria-style tri-tip rub. The dried parsley is common in rubs like this; I don’t think it adds much flavor, it’s mostly for visual appeal. One thing I would suggest is that you apply the rub by hand—take a handful and sprinkle it from high above the meat. When using a shaker, the black pepper and parsley flakes tend to separate from the finer ingredients and you won’t get an even distribution on the meat.
Tri-Tip Seasoning
- 3 Tablespoons non-iodized table salt
- 1 Tablespoon granulated garlic powder
- 1/2 teaspoon dried parsley
- 1/4 teaspoon black pepper, medium grind
- 1/4 teaspoon Accent (MSG)
Chop the parsley or crush it between your fingers to make it small enough to mix well with the other ingredients. Combine all ingredients and mix thoroughly.
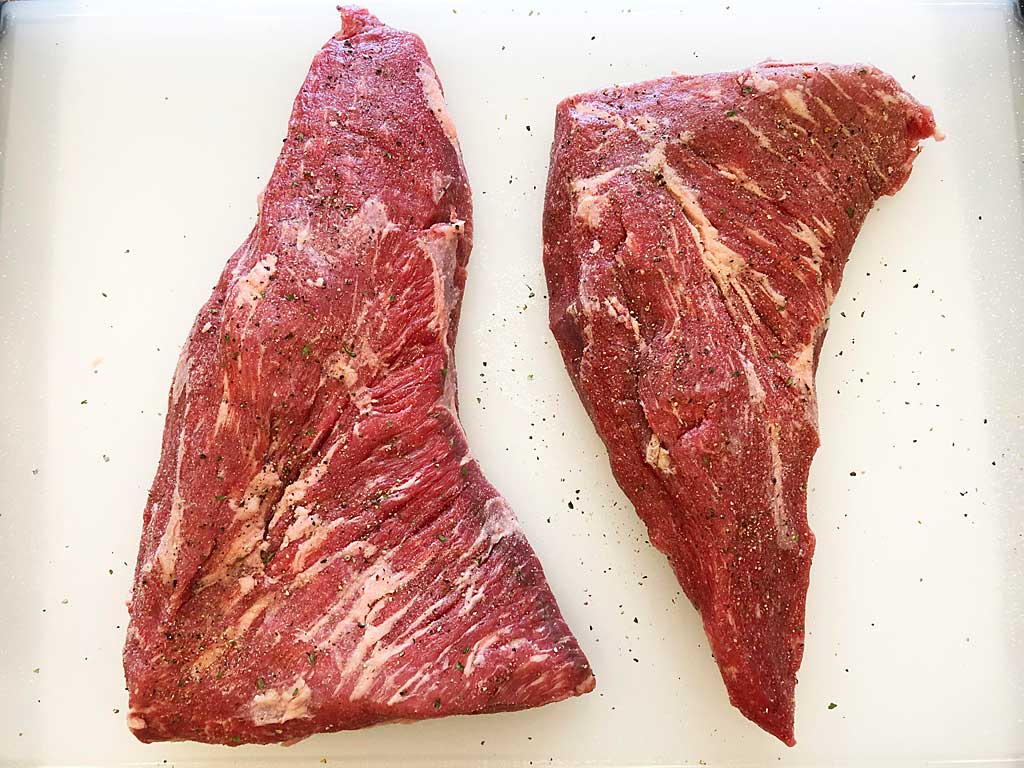
Once rubbed, allow the meat to sit at room temperature while you fire-up the WSM.
Select The Smoke Wood
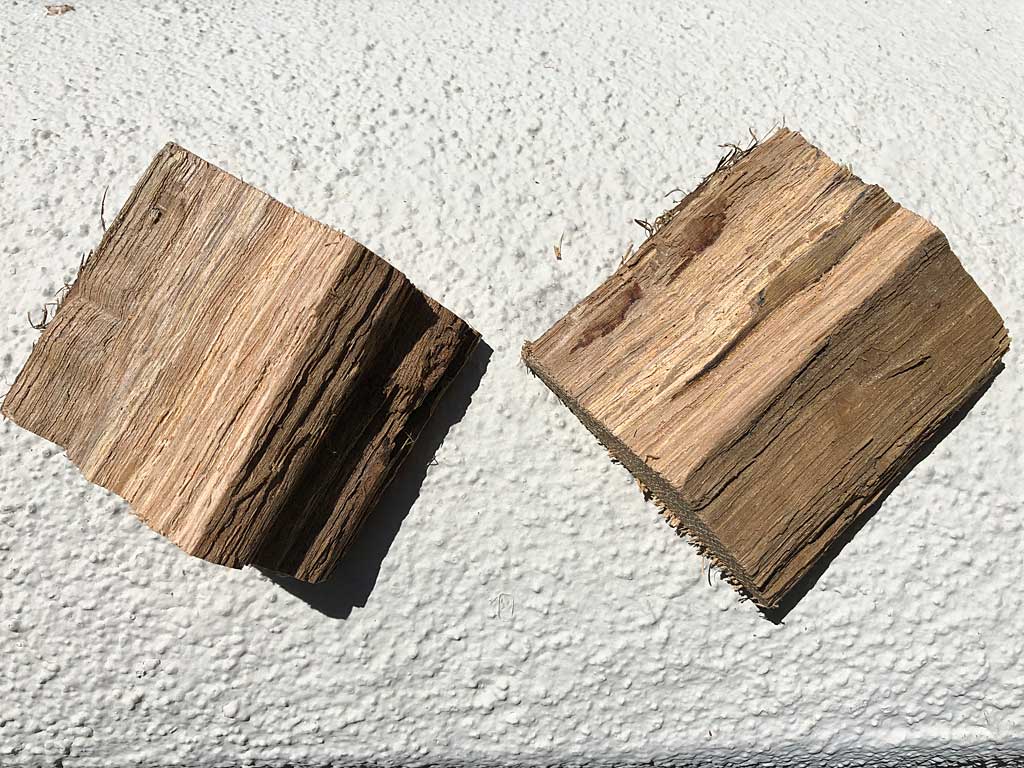
Use 2 fist-sized chunks of oak smoke wood. I used post oak, a favorite in Texas, but any oak will do. A mild fruit wood can be used if oak is not available.
There is no need to soak the wood or remove the bark before use.
Fire-Up The WSM
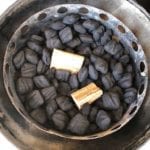
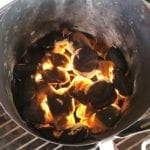
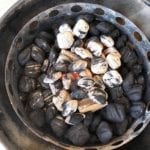
Fire-up the cooker using the Minion Method. Using a Weber chimney starter as a measuring cup, place a chimney full of unlit Kingsford Charcoal Briquets in the charcoal chamber. Nestle the smoke wood chunks in the unlit charcoal. Light 30 briquettes in the chimney starter and spread them over the unlit briquettes.
Foil the water pan before use for easy cleanup and fill it with cool water. There’s no need to refill the pan during the cook.
Smoke The Tri-Tips Low & Slow
Assemble the cooker and place the meat on the top cooking grate.
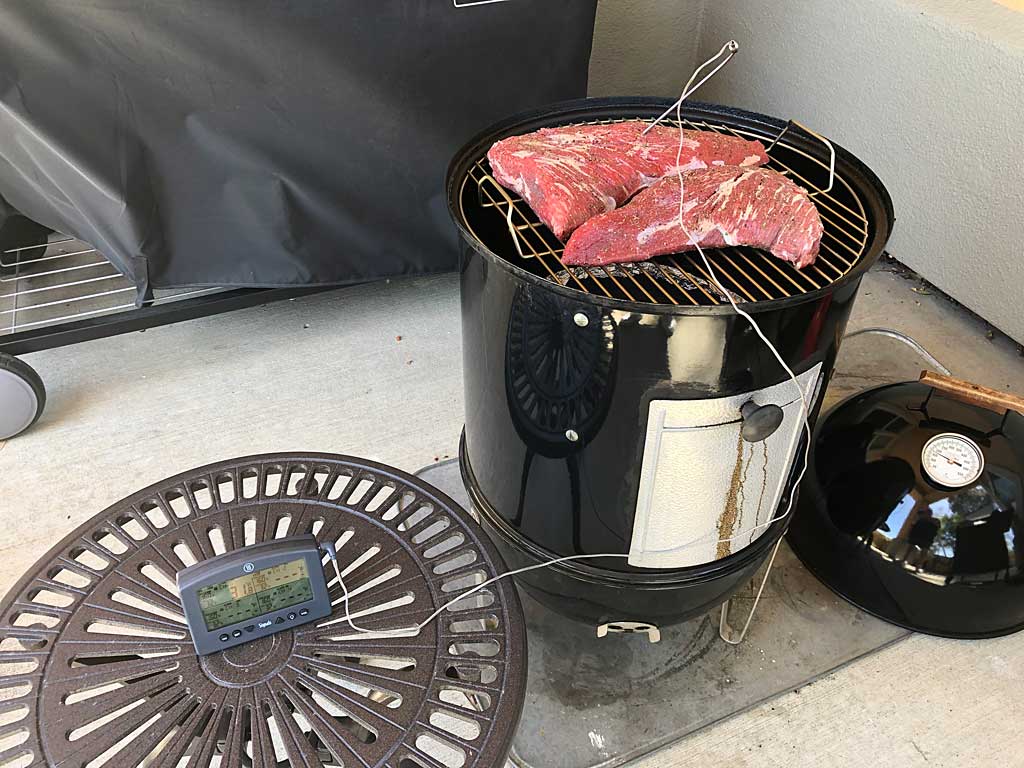
Set the 3 bottom vents to 100% open. Open the top vent fully and leave it that way throughout the entire cook.
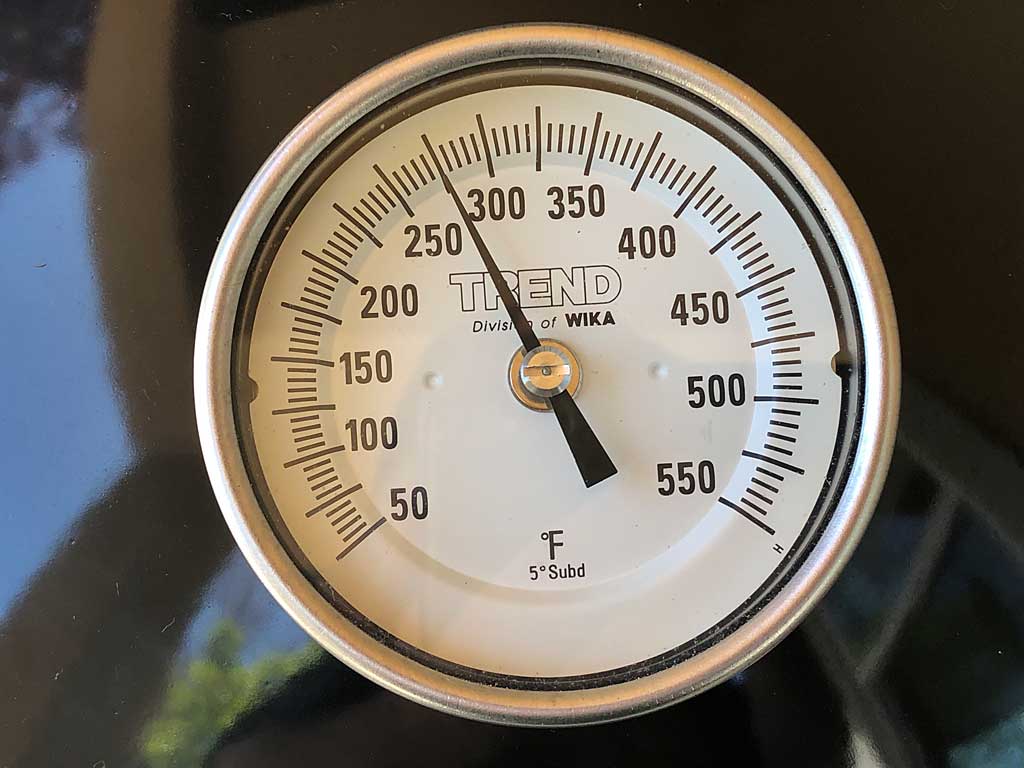
When the cooker reaches about 250°F, set the 3 bottom vents to 25% open so the cooker settles in at 275°F measured at the lid. Adjust the 3 bottom vents as necessary to maintain this temperature range throughout the cooking session.
For meat between medium-rare and medium doneness, as shown in the photos in this article, cook the meat until it reaches an internal temperature of 130°F. For meat between rare and medium-rare, shoot for an internal temperature of 120°F. If you want meat that’s more done, 135-140°F is about as far as I would push it. Beyond that…you’re on your own!
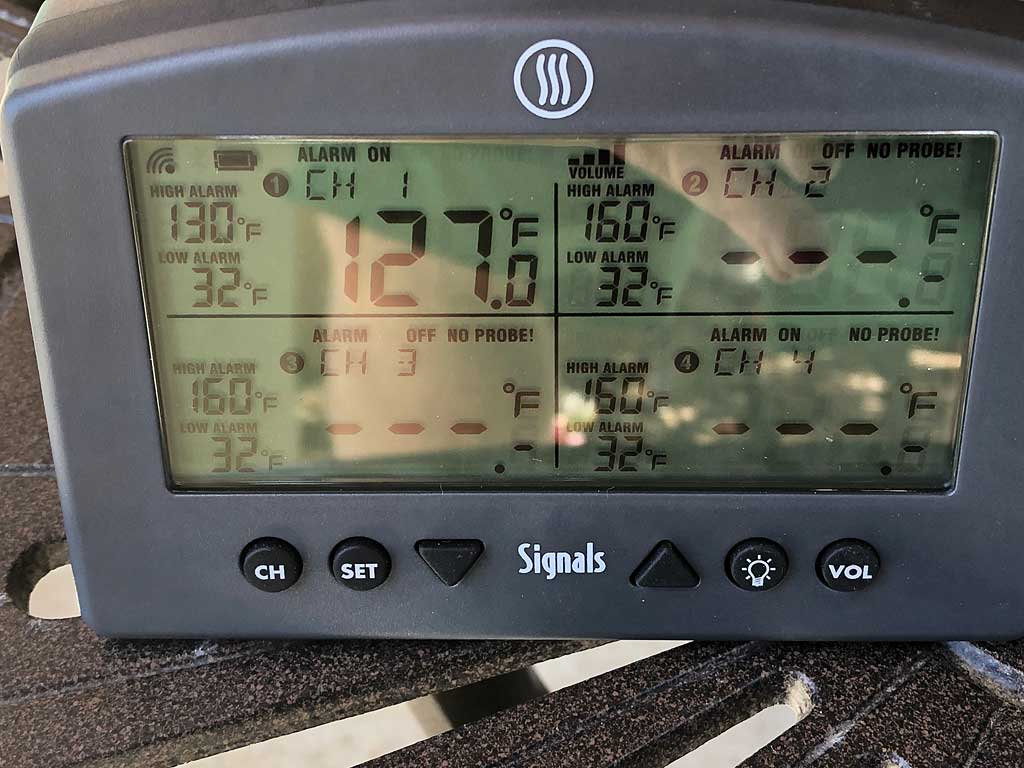
Consider using a remote probe thermometer like the ThermoWorks Signals shown here to monitor meat temperature throughout the cooking process. Use an instant-read thermometer at the end to take the meat’s temperature in several spots and average the results. It will read higher or lower in different spots depending on the thickness of the meat.
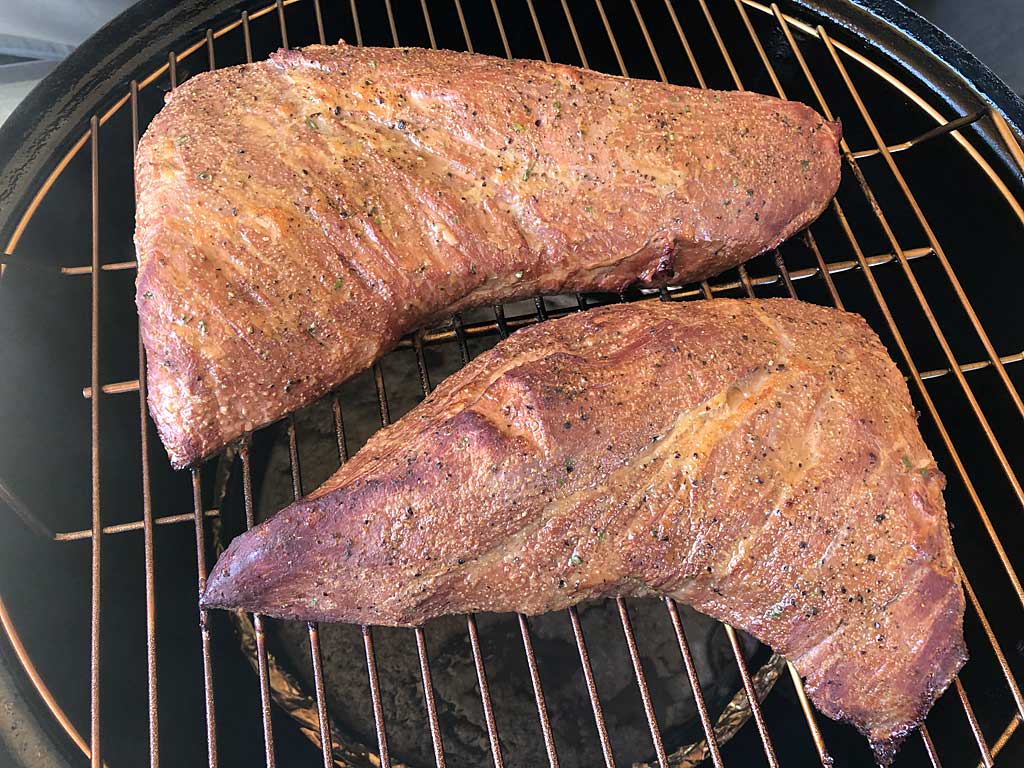
The tri-tips do not need to be turned or basted during cooking.
Here’s how the temperature and vent settings went during this cook:
| Time | Lid Temp | Meat Temp | Vent 1 % | Vent 2 % | Vent 3 % |
| 12:30 pm | – | – | 100 | 100 | 100 |
| 12:45 pm | 245 | 57 | 100 | 50 | 50 |
| 1:00 pm | 260 | 80 | 100 | 50 | 50 |
| 1:15 pm | 270 | 106 | 100 | 50 | 50 |
| 1:35 pm | 275 | 130 | 100 | 50 | 50 |
Note that the vent percentages represent the way I set the vents at the time indicated.
Reverse Sear The Tri-Tips Over Hot Coals
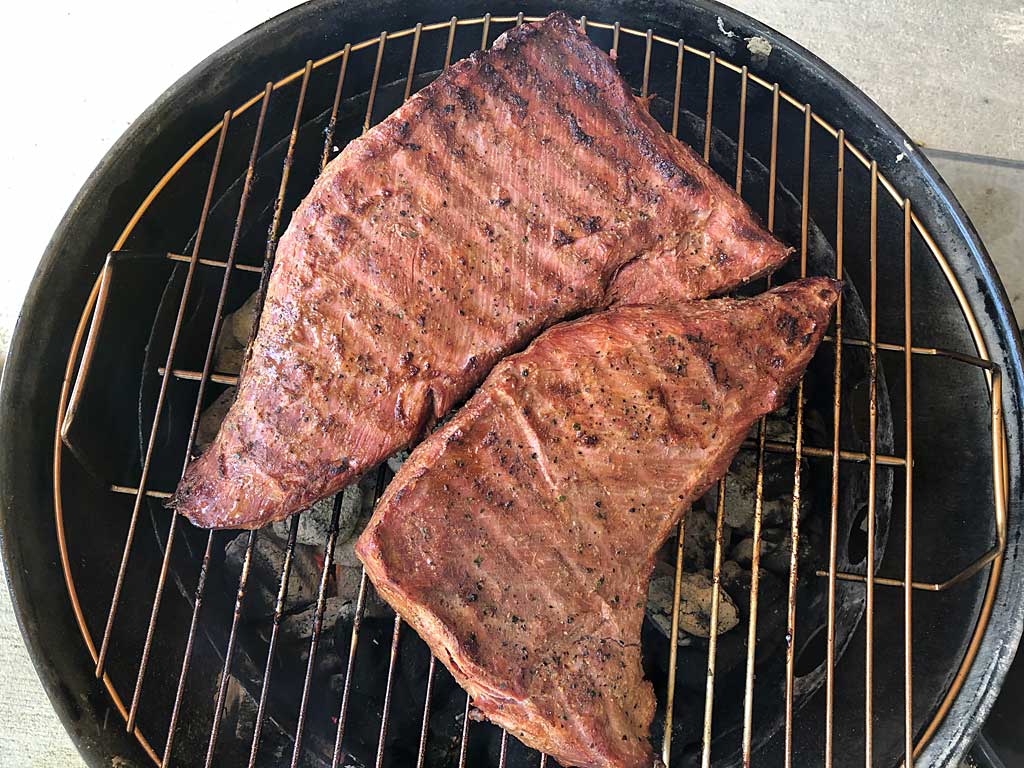
Once the meat reaches 130°F, remove the top cooking grate and set it aside. Remove the lid and middle cooking section and set them aside, taking care to not spill water from the pan.
Now place the top cooking grate directly over the hot coals and sear the tri-tips on both sides for a couple of minutes. Don’t walk away from the cooker at this point, things can change quickly from brown and delicious to a flaming conflagration! Watch the meat closely and remove it from the fire when you’ve got good browning on each side.
The process of searing meat at the end of cooking, not the beginning, is known as reverse searing. It’s a great way to get evenly cooked meat without a gray band around the perimeter of the slices.
Let The Meat Rest
Remove the meat from the cooker to a rimmed baking sheet pan, cover with aluminum foil, and let it rest for 10 minutes before slicing. This allows the meat fibers to relax and the juices to redistribute within the meat.
Slice & Serve
After the rest, use a sharp knife to slice the meat across the grain as thick or as thin as you like it. For thin slices for sandwiches like the ones shown in the third and fourth photos, I used the Dexter 13463 12″ Scalloped Roast Slicer Knife, the knife used by Aaron Franklin to slice brisket at his famous BBQ joint in Austin, TX. It’s super-sharp, and with practice and patience you can slice tri-tip about as thin as you’d like it.
The fourth photo shows thin slices of tri-tip on a toasted garlic buttered roll with just a drizzle of tomato-based barbecue sauce. If you don’t like sauce on your tri-tip, you’re the boss…just skip it!
How To Carve A Tri-Tip Roast
Tri-tip can be tricky to carve because the grain of the meat runs in a couple of different directions. Here’s a video to help you understand the basics of carving tri-tip across the grain.
Slicing Tri-Tip With An Electric Meat Slicer
Shortly before making these tri-tips, I treated myself to a toy that I’ve wanted for a long time. I hesitated because I didn’t know where I would store it, and I figured Mrs. TVWB would not approve. But bless her heart, she gave me the green light and I went ahead and bought one.
This is the Beswood 250 10″ electric meat slicer. It made quick work of slicing leftover tri-tip for sandwiches. Perfect thin 3mm slices! Here’s a short video showing the slicer in action.
I portioned the slices into 6 ounce servings, froze them solid in unsealed vacuum bags, then vacuum sealed each bag. This method avoids squeezing juices out of the meat while sealing the bags.
To enjoy leftover tri-tip later, arrange sliced meat on a plate, cover with plastic wrap, and microwave gently at 20% power for just a minute or two, taking care to not overheat. If you’ve vacuum-packed sliced tri-tip, drop the sealed package of meat into boiling water, turn off the heat, and let it steep for 10-15 minutes or until the meat is heated through.
More Tri-Tip Links On TVWB
Bottom sirloin diagram: 2009 by JoeSmack from Wikipedia Commons

