Note: This modification was originally developed for 18.5″ WSMs manufactured prior to 2009 but can be used in any 18.5″ WSM.
In April 2006, Mike Willsey from South Carolina posted a message on The Virtual Weber Bulletin Board about something he created called the Piedmont Pan. It’s two Brinkmann charcoal pans screwed together with an air gap in between. The bottom pan deflects the heat from the fire below, creating the normal, indirect cooking environment in the Weber Bullet. The air gap between the two pans prevents the top pan from getting too hot—essentially creating an insulated water pan.
- If using the top pan empty, the fat that drips into the pan won’t burn
- If using water in the top pan, it will not evaporate as quickly as usual, but you also get less temperature control “insurance” as a result.
- If using sand in the top pan, you won’t get as much radiant heat on the meat cooking on the bottom cooking grate
Most people use the Piedmont Pan empty—no water or sand in the top pan. Most will line the top pan with two layers of aluminum foil for easy cleanup. Others put balls of aluminum foil in the top pan followed by two layers of aluminum foil for easy cleanup. The foil balls are said to create another insulating air space.
Although I’m not a big proponent of the Piedmont Pan, it is a popular project for many WSM owners, so that’s why I’m sharing it with you in this article.
To learn more about the purpose of the water pan and variations when using it, see Using A Water Pan In Weber Smokers. For other water pan mods, see Alternative Water Pans & Diffusers For Weber Smokers.
Purchase The Hardware
You’ll need the following hardware for this project:
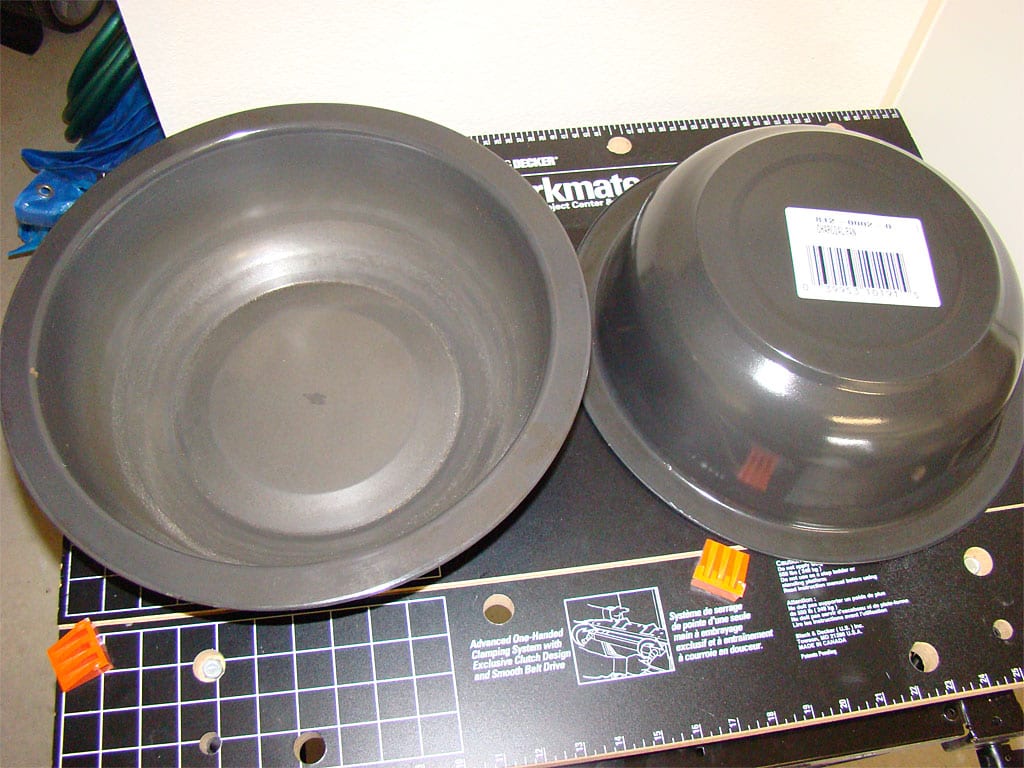
- 2 Brinkmann charcoal pans
- 3 1/4″-20 x 1-1/4″ long round head machine screws
- 6 1/4″ flat washers
- 9 1/4″-20 hex nuts
- 3 1/4″-20 wing nuts
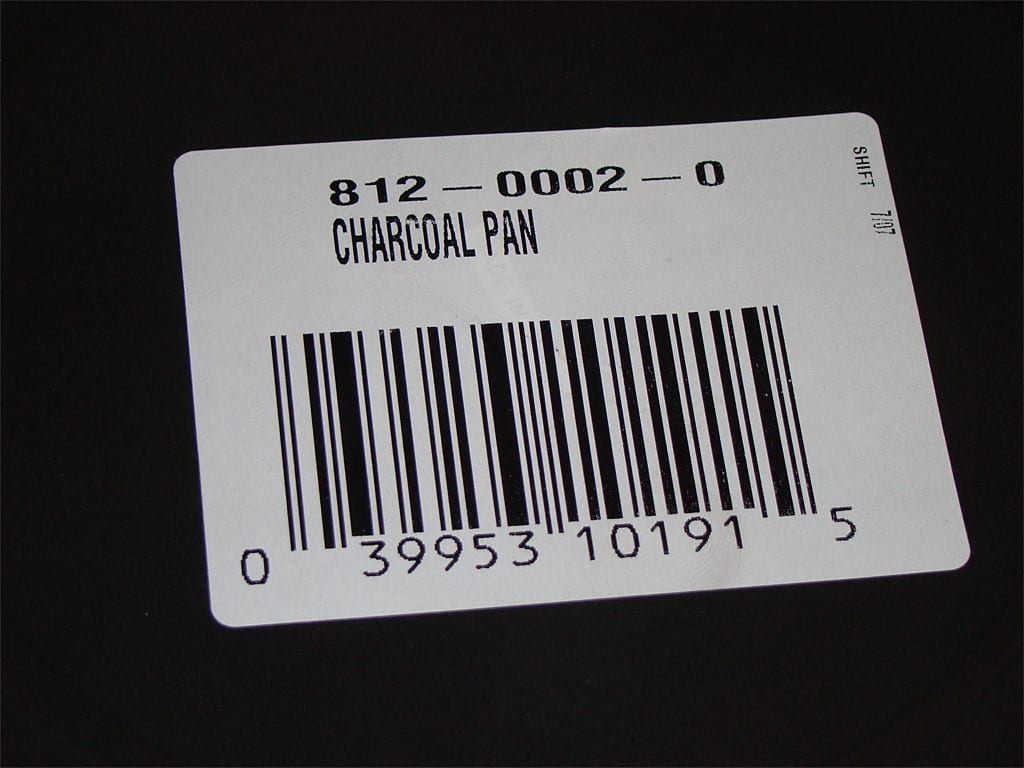
The Brinkmann charcoal pan part number is 114-0002-0. As shown in this photo, retailers sometimes sell the pan as part number 812-0002-0.
Important: Do not purchase Brinkmann water pans by mistake! The water pans are too small to hang from the grill strips inside the Weber Bullet.
The screws, nuts, washers, and wing nuts don’t have to be any special material. I paid less than $3 for the parts shown here.
Drill The Alignment Hole
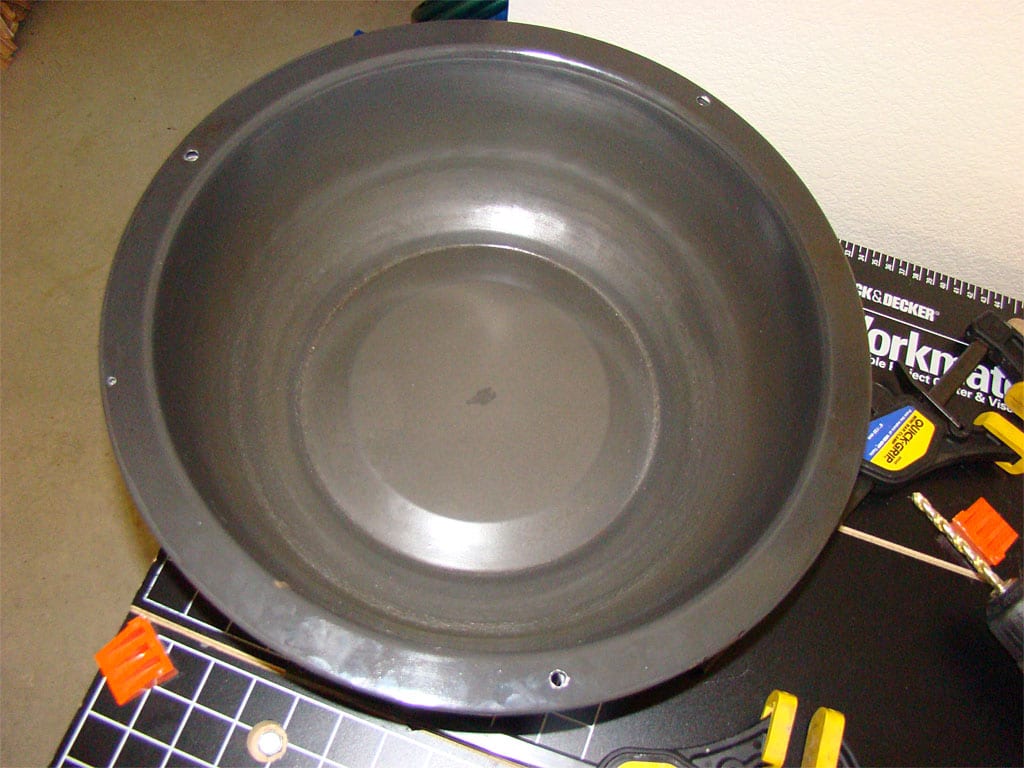
Insert one bowl inside the other and clamp them together in preparation for drilling holes.
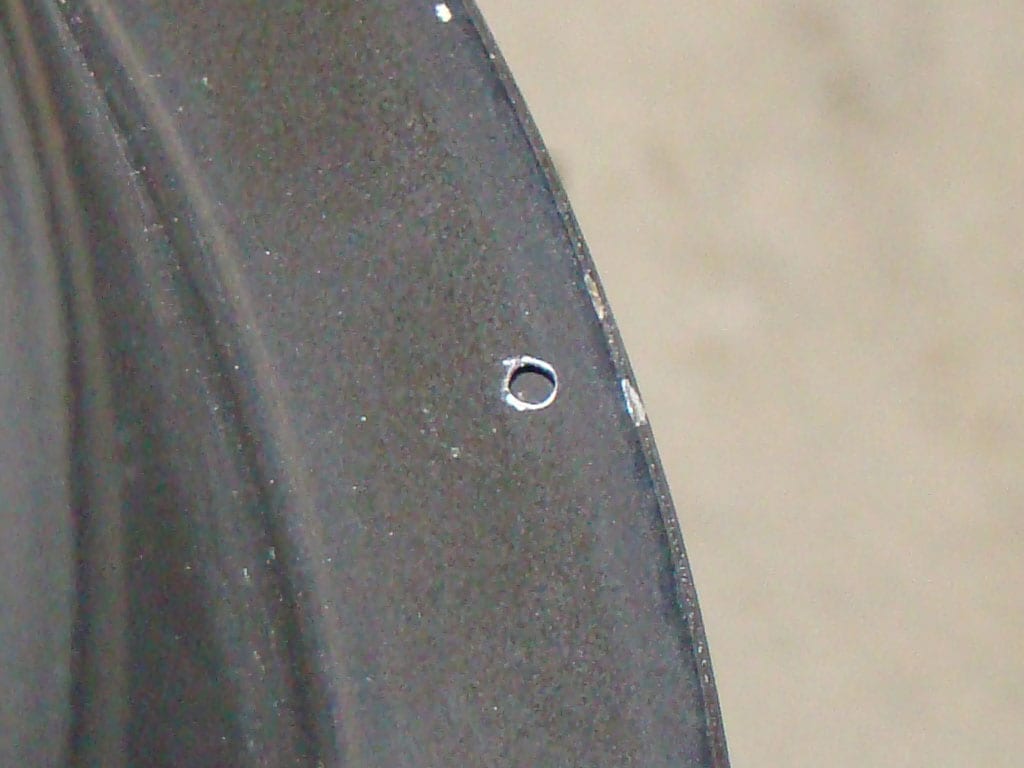
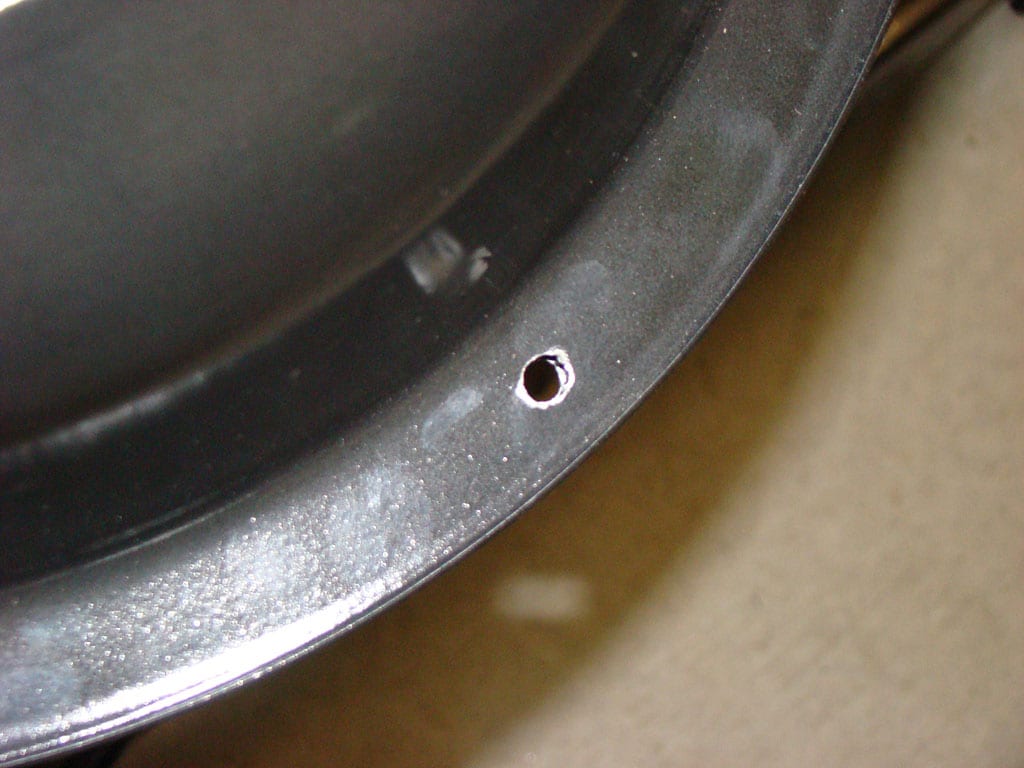
Using a very small metal drill bit, drill an alignment hole through the rim of the bowls. These holes act as witness marks to help you realign the bowls in the event you take them apart for cleaning.
Drill Three Holes To Accept The Screws
With the bowls still clamped together, use a 1/4″ metal bit to drill three holes in the center of the rim—one hole at the 12 o’clock position, one at the 4 o’clock position, and one at the 8 o’clock position.
Remove the clamps, separate the two bowls, and remove any sharp burrs around the holes.
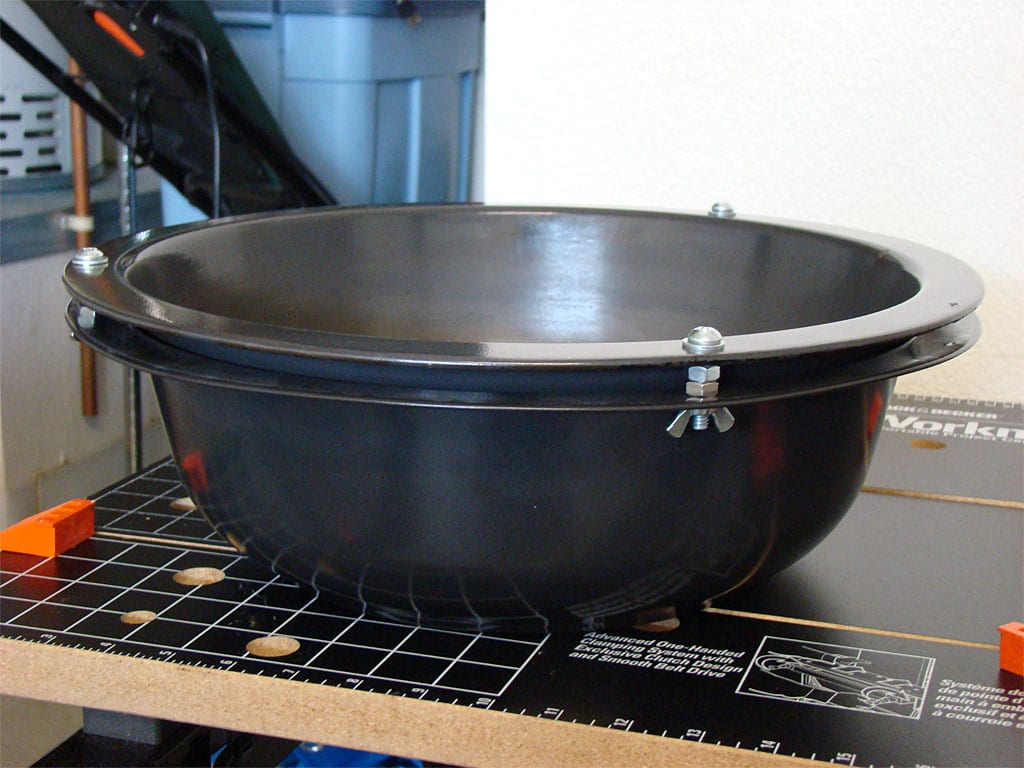
This photo shows how the bowls look after drilling the holes.
Install The Fastening Hardware
Insert a screw and a washer through the top of one of the bowls.
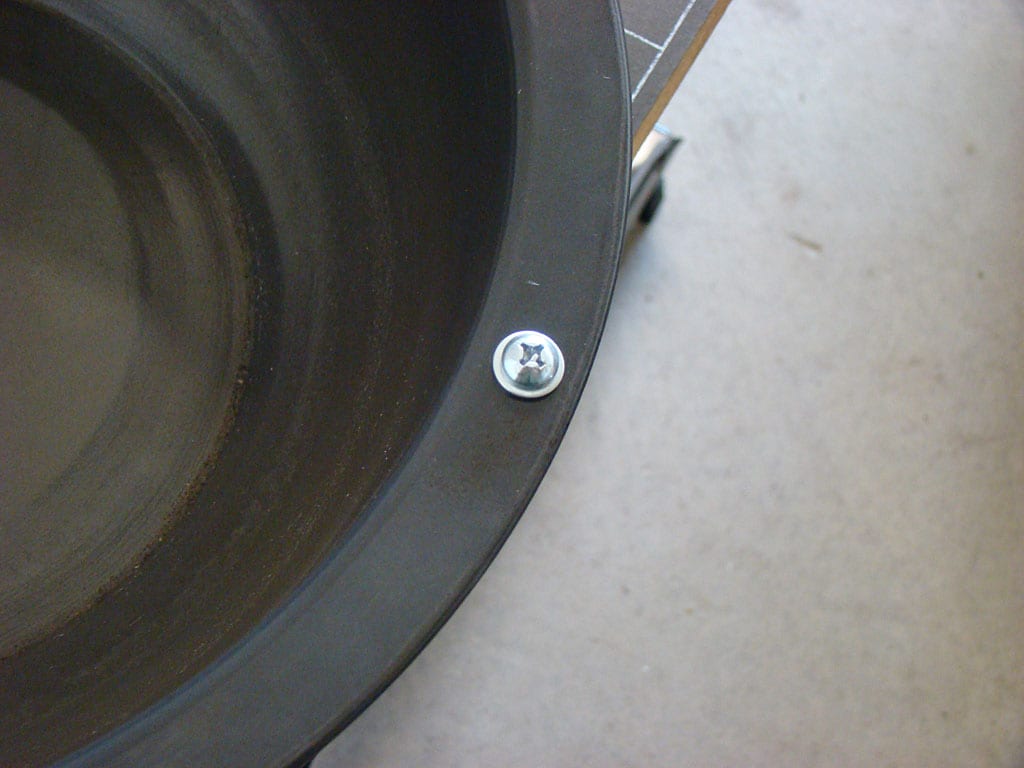
Flip the bowl over and put three hex nuts on the screw, tightening each as you put it on. Repeat these steps for the remaining two holes.
Using the alignment holes to ensure the bowls are lined up properly, place the second bowl over the screws.
Put a washer and wing nut on each screw and hand tighten.
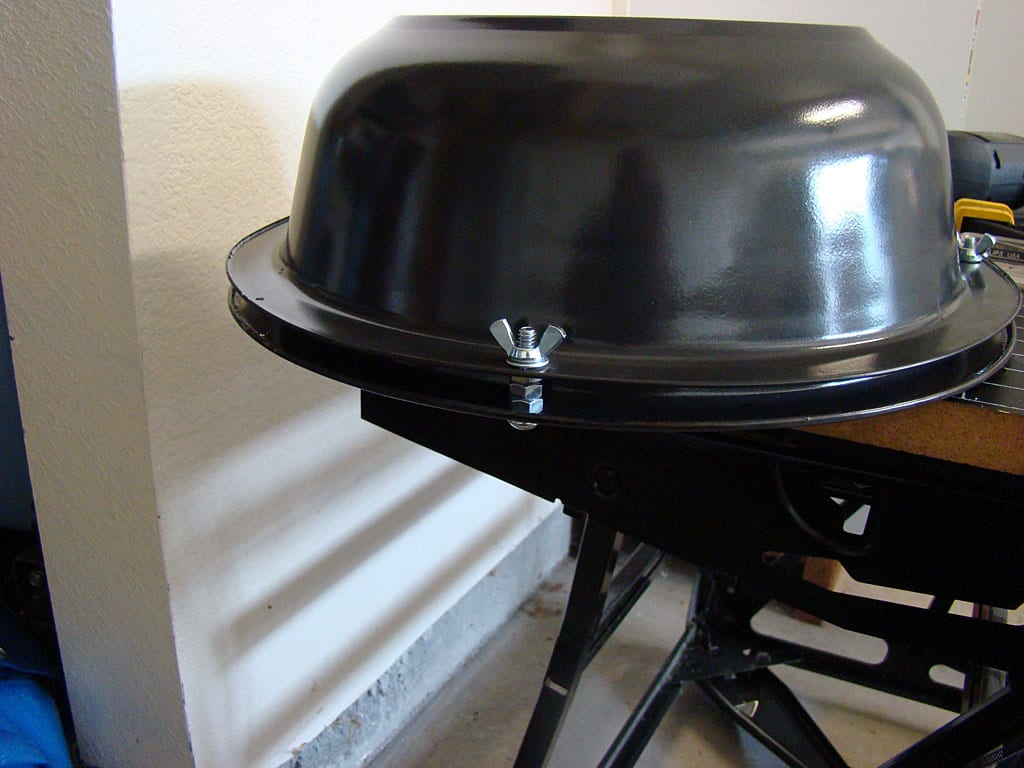
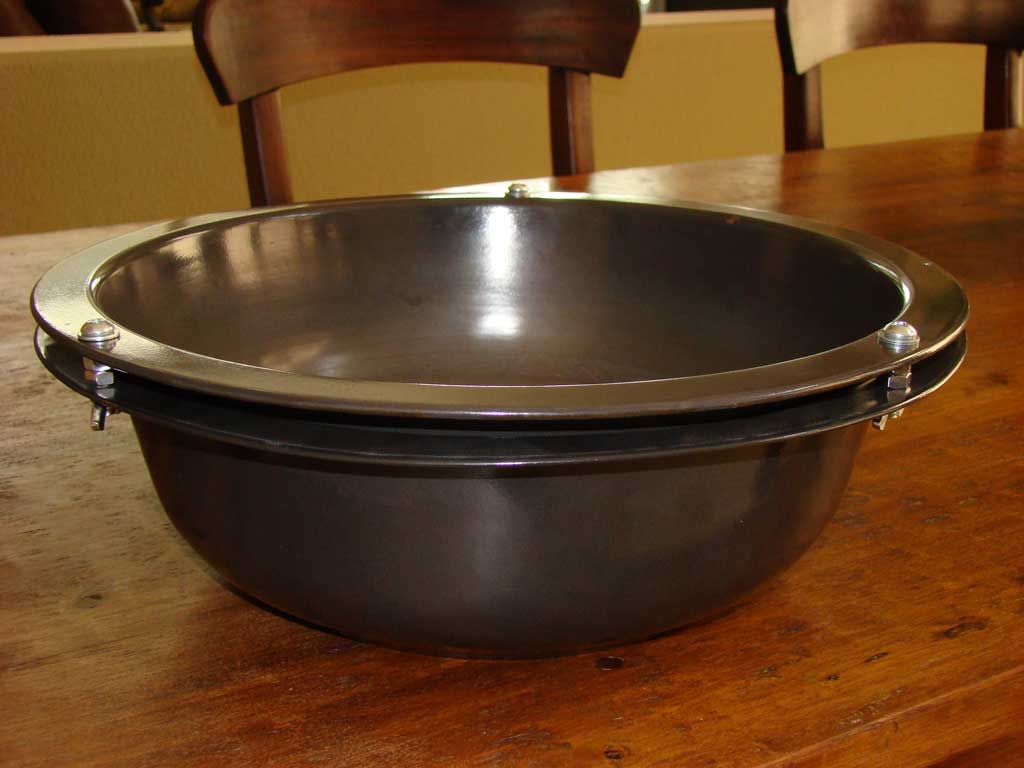
The Finished Project
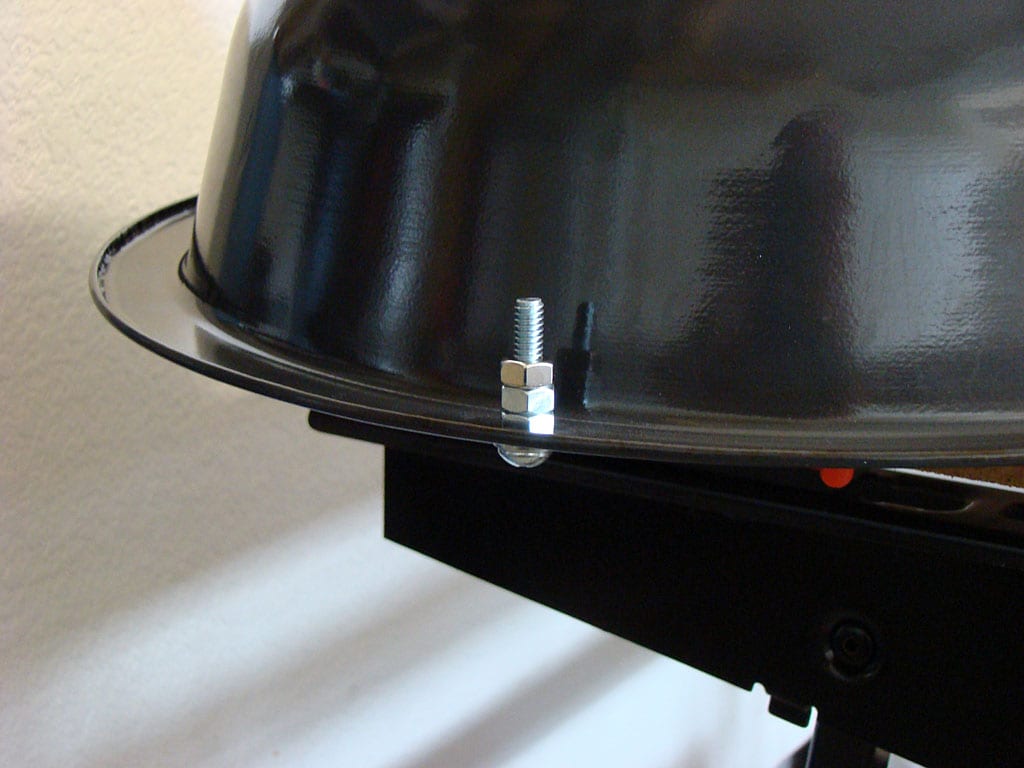
Here’s how the Piedmont Pan looks after assembly. The wing nuts allow for easy disassembly for washing, when needed.
As shown in this next photo, the Piedmont Pan sits just fine on the grill straps inside the WSM and does not interfere with the position of the bottom cooking grate.

But What About…
Using stainless steel hardware
If you want to pay the higher price, feel free to do so.
Using four screws instead of three
My hardware came in little bags of three screws, three hex nuts, etc., so that’s why I used three. Three is plenty strong, but four would be just fine, too.
Using two hex nuts instead of three
Three hex nuts provides the maximum amount of air space between the two bowls without interfering with the position of the bottom cooking grate. Two hex nuts will work fine, too.
Using copper tubing as spacers
In the original instructions posted by Mike Willsey, he used 3/4″ pieces of copper tubing as spacers instead of hex nuts. Don’t bother using copper…hex nuts are cheaper and easier.
Using a Brinkmann charcoal pan and a pre-2009 WSM water pan
If you own a Brinkmann charcoal pan that you use instead of the pre-2009 WSM water pan because of its larger water capacity and stable fit inside the WSM, I’m told you can use the WSM water pan as the top pan in the Piedmont Pan configuration. You may have to drill the holes a bit differently, and the length of screws and the number of hex nuts used may be different.
Alternatives To The Piedmont Pan
Putting together a Piedmont Pan is easy and inexpensive, but if you’re not ready to take the plunge just yet, or you’re not convinced it’s right for you, try doing one of the following with the stock WSM water pan:
- Suspend a single sheet of wide, heavy-duty aluminum foil inside the pan without letting it touch the bottom. When cooking something like a turkey that doesn’t render more than a cup or two of drippings, this method works just fine and the drippings will not burn.
- Place crumpled balls of aluminum foil in the bottom of the pan, then cover with two sheets of wide, heavy-duty aluminum foil. The top sheet of foil catches the drippings and is discarded after use. The foil balls create the air space needed to keep the drippings from burning. They also help support the weight of the drippings in the foil above, which may be important if cooking six pork butts that give off a lot of drippings.


