In 2018, I listened to Chef Valerie Gordon of Valerie Confections in Los Angeles on the KCRW Good Food podcast talking about baking brownies in the Big Green Egg. I figured I could do the same thing using the WSM. Rather than use Gordon’s gluten-free recipe that calls for buckwheat flour, I decided to use a high-quality boxed brownie mix to see what a charcoal fire does for the flavor of a brownie that I’m already familiar with.
According to Gordon, what really takes these brownies over the top is the smoke of a charcoal fire with some apple smoke wood and baking the brownies in a cast iron skillet using “an obscene amount” of salted French butter. The butter almost “fries” the edges of the brownies and adds rich, salty, buttery flavor.
Here are some photos I took when I made these brownies on February 24, 2019.
Video: Brownies In The Weber Smokey Mountain Cooker
This video provides additional details on the recipe and method described in this article.
Prepare The Brownie Batter
I purchased two boxes of Ghirardelli Double Chocolate Brownie Mix, a high-quality mix available in most supermarkets.

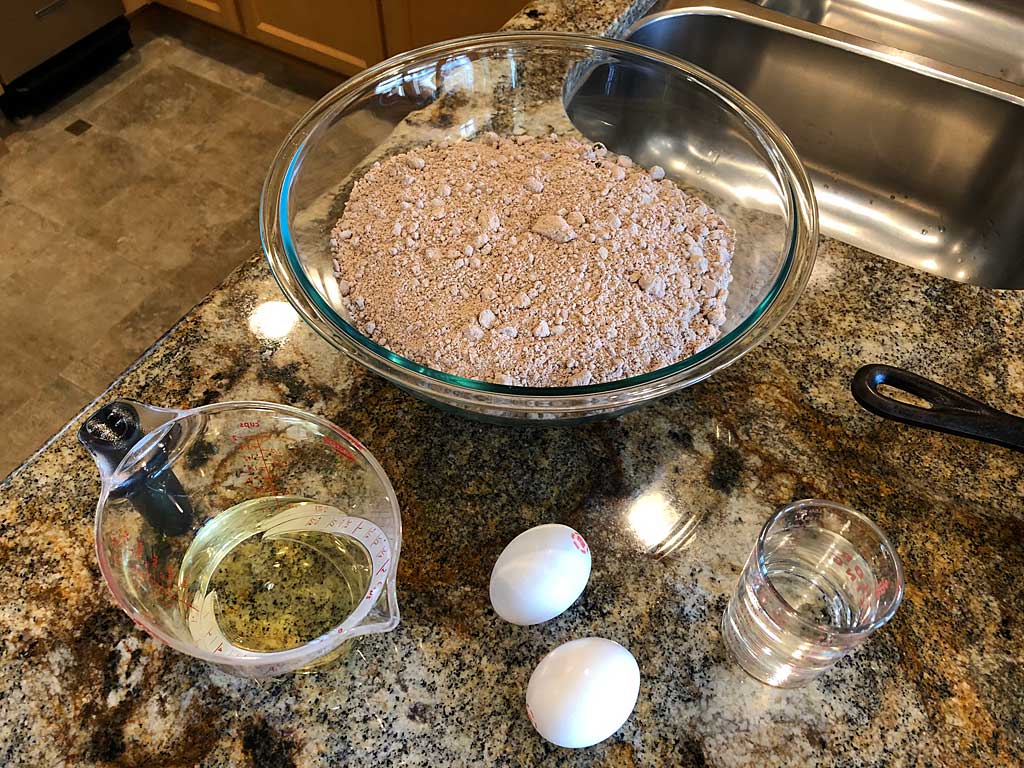
You’ll also need:
- Two large eggs
- 2/3 cup vegetable oil
- 1/2 cup water
- Non-stick cooking spray
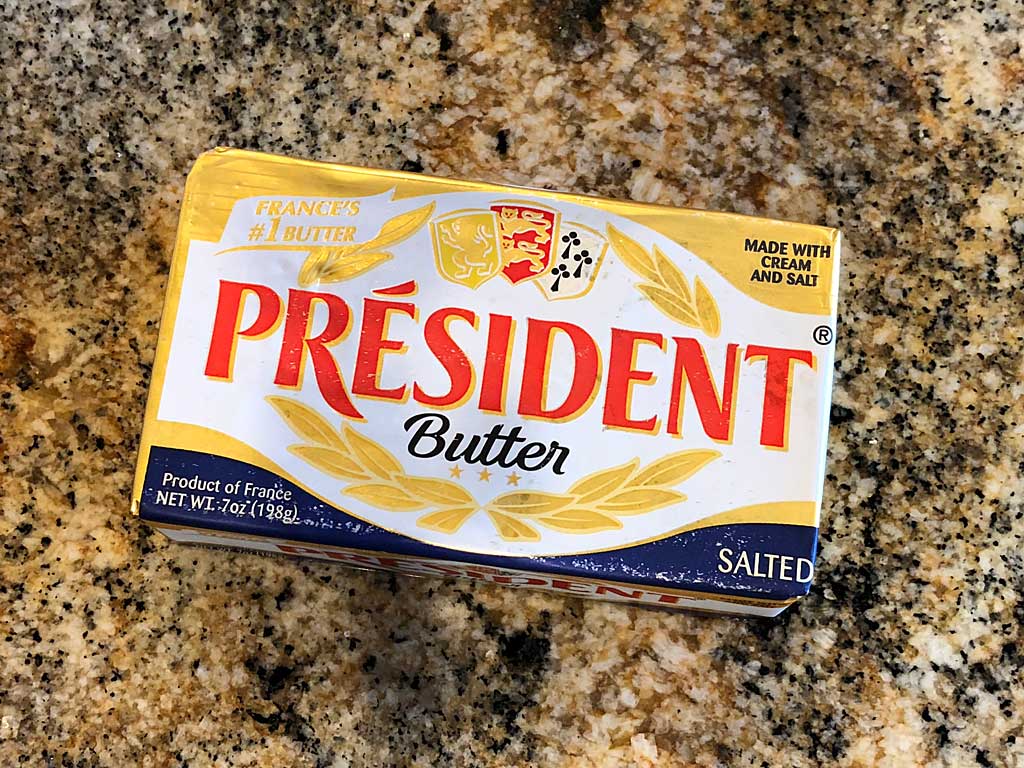
- President Butter (from France, salted version)
Spray the inside of a 10″ cast iron skillet with non-stick cooking spray.
Melt 3-4 Tablespoons of salted French butter and pour it into the bottom of the skillet. If you can’t find French butter, substitute another European high-fat salted butter like Kerrygold, Lurpak, Finlandia, or an American high-fat salted butter like Plugra or Land O’Lakes European-Style Butter.
Using a large mixing bowl to accommodate the double batch, stir together the eggs, oil, and water. Add the dry brownie mix to the liquids and stir until well combined.
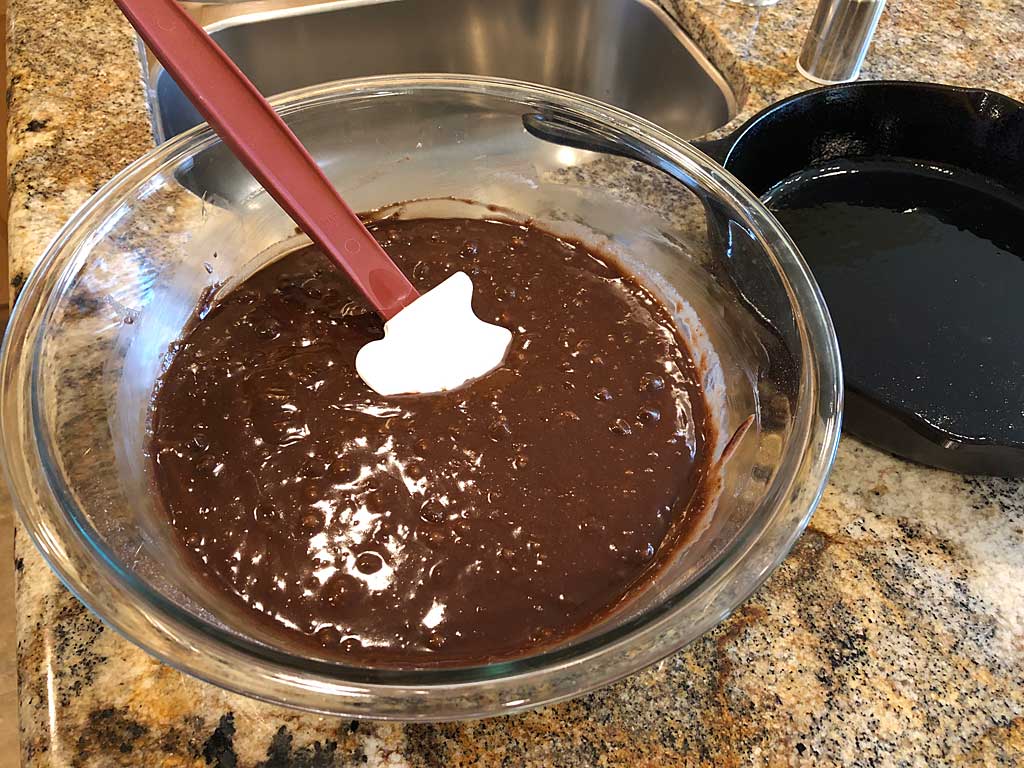
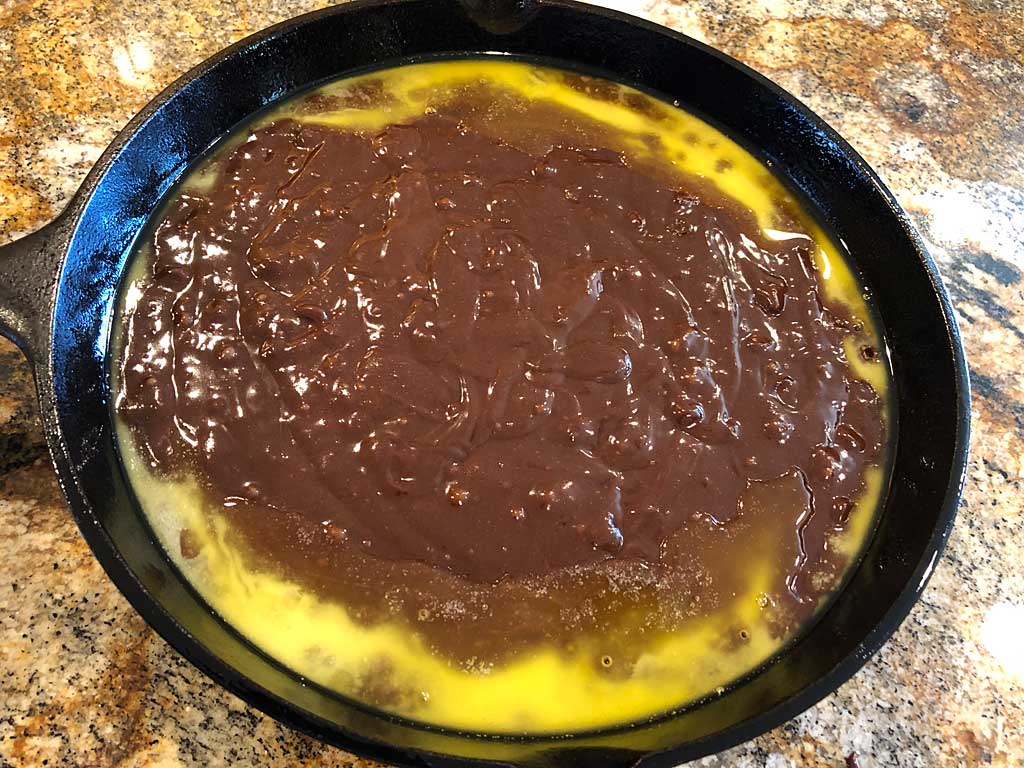
Pour the brownie mix into the prepared skillet. Much of the melted butter will rise to the top of the skillet.
Fire-Up The WSM
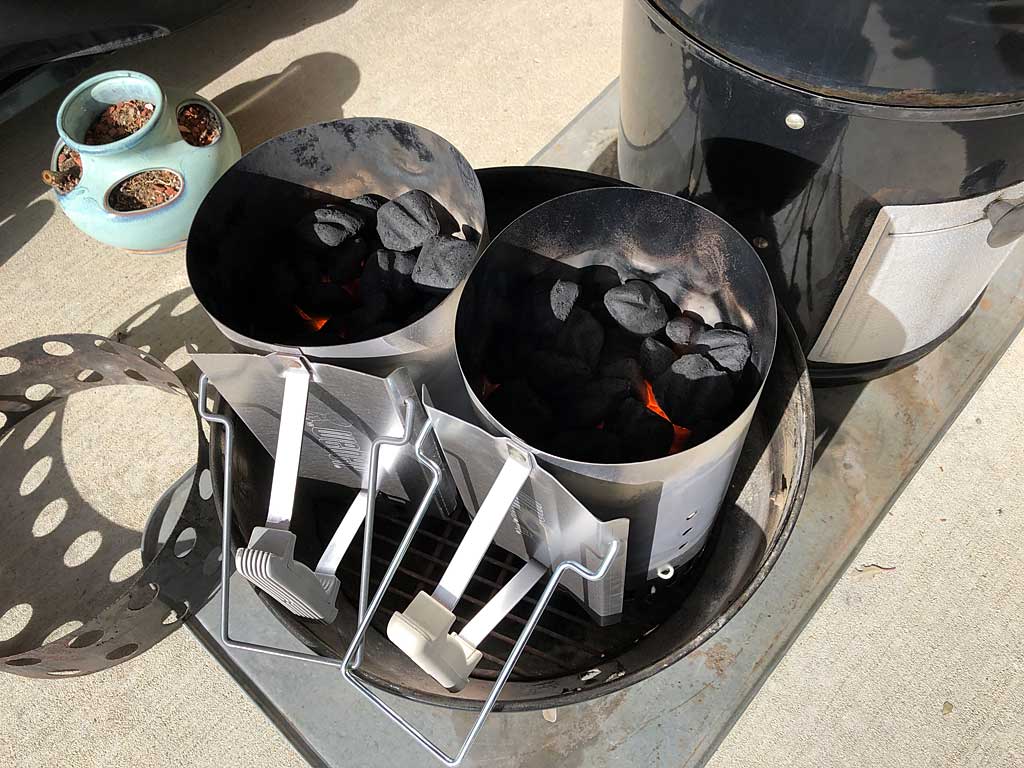
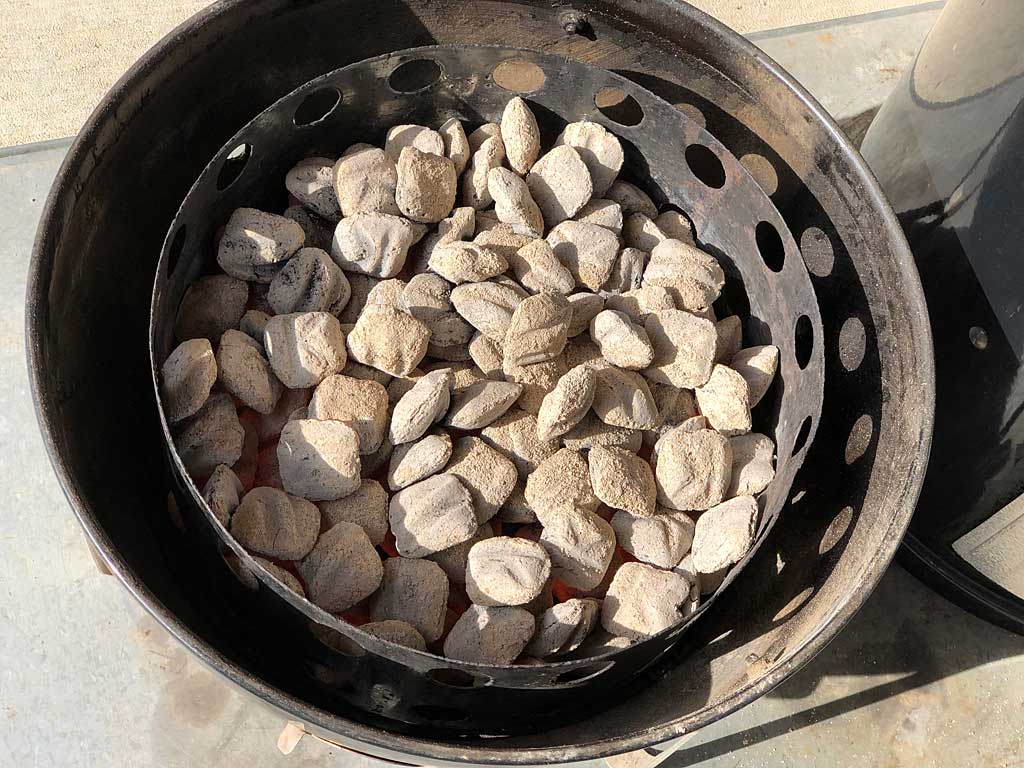
Light the cooker using the Standard Method. Fill two Weber chimney starters 2/3 full with Kingsford Charcoal Briquets and light. When the charcoal at the top of each chimney is just starting to show signs of gray ash, dump into the charcoal chamber and spread evenly over the charcoal grate.
Place the water pan in the middle cooking section, but leave it empty. This creates indirect heat for baking the brownies.
Place the top cooking grate in the middle cooking section.
Position Skillet On Top Grate

Place the filled cast iron skillet in the center of the top cooking grate as best you can. On an 18.5″ WSM, the skillet’s handle will force you to position it slightly off-center, but that’s OK.
Smoke Wood Or No Smoke Wood?
Gordon suggests using apple smoke wood when baking brownies in a smoker. I was afraid that might be overwhelming, so I relied on the light smoky flavor of plain charcoal. If you want to try apple wood, one small chunk of dry wood should be enough. Just drop it on top of the hot coals once you’ve placed the skillet into the cooker.
Bake The Brownies
Set the top vent to 100% open and leave it that way throughout the entire cooking process. Start with all 3 bottom vents 100% open. As the cooker approaches 325°F, begin to partially close all 3 bottom vents to maintain 325-375°F. Adjust the bottom vents as needed to maintain this temperature range throughout the cooking process.
About 30 minutes into baking, check for butter collecting on the surface in the center of the skillet. This happens because the edges of the brownie puff-up as they bake, causing the butter to pool in the center. Using heat-resistant gloves, pickup the skillet and tilt it slightly to one side so the butter flows to the edge, when gently swirl the skillet to redistribute the butter around the edge of the brownie. I did this “butter swirl” at 30 minutes and 45 minutes into the baking process; at 60 minutes, all of the butter had absorbed into the brownie.
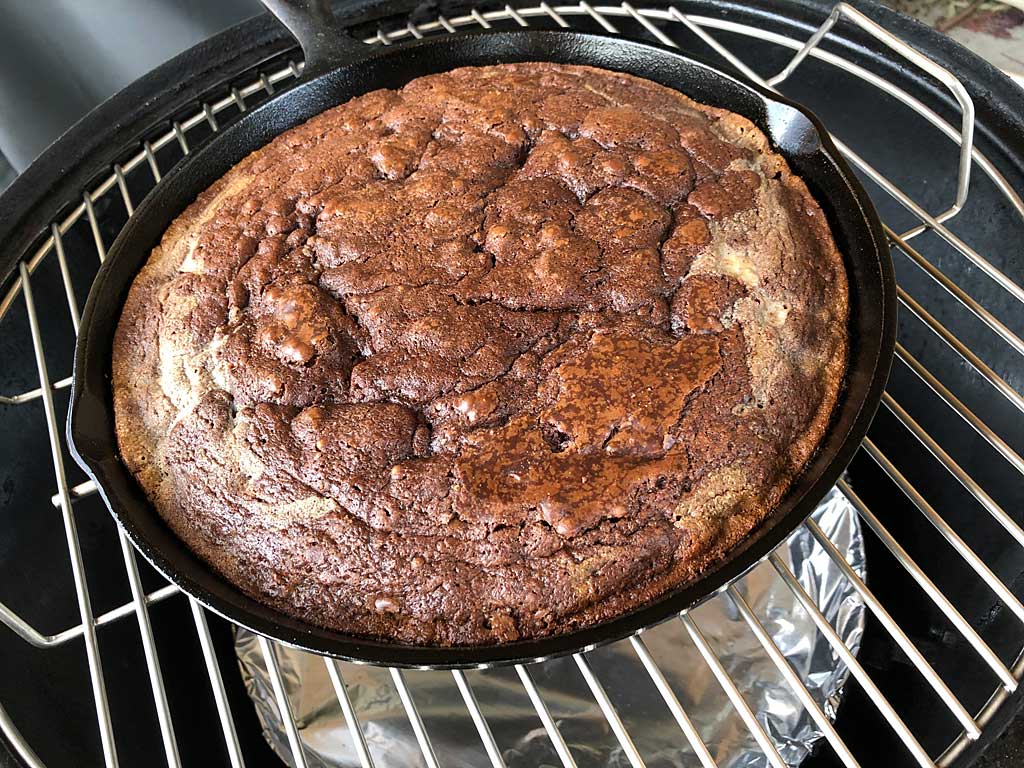
Bake the brownies until a toothpick or wooden skewer inserted in the center comes out with some moist, sticky crumbs attached. As Ghirardelli says, “Do not overbake. Fresh-baked brownies appear underbaked but cool to doneness.”
Here’s how the cooker temperatures and vent settings went during my cook:
| Time | Lid Temp | Vent 1 % | Vent 2 % | Vent 3 % |
| 2:55 pm | – | 100 | 100 | 100 |
| 3:00 pm | 375 | 100 | 100 | 100 |
| 3:05 pm | 385 | 100 | 100 | 0 |
| 3:15 pm | 338 | 100 | 100 | 0 |
| 3:25 pm (s) | 334 | 100 | 100 | 100 |
| 3:42 pm (s) | 355 | 100 | 100 | 100 |
| 3:55 pm | 365 | 100 | 100 | 0 |
| 4:05 pm | 350 | 100 | 100 | 0 |
| 4:20 pm | 340 | 100 | 100 | 0 |
(s) Swirled pooled butter
Note that the vent percentages represent the way I set the vents at the time indicated.
Allow Brownies To Cool Completely
No one wants to wait for brownies to cool completely before digging in, but if you do they will come out of the skillet more easily and will slice neatly.
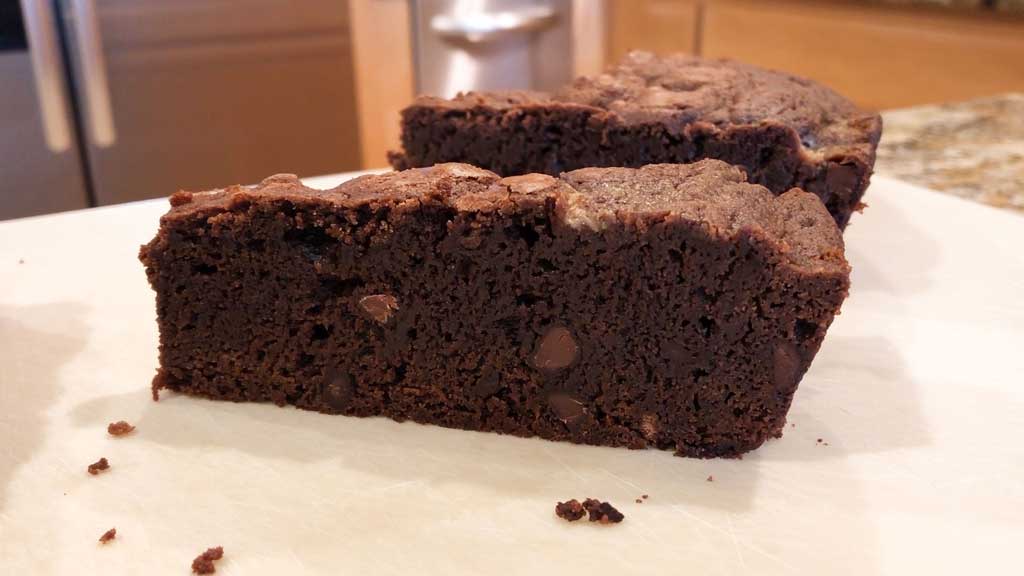
Once cooled, run a knife or offset spatula around the edge of the brownie to loosen it, place a plate over the skillet, and flip it upside down. If you’re lucky, the whole brownie will pop right out. If not, cut and remove one piece (as with pie, the first slice is the hardest to remove neatly) then you can cut the remainder into large sections and use a thin spatula to remove them. With the brownie released from the skillet, use a sharp serrated knife to slice into neat individual servings.
Note that when a single box of this brownie mix is baked in an 8″x8″ pan, a serving measures 2″x2″ and has 180 calories. The slice you see in the photo above is probably three servings, so be careful with these wedge-shaped brownies if you’re counting calories!
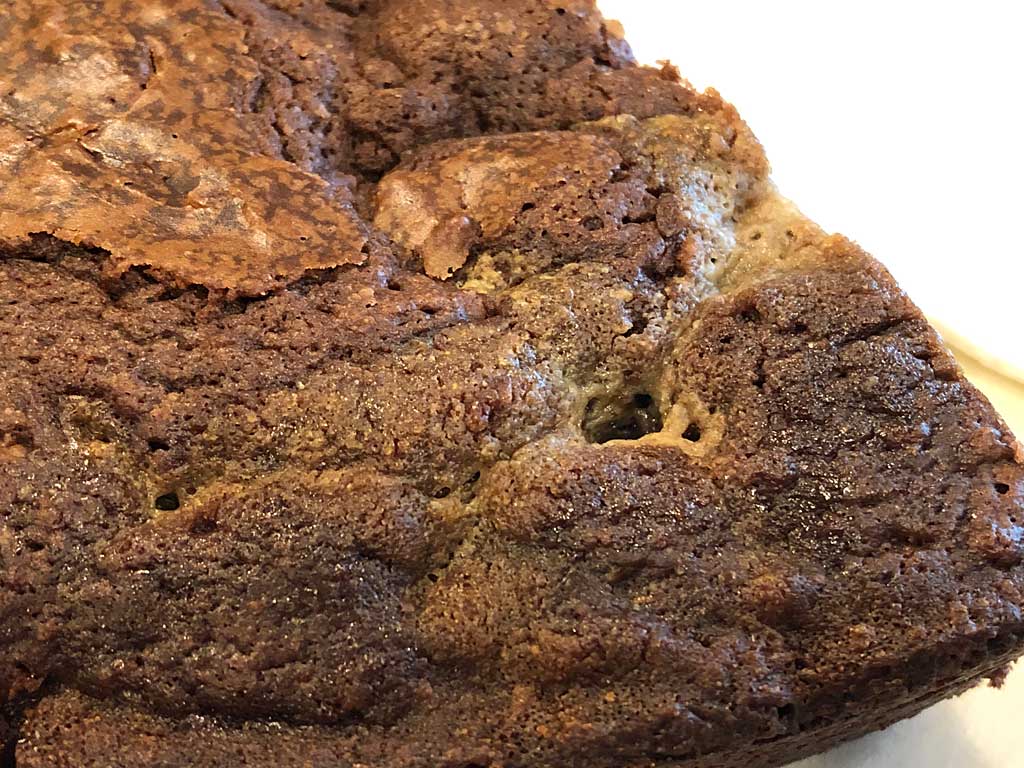
You may notice some tan areas around the edge of these brownies. That’s the melted butter…and it’s delicious!
Delicious Brownies…But Does Smoke Make Them Better?
In my cooking log, I noted the tan coloration around the edge of the brownies and the saltiness and crispiness of the edge due to the “fried” effect of the butter. The texture on the inside was like a normal brownie.
But does smoke make these brownies better? That’s the real question, because adding smoke flavor from a charcoal fire is the only truly unique thing about these brownies. You can always bake brownies with French butter in a cast iron skillet in your kitchen oven…it’s the smoke that makes the difference.
The subtle smoke from the charcoal definitely added a complexity to these brownies that I could smell and taste. But if I was blindfolded and didn’t know how they were prepared, I’m not sure I would attribute that flavor to smoke. I suppose the use of apple smoke wood as suggested by Gordon would have a stronger result. Maybe next time!
My advice to you…if you’re interested in baking desserts in the WSM, give this approach a try. Or if you finish barbecuing something else and have 90 minutes of 325-350°F heat left, go ahead and give a baked dessert a try.
Freeze & Reheat Leftovers
This recipe resulted in more brownies than we could eat right away. I cut the leftovers into two-serving chunks, wrapped tightly in plastic wrap followed by aluminum foil, and froze them. Simply defrost, unwrap, heat gently in the microwave at 30% power for a minute or two, and you’ve got delicious, warm brownies ready to enjoy all over again!


