When To Use It, What To Put In It And How To Clean It
In This Topic
- Purpose Of The Water Pan
- Why Use Water In Weber Smokers?
- Water Pans Come In Four Sizes
- Location Of Pan In The Smoker
- When Should You Use The Water Pan?
- What Should You Put In The Water Pan—If Anything?
- The Downside Of Using Water In The Pan
- Using Hot Water Vs. Cold Water In The Pan
- How Often To Check And Refill The Water Pan
- Safety Tips For Using Water In The Pan
- How To Add Water While Cooking
- Containers For Refilling The Pan
- Disposing Of Water/Grease And Pan Cleanup
- How To Foil The Water Pan
- Using Disposable Dutch Oven Liners
- Foiling The Pan To Collect Drippings For Turkey Gravy
Purpose Of The Water Pan
The water pan in the Weber Smokey Mountain Cooker serves two purposes:
Pan Creates An Indirect Cooking Environment
Many people feel that cooking over indirect heat is essential to making good barbecue. In wood-burning offset smokers, the cooking chamber and the fire box are side-by-side in separate compartments, thus the cooking process is indirect by design. In a vertical smoker like the Weber Bullet, an indirect cooking environment is achieved by using the water pan as a physical barrier between the meat and the heat. The pan catches the drippings that would otherwise hit the coals and flare up to create the taste that some people associate with grilled meat, not barbecued meat.
Pan Holds Water
Well, that seems obvious, right? The water pan is used to hold water during the cooking process…but why use water when barbecuing?
Why Use Water In Weber Smokers?
There are two reasons to consider using water when barbecuing with the Weber Smokey Mountain Cooker:
Water Keeps Cooker Temperature “Low & Slow”
Water in the pan makes “low & slow” barbecue temperatures easy to achieve and maintain. It takes a lot of energy to heat water to the boiling point of 212°F at which point it turns into steam. If the cooker starts to run too hot, more water will boil away, consuming extra heat energy and keeping the cooker temperature down.
Water Keeps Meat Moist, Enhances Smoke Flavor And Smoke Ring
As water in the pan boils, water vapor fills the cooking chamber and surrounds the meat. Some of this water vapor condenses on the surface of the meat, helping smoke to stick to the meat. The smoke imparts flavor to the meat, and the sodium nitrite in the smoke plays a critical role in the formation of the pink “smoke ring” that we associate with meat that has been cooked in the presence of smoke.
Water vapor can also keep meat moist and prevent it from drying out. Some experts go so far as to say that the water vapor “bastes” the meat, cooling it through surface evaporation. This slows the cooking process and promotes the rendering of fat and the conversion of tough connective tissues into gelatin. This may be especially helpful for tough cuts like brisket and pork butt, but poultry skin may turn out soft, not crispy, when smoked in the presence of water.
Water Pans Come In Four Sizes
Water pan for 14.5 smoker
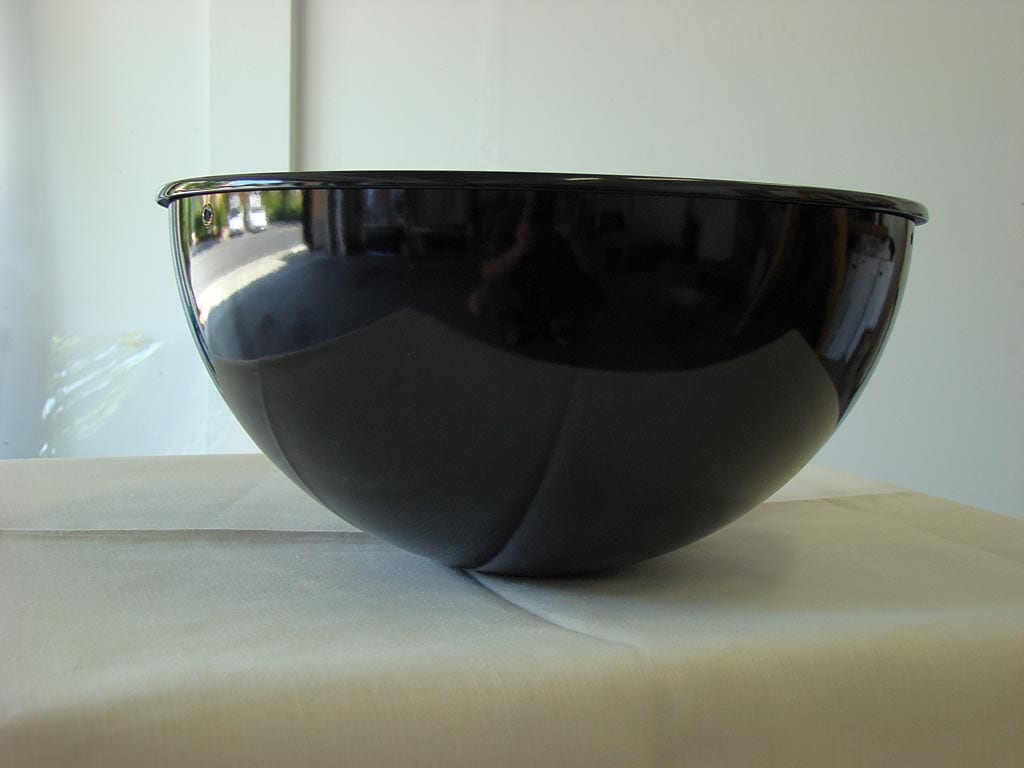
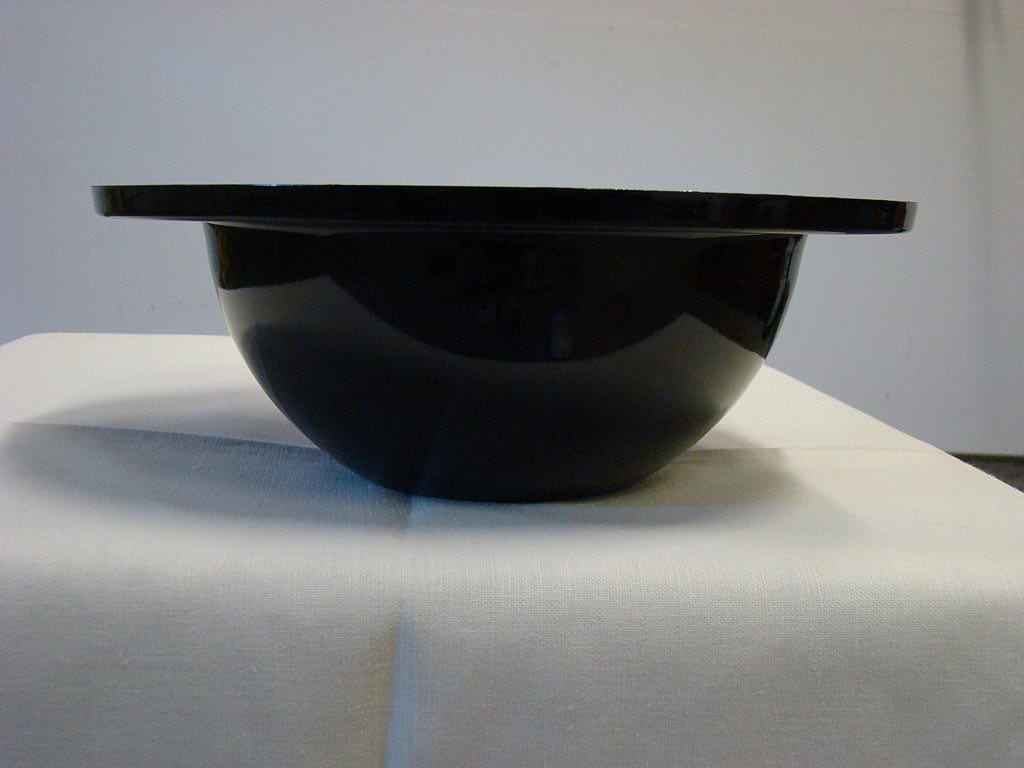
Water pan for 18.5 smoker
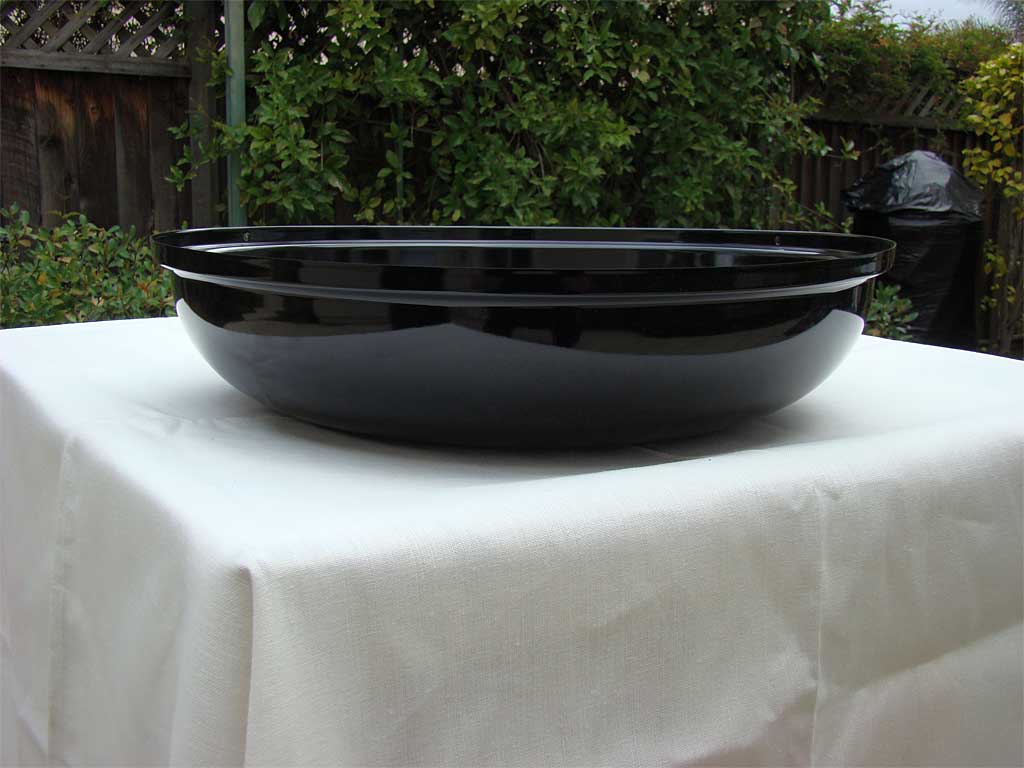
Water pan for 22.5 smoker
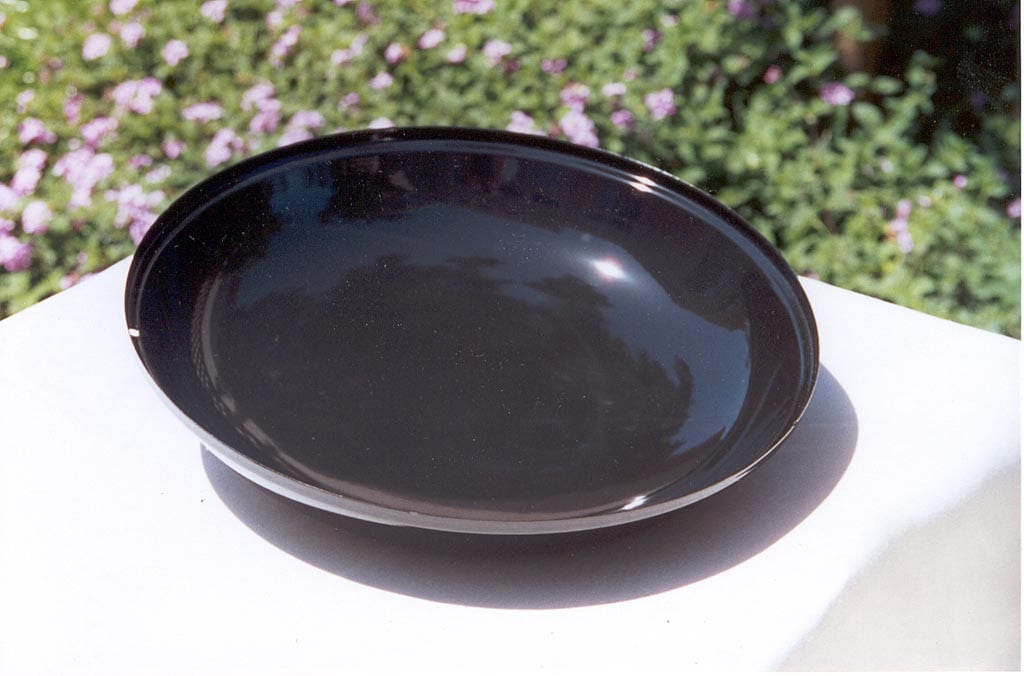
Water pan for 18.5 smoker (2008 and earlier)
The shape, size, and capacity of the water pan varies for each Weber Smokey Mountain Cooker model.
| Pan Shape | Dimensions | Capacity | |
| 14.5″ WSM | Wide-rim, flat bottom | 11.5″ OD x 4.125″ | 11 cups – 0.6875 gallon |
| 18.5″ WSM | Narrow-rim, deep round bottom | 14.375″ OD x 7″ | 2.5 gallons |
| 22.5″ WSM | Narrow-rim, shallow round bottom | 18.75″ OD x 4.25″ | 3 gallons |
| 18.5″ WSM (2008 & earlier) |
Narrow-rim, shallow round bottom | 14.75″ OD x 3″ | 1 gallon |
Location Of Pan In The Smoker
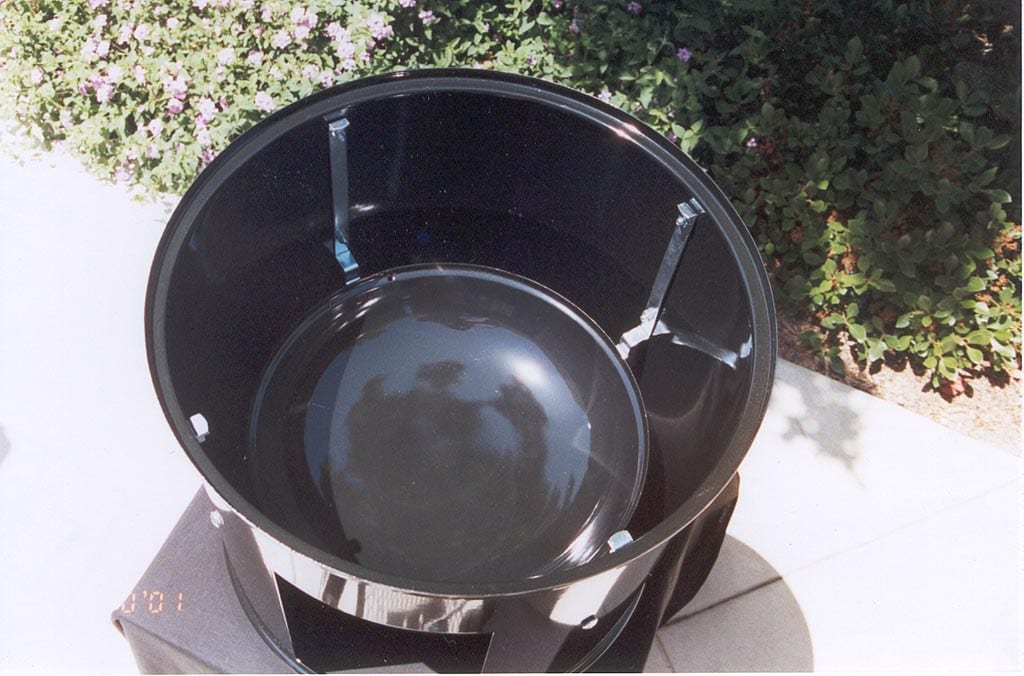
The water pan is suspended by the four grill straps at the bottom of the middle cooking section.
Many years ago, the WSM Owner’s Manual suggested that the water pan could be placed directly on top of the charcoal chamber when using the WSM as a steamer. As you might expect, using the Weber Bullet as a steamer never caught on.
When Should You Use The Water Pan?
Most barbecuing in the Weber smoker is done with the water pan in place. You should use the water pan when cooking with the indirect method, regardless of how hot you run the cooker or what you do or do not put into the water pan. You should not use the water pan when cooking with the direct method over hot coals.
I use the water pan for most of my barbecuing, sometimes filled with water, sometimes empty. I remove the water pan when cooking chicken at high temps so that the radiant heat from the coals crisps the chicken skin, as in the Hot & Fast Chicken recipe. I’ve also barbecued pork butts without the pan, allowing the grease to flare-up on the hot coals. It sure smelled good while cooking, but I couldn’t taste much of a difference in the finished product and it made a greasy mess in the charcoal bowl. I never did that again.
What Should You Put In the Water Pan—If Anything?
There are as many opinions about this subject as there are WSM owners, and there is no absolute right or wrong answer. There are many ways to make great barbecue with a Weber smoker regardless of what you put or do not put in the water pan. But here’s my advice after many years of experience with this cooker.
New WSM Owners Should Use Water In The Pan When Cooking at 225-275°F
As a new owner, you’ve got a lot on your mind—learning about meat, rub, charcoal, and how to operate your new cooker. Think of water as training wheels for your smoker. It’s almost impossible to run the Weber Bullet over 275°F as long as the pan is filled with water.
Don’t worry about the negative things some people say about using water in your smoker (e.g. replenishing water during use, cleanup after use). As a new owner, your most important objective is to get some success under your belt and feel confident in controlling cooker temperature. Water will help you do that in a big way.
Experienced Owners Can Experiment With Waterless Cooking at 225-275°F
It’s OK to use water every time you cook with your WSM. If you like the results and you’re comfortable with the process, don’t feel like you have to change anything. However, once you’ve mastered water you may want to experiment with waterless cooking.
An Empty Water Pan Is Required For High Heat Cooking
To achieve cooker temperatures in the 325-375°F range, you must leave the water pan empty. This temp range is often used when barbecuing high-heat versions of chicken, turkey, brisket, pork butt and tri-tip.
Be aware that an empty pan will immediately radiate a lot of heat toward meat on the bottom cooking grate, so monitor those items carefully. You may wish to rotate items between the top and bottom grates to prevent overcooking.
Beer Is For Drinking, Water Is For Pans
Don’t waste beer, wine, juice, onions, herbs and spices, or other stuff in the water pan. These things may smell good while cooking, but experience shows they impart little or no flavor of the meat. The flavor of the meat will be most influenced by the rub, injection and sauce you use. My advice: Drink your beer and use plain tap water in the pan.
Skip The Clay Saucers, Sand, Lava Rocks, Bricks, Steel Plates And Other Pan Fillings
Creative Weber smoker owners have tried almost everything as an alternative to water in the pan or even as an alternative to the pan itself. The goal is usually to create a heat sink that helps moderate cooker temperatures but does not evaporate like water and cleans up easily after cooking.
I’ve tried a few of these alternative approaches and I don’t feel like they offer much benefit. If you don’t want to use water in the pan, my recommendation is to just wrap the pan in aluminum foil and leave it empty. I know that some people swear by alternative fillings and water pan substitutes, but several competition barbecue teams have proved that you can make championship barbecue in the Weber Bullet with an empty, foil-lined pan. That’s good enough for me.
The Downside Of Using Water In The Pan
There are a few downsides to using water in the pan. These include:
- Water level must be checked and refilled.
- Poultry skin turns out soft, not crispy, when cooked in the presence of water.
- More charcoal is used when cooking with water.
- Leftover water/grease must be disposed of after cooking.
- Injury from hot water and/or steam is possible if pan is not used properly.
Despite these things, I still believe that the advantages of using water outweigh the disadvantages for new WSM users trying to maintain “low & slow” cooker temps in the 225-275°F range.
Using Hot Water Vs. Cold Water In The Pan
In most cases it’s fine to use cold water in the pan, regardless of whether you’re lighting the smoker using the Standard Method or the Minion Method. On the coldest winter days, you may want to use hot water to help keep the cooker temperature up.
How Often To Check And Refill The Water Pan
If you’re only cooking for up to 4 hours—chicken or baby back ribs, for example—there’s no need to check and refill the pan. Fill it once at the beginning and you’re done. For longer cooks, check the pan and replenish the water every 3-4 hours. If you’re using the 14.5″ WSM with its smaller water pan, check the water level more often.
Safety Tips For Using Water In the Pan
This video demonstrates the safety tips for using water that are described in this section.
Boiling hot water and/or steam has the potential to cause serious injury if the water pan is filled in an unsafe manner or if the pan falls into the hot coals during use. Here’s how to safely use water in the Weber Smokey Mountain Cooker.
Make Sure The Pan Is Seated Securely Inside The Cooker
With the middle cooking section off the fire, put the water pan in place, making sure it is seated securely on the four grill straps. If the pan seems unsteady, do not use the pan or add water to it until the problem has been resolved. The grill straps can be modified to help the pan fit more securely; see Parts Troubleshooting for details.
Add Water To A Cold Pan
With the pan securely in place, put the bottom cooking grate into the middle cooking section (if using it) then put the middle cooking section over the hot coals in the charcoal bowl.
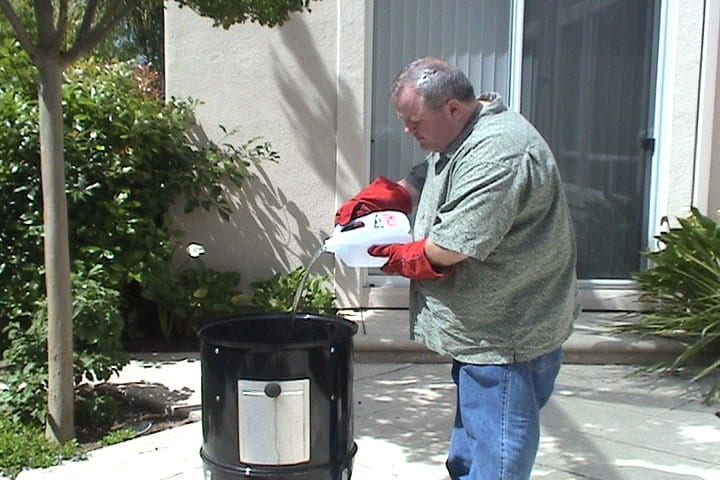
Pour water into the pan immediately before the pan gets hot. Pour into the center of the pan, through the bottom cooking grate, from above the middle cooking section. Do not put your face directly over the pan. Stand back from the cooker and wear long barbecue gloves to protect your arms.
Avoid Splashing And Overfilling
Don’t splash water out of the pan into the fire, and take care to not overfill the pan. See water pan capacities earlier in this article. It can be difficult to tell how much water is in the pan when refilling in the dark, so turn on a patio light or use a flashlight to make sure the pan is not overfilled.
Also, remember that during a cooking session, a layer of liquid fat will float on top of the water. This fat will be the first thing to overflow into the hot coals if the pan is overfilled, potentially causing a grease fire…another reason to take care when refilling the pan.
Do Not Disturb The Pan During Cooking
Moving the cooker or lifting off the middle cooking section during use can cause the water pan to fall into the hot coals. You do these at your own risk!
How To Add Water While Cooking
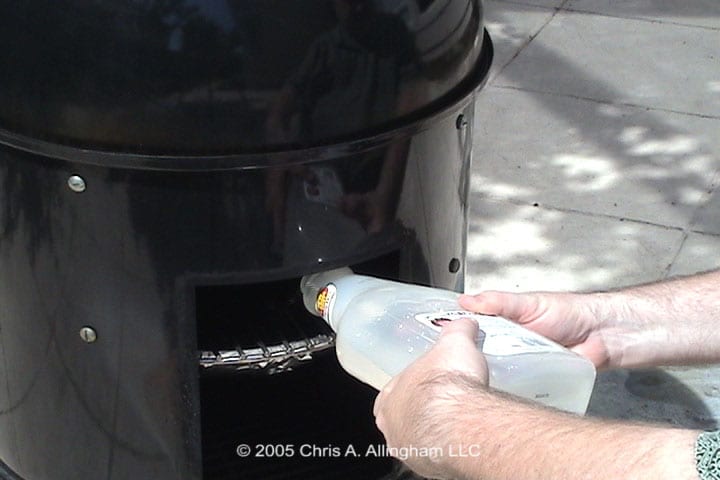
To add water to the pan while cooking, remove the access door and pour water through the bottom cooking grate into the pan.
Replace the access door and make sure the door knob is fastened properly. There’s nothing worse than having the cooker temperature soar to 350°F because the access door fell off!
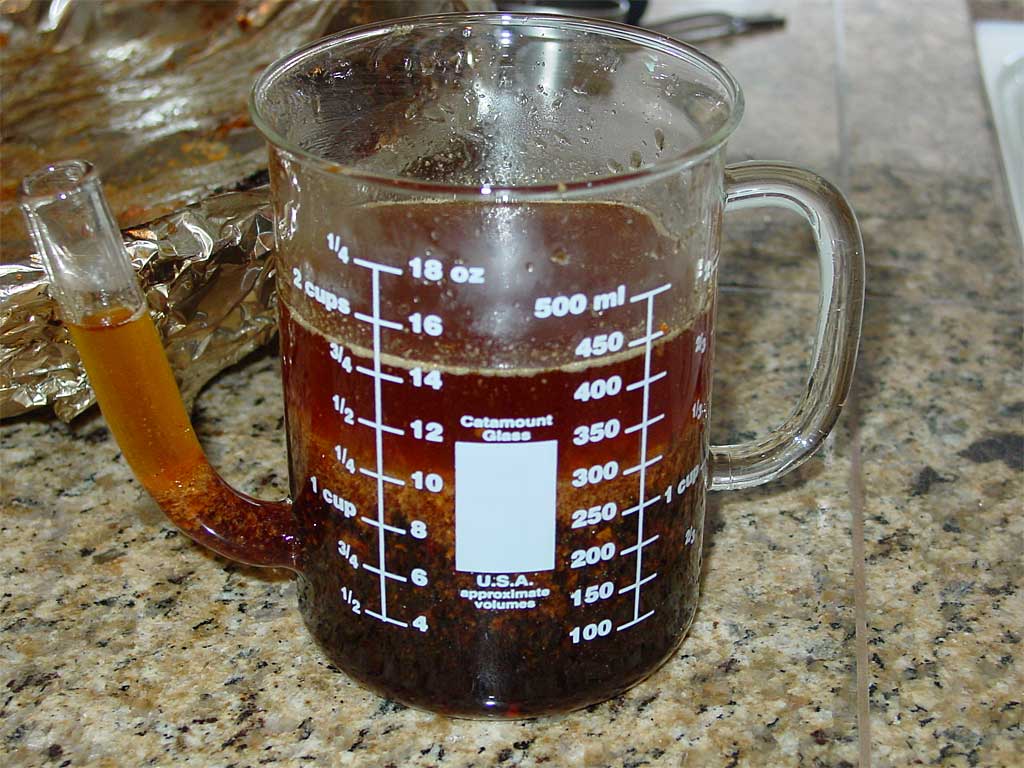
Containers For Refilling The Pan
You’ve probably got a container somewhere around the house that can be used to refill the water pan during a cooking session. Try one of these:
- 1-gallon plastic milk jug
- 2-liter soda bottle
- 64-ounce ketchup bottle (shown in photo above)
- Wine bottle
- Garden watering can with long spout
Disposing Of Water/Grease And Pan Cleanup
One of the complaints people have about using water is having to dispose of the water/grease mixture and washing the pan after use. We’ve got some tips on how to disposal and cleanup in the Cleanup, Maintenance & Storage article.
This video demonstrates how I dispose of ashes and water pan contents after using my WSM.
How To Foil The Water Pan
This video demonstrates the processes of foiling a water pan that are described below.
Wrapping the water pan with wide, heavy-duty aluminum foil makes cleanup fast and easy. Some folks scoff at the notion of doing anything beyond just rinsing out the pan after each use, but I like to run a “clean machine” and keeping the pan clean is important to me.
Depending on the size of your pan, you may need to seam two pieces of foil together to make one piece large enough to cover the pan.
Here are my recommendations for foiling the pan, based on many years of personal experience:
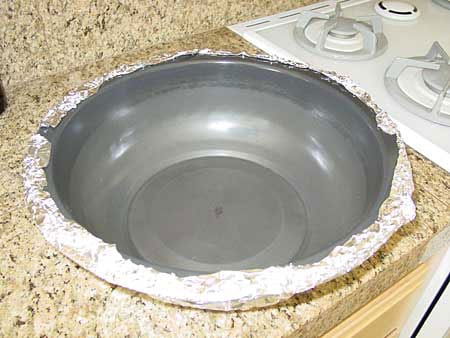
Every Time When Using The Pan, wrap the bottom with wide, heavy-duty aluminum foil. This eliminates the need to scrub off the smoke build-up that occurs on the bottom of the pan.
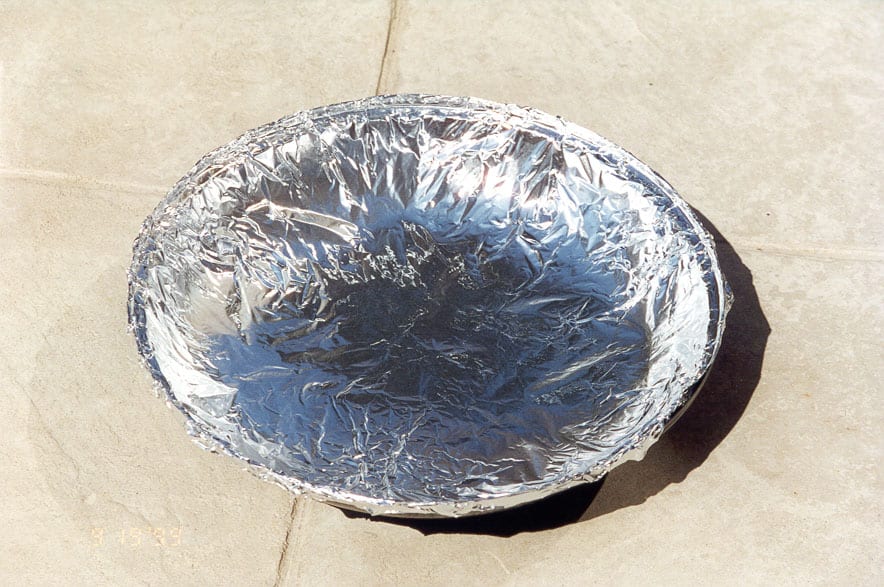
When Using An Empty Pan, also wrap the inside with foil.
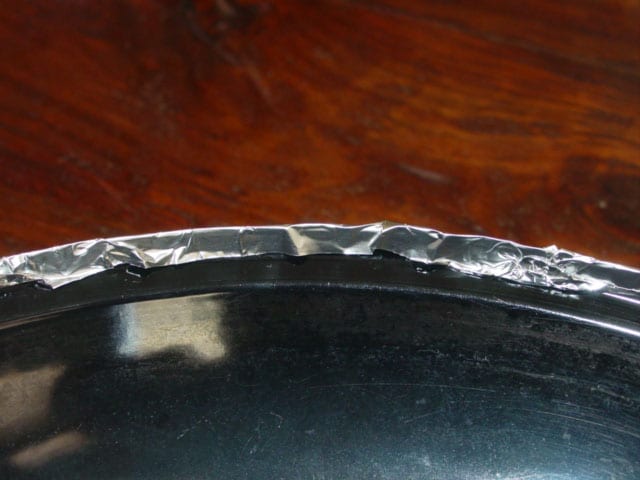
When Using Water In The Pan, don’t foil the inside of the pan. Foil just the bottom of the pan, bringing the foil over the top edge of the pan to secure it, then remove any excess material so that the foil does not touch the water. When filling the pan, make sure to keep the water level below the foil.
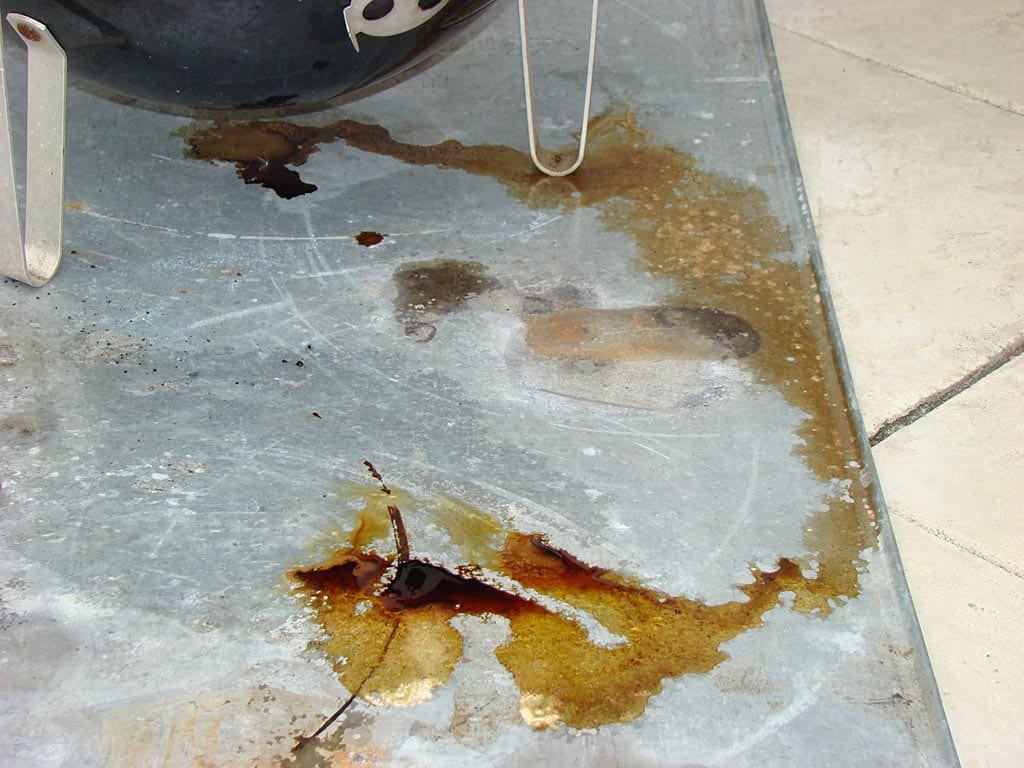
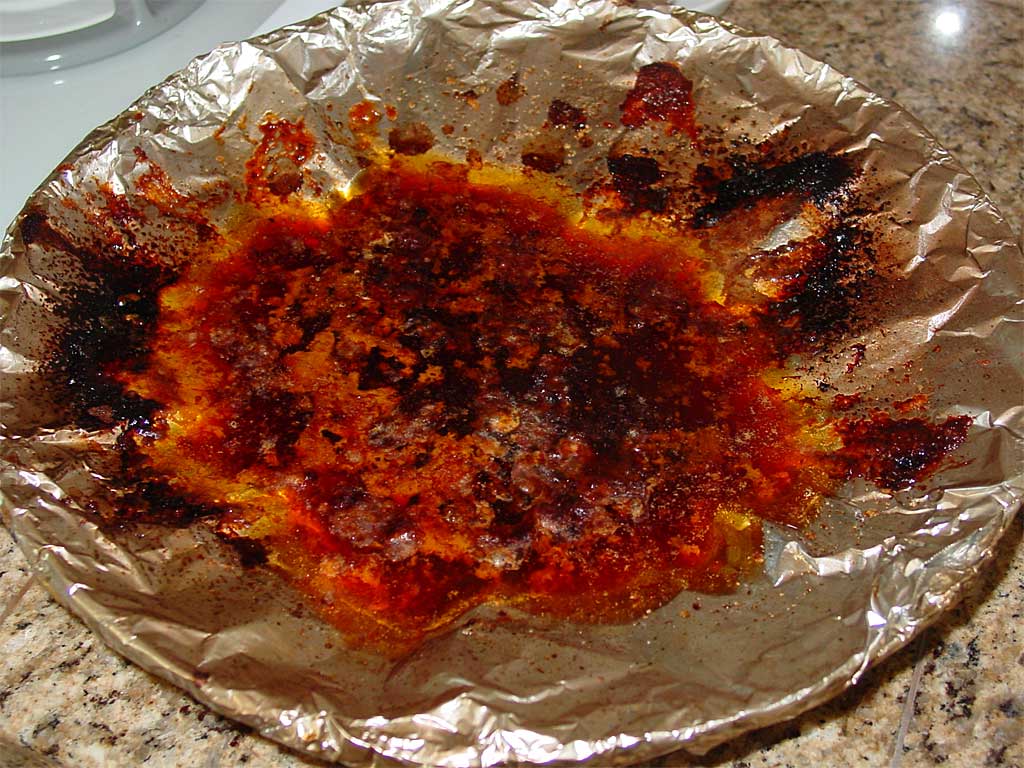
Why? When you foil the inside of the pan, water can get past the foil and into the pan through pinholes, small tears or seams created when piecing together two pieces of foil. When heated, the water under the foil can expand up and over the edge of the pan and into the fire, making a mess in the charcoal bowl and sometimes causing a funky smell. If these drips find their way out through one of the bottom vents or one of the leg screw holes, you end up with the mess shown below.
If you foil only the outside of the pan but extend the foil below the water line, you can have a similar problem—water finding its way between the foil and the outside surface of the pan, where it can leak through the foil and into the fire.
So, my recommendation is to never foil the inside of the water pan when using water. As long as you don’t boil the water pan completely dry, it will clean up without too much effort using hot, soapy water and a scrubber pad. A non-abrasive cleanser like Soft Scrub will help with any stubborn spots.
If you insist on wrapping the inside of the pan with foil, use a single sheet of wide, heavy-duty aluminum foil whenever possible, and inspect carefully for small holes or tears. If you must, tightly seam together two narrow sheets of foil, but be aware that water can find its way through the seam as discussed above.
Using Disposable Dutch Oven Liners
As an alternative to lining the WSM water pan with aluminum foil, you can use disposable Dutch oven liners in the water pan. Some Weber Bullet owners say these liners make water pan cleanup much easier.
These videos show examples of disposable Dutch oven liners for the various sizes of WSM water pans.
Foiling The Pan To Collect Drippings For Turkey Gravy
To collect pan drippings when smoking a turkey, cook the turkey on the top cooking grate. Line the water pan with wide, heavy duty aluminum foil, but suspend the foil 1-1/2″ above the bottom of the pan so it does not touch. This air gap helps prevent the drippings from burning.
 Assuming you don’t over-smoke the turkey, the drippings will be perfect for making gravy. As you remove the turkey from the cooker, pour any accumulated juices inside the body cavity into the pan. You can also use the juices left in the bottom of a rimmed baking sheet pan after letting the turkey rest before carving.
It’s not uncommon to end up with about 1-1/2 cups of drippings.