Summary
- Choose a corned beef brisket flat using the tips at the beginning of this article.
- Soak the meat overnight to reduce saltiness.
- Apply the pastrami rub.
- Smoke at 250-275°F to 165°F internal temperature.
- Wrap in foil and continue cooking to 195°F internal temperature.
- Let rest in foil in an empty cooler for two hours.
- Slice across the grain.
The Pastrami article demonstrates how to dry cure, season, and smoke a fresh beef brisket flat to create this deli classic. But is there a way to shortcut the long dry curing process?
How about starting with an uncooked corned beef brisket flat and seasoning and smoking it like pastrami? The resulting pastrami—sometimes called quick pastrami or faux pastrami—tastes a little different than the dry-cured product, but it’s still quite good and takes much less time to make.
Here are some pictures I took on April 18, 2014 when I prepared quick pastrami using corned beef brisket flats on the Weber Bullet.
Select The Corned Beef
 When shopping at the supermarket, you’re likely to find corned beef made from one of these cuts of beef:
- Brisket flat
- Brisket point
- Bottom round
For quick pastrami, corned beef brisket flat is your best choice. It has less fat than brisket point and better flavor than round.
Here are some tips when buying a corned beef brisket flat:
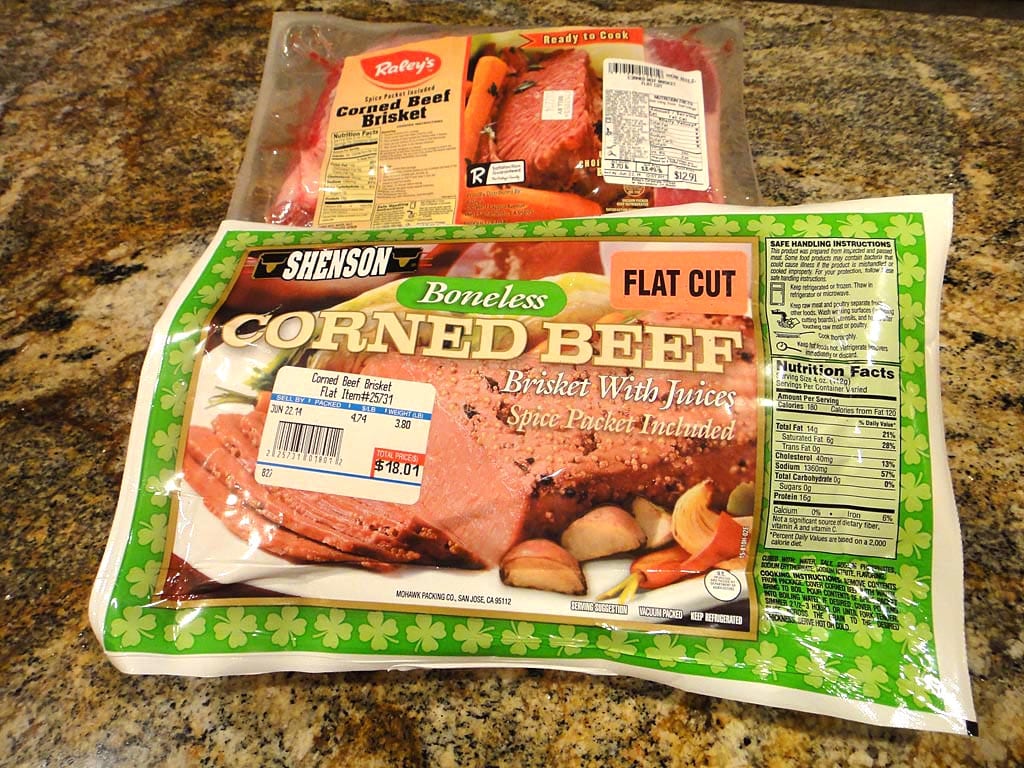
- When possible, buy corned beef that says “Spice Packet Included” on the label and then throw away the spice packet—you won’t be using it. You want to apply pastrami spices to the meat, not corned beef spices. If you look inside the package and see the corned beef marinating in bay leaves, coriander seeds, peppercorns, and other herbs and spices, don’t buy it.
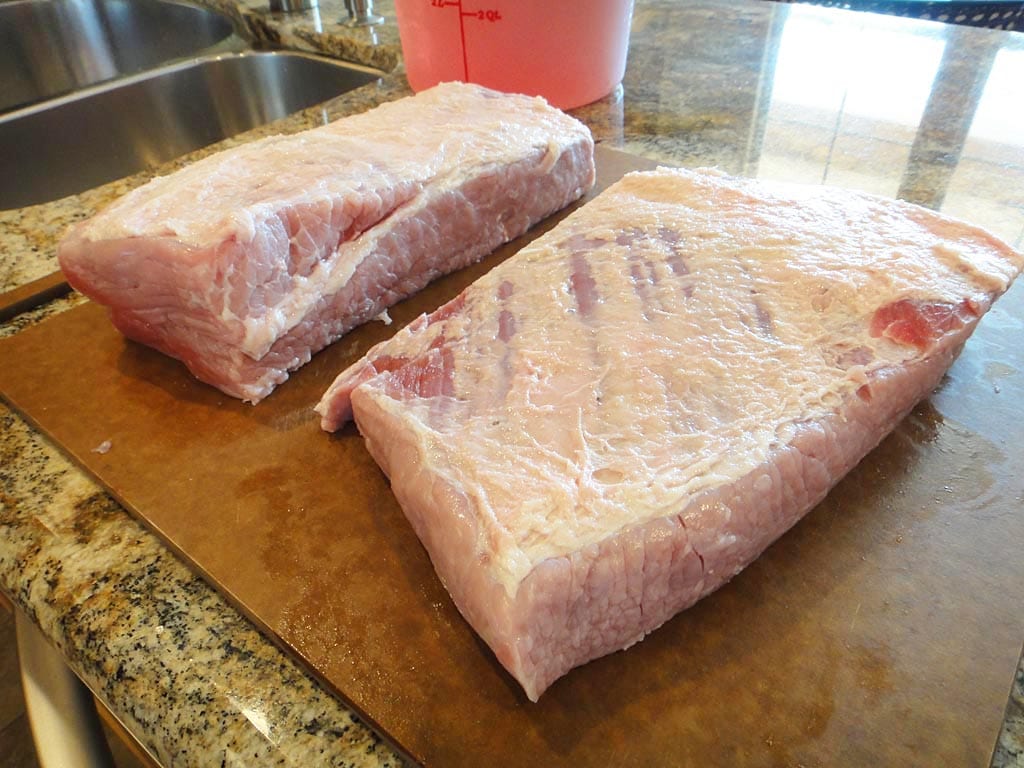
- Corned beef brisket flats are often sold as chunks of meat, not as whole flats. Try to buy chunks that have even thickness.
- The meat should be lean throughout but with a layer of fat on one side only—this indicates you have just the brisket flat cut.
- Avoid pieces with a layer of fat running through the middle of the meat—this indicates a combination of brisket flat and brisket point. The flat and point cook at different rates, which makes the cooking process more complicated and time consuming.
- If cooking multiple pieces, choose ones of similar weight, shape, and thickness so they all finish at about the same time.
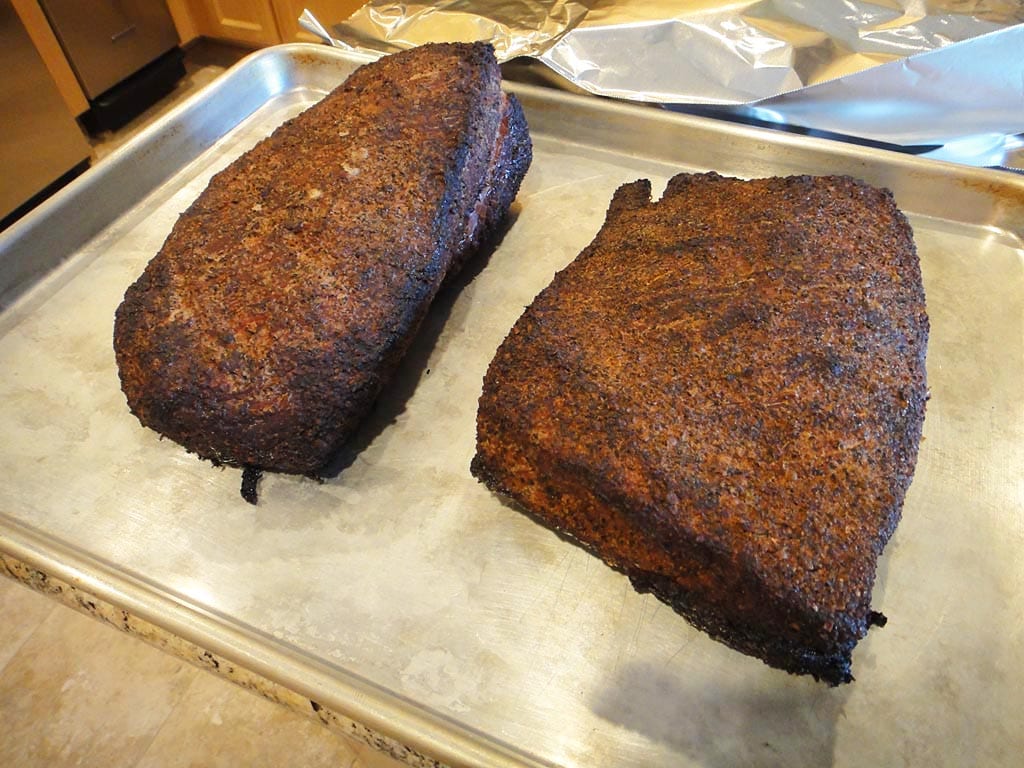
The photo above shows two corned beef brisket flats weighing about 3-3/4 pounds each. Corned beef is available all year around, but is found in abundance and on sale in February and March before St. Patrick’s Day.
Soak The Corned Beef Brisket Overnight
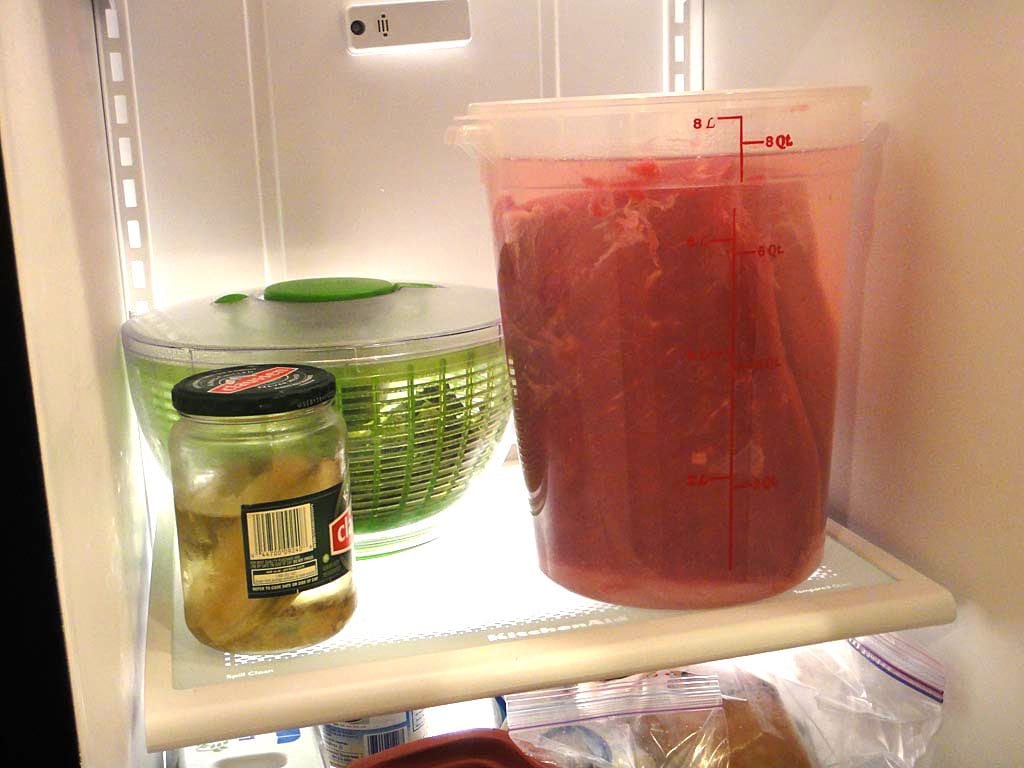
Remove the corned beef brisket from its packaging and rinse thoroughly under cold running water.
Place the meat in a non-reactive container and cover with cold water. Let the meat soak overnight in the refrigerator. This helps reduce the saltiness of the meat.
After soaking, dry the meat thoroughly with paper towels.
Apply The Pastrami Rub
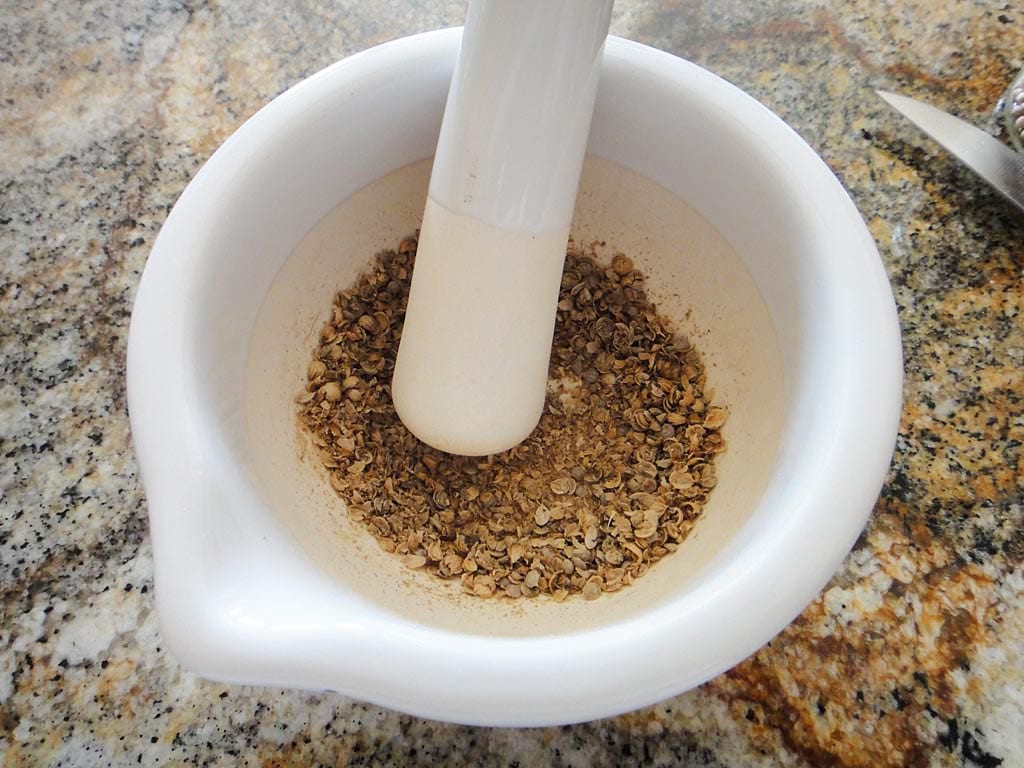
This salt-free rub provides the bold, peppery taste that is associated with pastrami. Use a coarse grind of black peppercorns and coriander seeds to create the crusty exterior typically found on pastrami. A mortar and pestle make quick work of the coriander seeds.
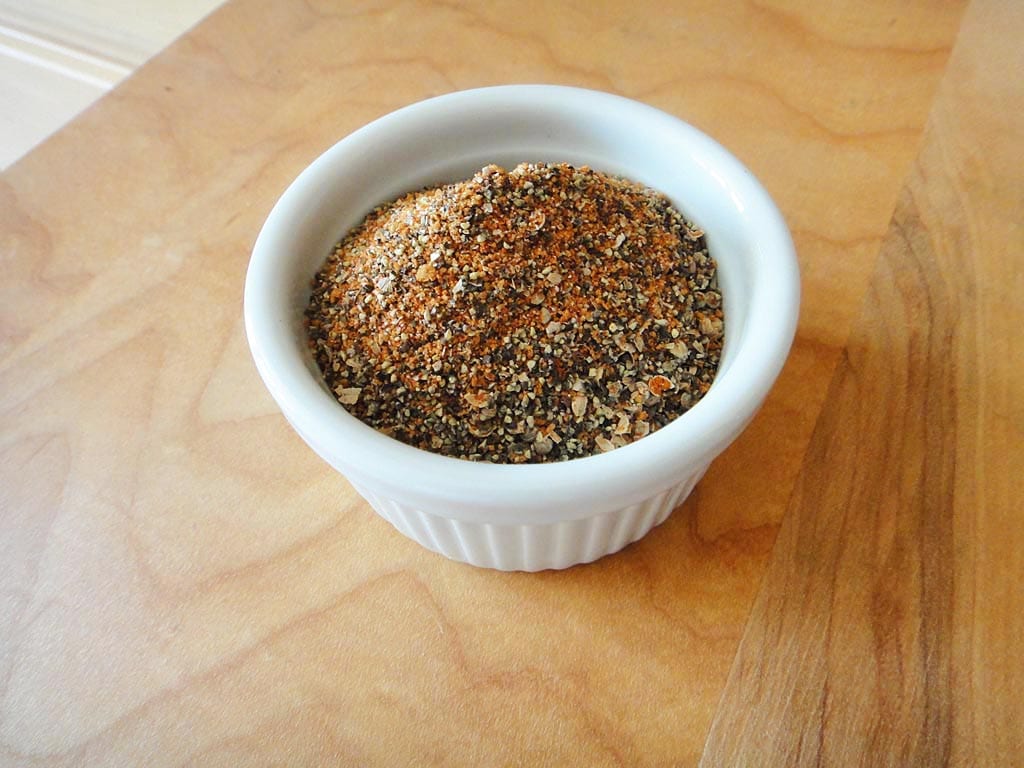
Pastrami Rub
- 3 Tablespoons coarse ground black pepper
- 1 Tablespoon paprika
- 1 Tablespoon light brown sugar
- 2 teaspoons coarse ground coriander seeds
- 1 teaspoon granulated garlic powder
Combine all ingredients and mix thoroughly.
Apply a generous amount of rub to all surfaces of the meat. I used almost all of this rub on the two pieces of corned beef shown here, which made them very peppery…adjust the amount used according to your taste.
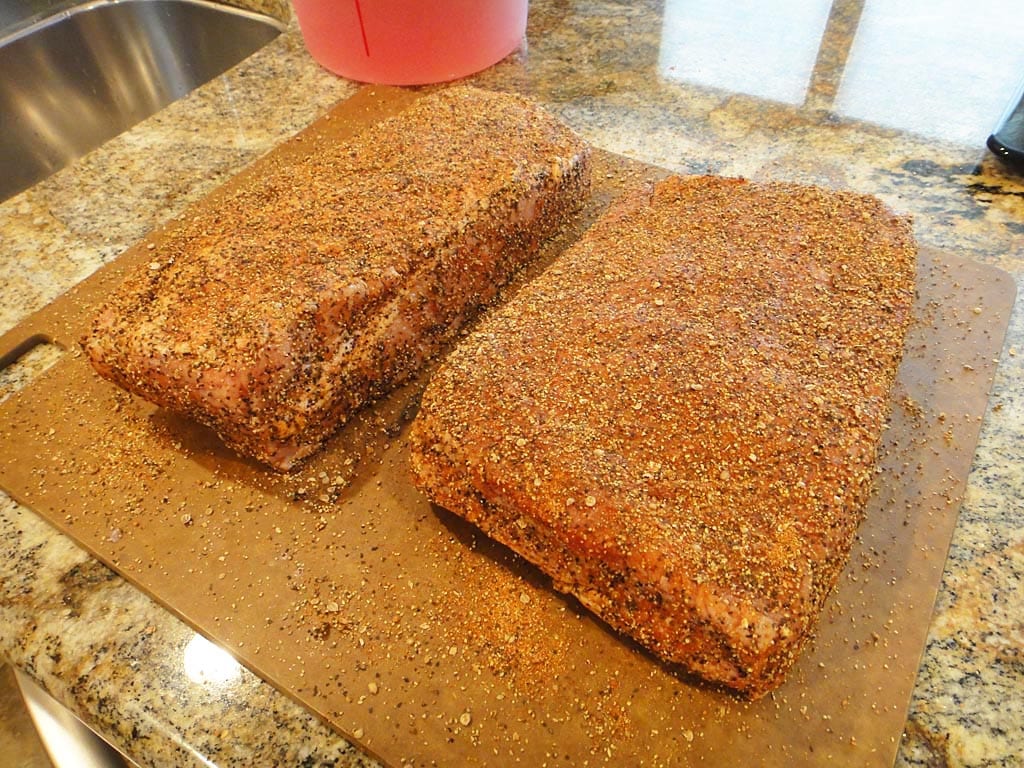
Once rubbed, the meat is ready to go into the WSM or it can be refrigerated overnight.
Select The Smoke Wood

Use 2-3 chunks of pecan smoke wood. Each chunk should be small, for example 3″ x 2″ x 2″ or similar. In this case, a little bit goes a long way—you don’t want to overpower the meat. Oak smoke wood can be used if pecan is not available, or another mild fruit wood as a last resort.
There is no need to soak the wood or remove the bark before use.
Fire-Up The WSM
Fire-up the cooker using the Minion Method. Fill the charcoal chamber 1/2 full with unlit Kingsford Charcoal Briquets. Light 20-40 briquettes using a Weber chimney starter and spread them over the unlit briquettes.
Foil the water pan before use for easy cleanup, but leave it empty.
Smoke The Corned Beef Brisket
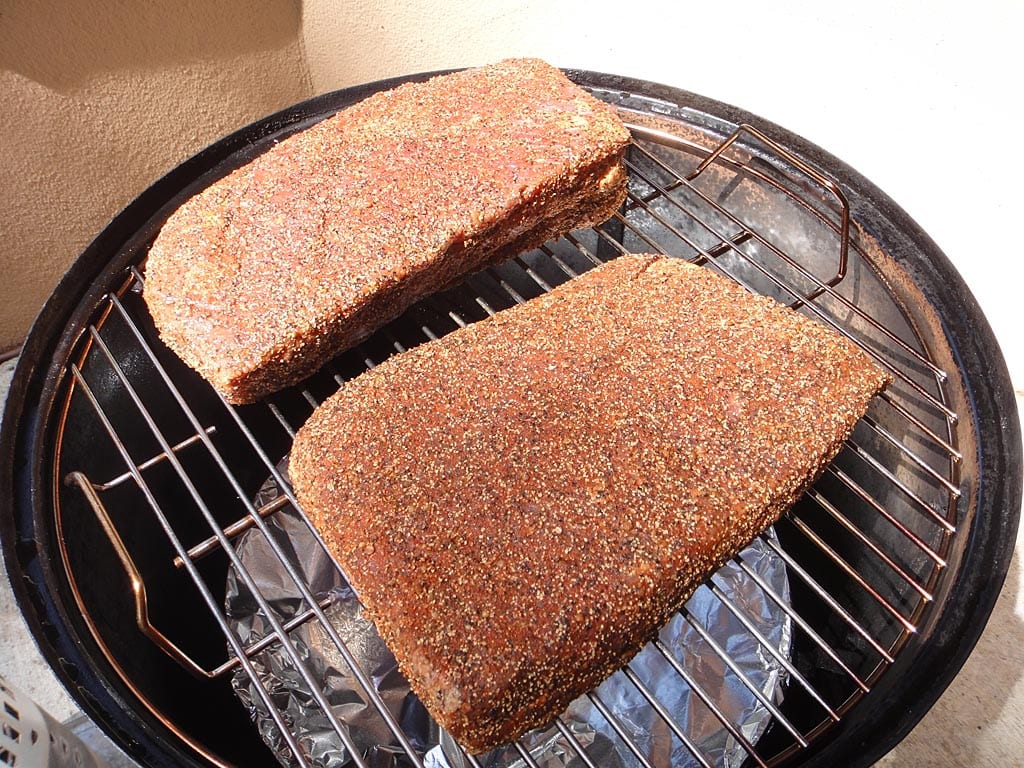
Assemble the cooker and put the brisket fat-side down on the top cooking grate.
Set the 3 bottom vents to 100% open. Open the top vent fully and leave it that way throughout the entire cook.
When the cooker reaches about 225°F, set the 3 bottom vents to 25% open so the cooker settles in at 250-275°F measured at the lid. Adjust the 3 bottom vents as necessary to maintain this temperature range throughout the cooking session.
Cook the brisket until it reaches an internal temperature of 165°F. Use an instant-read thermometer to take the meat’s temperature in several spots and average the results. It will read higher or lower in different spots depending on the thickness of the meat.
The brisket does not need to be turned or basted during this phase of cooking.
Once the brisket reaches 165°F, wrap it tightly in aluminum foil and return it to the cooker.
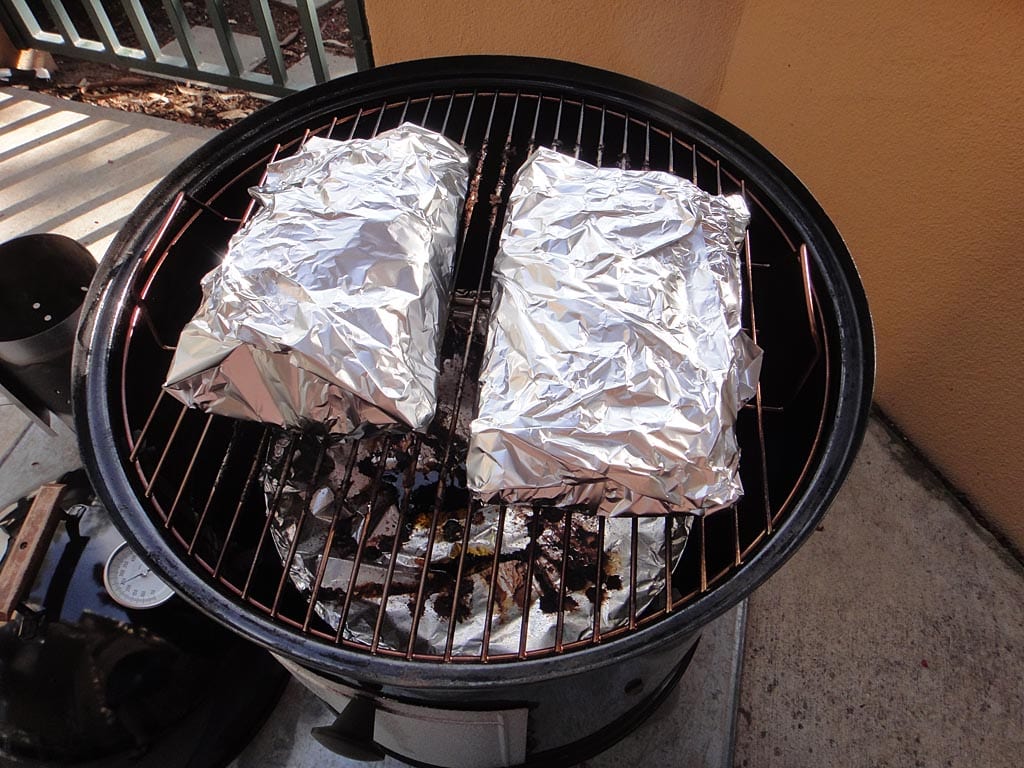
Continue cooking the brisket until it reaches an internal temperature of 195°F.
Here’s how the temperature and vent settings went for the cooking session:
| Time | Lid Temp | Meat Temp | Vent 1 % | Vent 2 % | Vent 3 % |
| 11:20 am | – | – | 100 | 100 | 100 |
| 11:30 am | 245 | – | 25 | 25 | 25 |
| 11:40 am | 240 | – | 50 | 50 | 50 |
| 12:00 pm | 290 | – | 10 | 10 | 10 |
| 12:20 pm | 280 | – | 10 | 10 | 10 |
| 12:45 pm | 280 | – | 10 | 10 | 10 |
| 1:40 pm | 274 | – | 10 | 10 | 10 |
| 2:15 pm | 295 | – | 10 | 0 | 0 |
| 3:00 pm | 269 | – | 10 | 0 | 0 |
| 4:00 pm | 265 | – | 10 | 0 | 0 |
| 4:45 pm | 260 | – | 10 | 0 | 0 |
| 5:30 pm (f) | 260 | 168 | 100 | 0 | 0 |
| 6:30 pm | 260 | 195 | 100 | 0 | 0 |
(f) Foiled the meat and put it back into the cooker
Note that the vent percentages represent the way I set the vents at the time indicated.
Let The Meat Rest
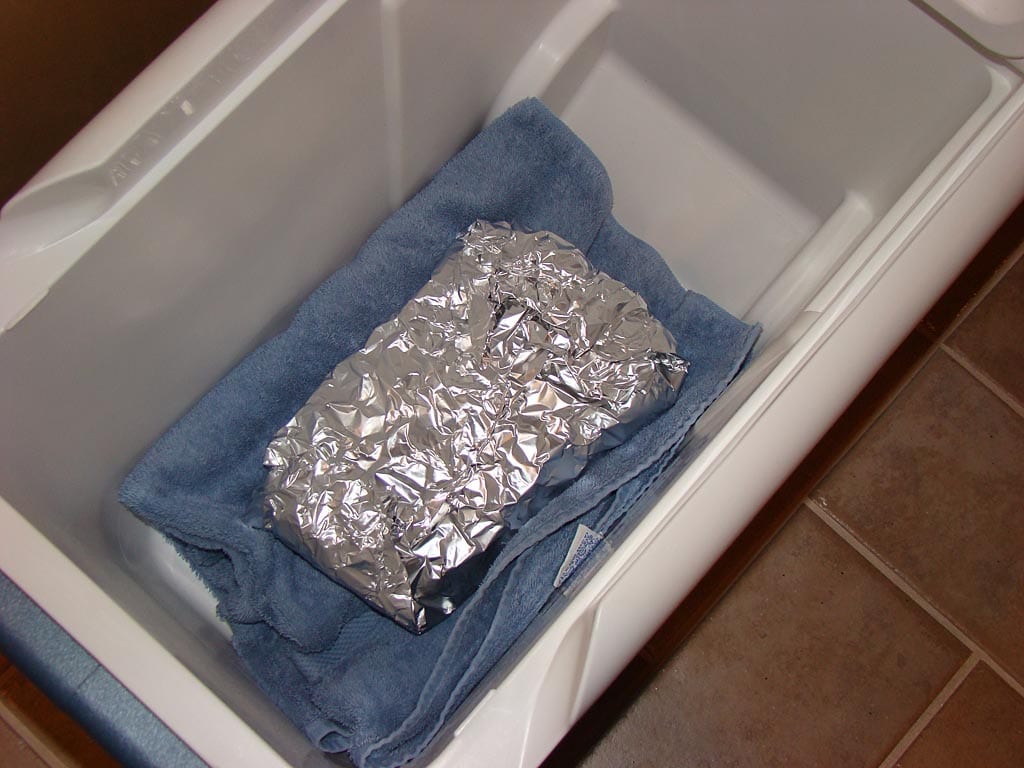
Once the brisket reaches 195°F, remove it from the cooker. Place the foil-wrapped meat fat-side up in an empty cooler. Let the meat rest for two hours. Carryover heat will continue to cook the brisket, and juices collecting in the foil will reabsorb and redistribute within the meat. Placing the meat fat-side up allows the lean side of the brisket to bathe in the juices, helping to soften the meat.
A bath towel in the bottom the empty cooler will help protect the interior of the cooler from the hot brisket.
Slice & Serve
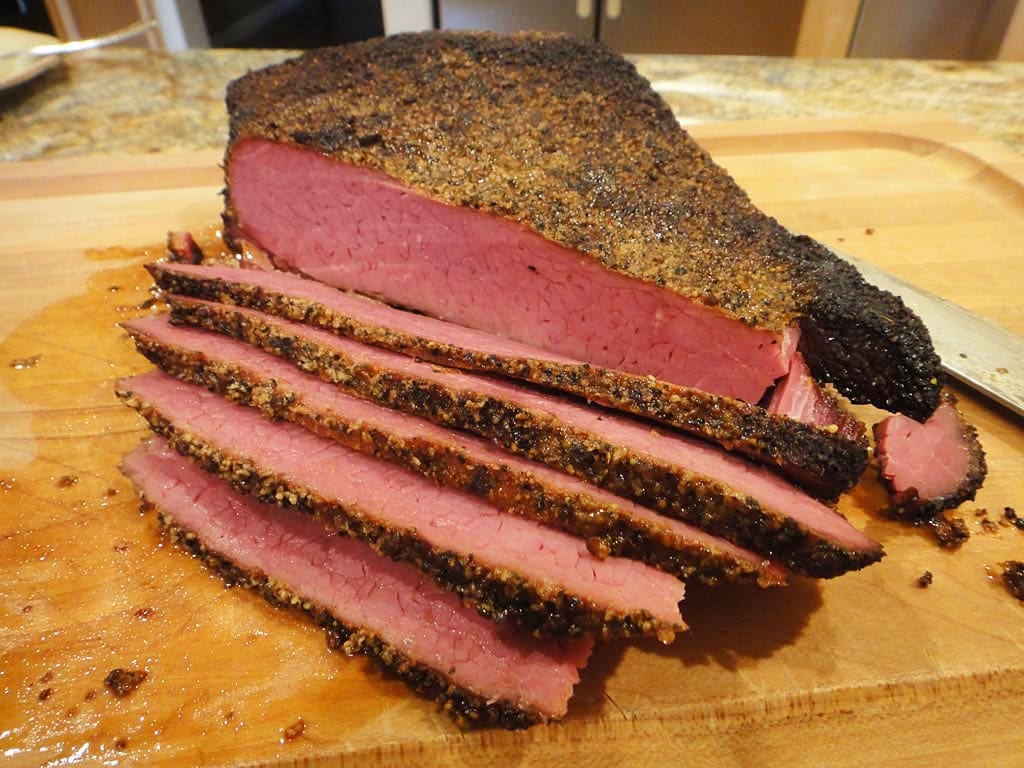
After a two hour rest, use a sharp knife to slice the meat thin across the grain. Alternatively, refrigerate the meat overnight and slice it cold the next day using a mandoline, as shown in this video.
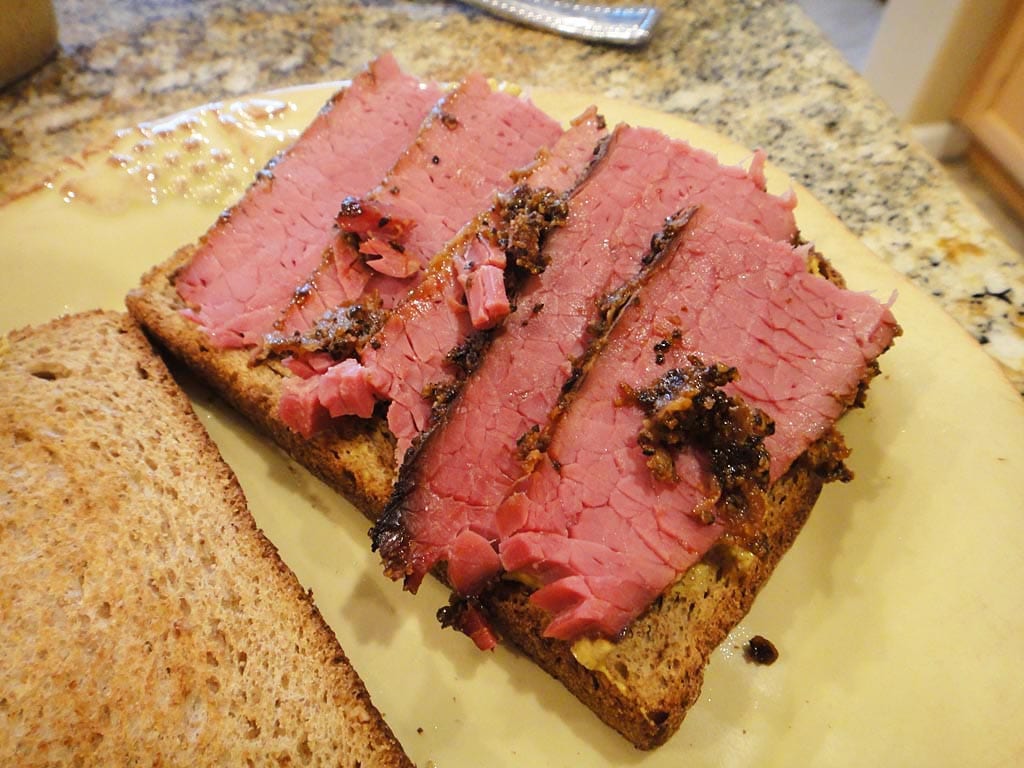
This photo shows how the meat looked on the inside. You can leave the fat intact for added flavor, or remove some or all of it if you prefer leaner meat.
This photo shows slices of quick pastrami shingled on toasted bread as the first step to a delicious sandwich.
Handle your quick pastrami the same way they do at the deli—slice off what you need and wrap the remainder tightly in plastic wrap (or vacuum pack using a FoodSaver) and store in the refrigerator.
To reheat, place sliced meat on a plate, cover with plastic wrap, and microwave gently at 20% power for just a minute or two, taking care not to overheat.
My cooking log notes that this smoked corned beef was very peppery and tasted a lot like pastrami on the outside, but still had some of that familiar corned beef taste on the inside. When sliced thinly across the grain and piled high on good bread with brown mustard and Swiss cheese, it’s a not a bad substitute for dry-cured pastrami—and much easier to make, too.
More Pastrami Links On TVWB
More Brisket Links On TVWB
- Brisket – High Heat
- Brisket – Smoked & Oven Finished
- Brisket – Midnight Cook
- Brisket – Wet Rub
- Whole Brisket – Central Texas Style Butcher Paper
- Whole Brisket – Competition Trim
- Brisket Flat – Central Texas Style Butcher Paper
- Burnt Ends – Kansas City Style
- Burnt Ends – Smoky, Sticky, Sweet
- Brisket Servings Calculator
- Brisket Selection & Preparation
- Separating Brisket Flat & Point
- Using An Electric Oven To Hold Brisket At Temperature
- Camp Brisket 2020 Trip Report

Is Pastrami The Same As Smoked Corned Beef?
I used to believe the answer to this question was “No”, that corned beef and pastrami were always cured differently and were distinctly different products. However, in speaking with experts, I’ve learned that often times corned beef and pastrami both start out the same way—cured using the same liquid injection or the same dry curing process. It is only after the curing process that corned beef and pastrami diverge in terms of their seasoning and cooking method.
Corned beef—usually a whole brisket, brisket flat, brisket point, or bottom round—is seasoned with pickling spices that may include any or all of the following: cinnamon, allspice, mustard seed, coriander, bay leaves, ginger, chilies, cloves, black pepper, mace, cardamom. Traditional corned beef is then boiled slowly for several hours over medium heat.
Pastrami—usually a whole brisket, brisket flat, or bottom round—is seasoned with ground black pepper and ground coriander. At some of the famous New York City delicatessens, pastrami is made using beef navel (a cut located on the underside of the cow, starting where the brisket ends) that is smoked at low temperature for a few hours, then steamed to complete the cooking process. On the WSM, we smoke pastrami at 250-275°F to an internal temperature of 165-175°F, let it rest for two hours and slice it thin, or we take it up to 195-205°F, let it rest for two hours, an slice it about 1/8″ thick. Another alternative is to smoke the meat to 165-175°F, refrigerate overnight, then steam it to an internal temp of 195-205°F before slicing.
Most corned beef and pastrami is injected with a liquid cure—it’s fast and can be automated by machine. Some pastrami is dry-cured, as in the Pastrami article. In my opinion, this results in pastrami that tastes more intense and less like corned beef.
Around St. Patrick’s Day, some WSM owners like to make quick pastrami using the corned beef briskets that are so abundant in supermarkets at that time, as I demonstrated in this article.


