Summary
- Buy a 5-6 pound 7-bone chuck roast.
- Combine pre-packaged brown gravy mix, Ranch dressing mix, and Italian seasoning mix.
- Place the roast in a disposable foil pan, sprinkle both sides with the seasoning mix, then add 1 cup of beef broth or water.
- Cook uncovered at 240-260°F for two hours, then cover with foil and cook another 5-6 hours until fork tender.
- Add vegetables during the last two hours of cooking.
- Let rest for 10 minutes before serving.
Chuck roast is a tough cut of beef the comes from the shoulder. It is usually braised in a heavy, covered pot in the oven until tender, along with vegetables added part way through the cooking process to make a complete, one-pot meal. This cooking method is easily adapted to the Weber Smokey Mountain Cooker using a disposable foil pan and aluminum foil.
Thanks to Kevin Taylor, who goes by the nickname “Stogie”, for providing this recipe. This article is named in his honor.
Here are some photos I took on February 17, 2007 when I cooked this recipe on the WSM.
Select The Chuck Roast
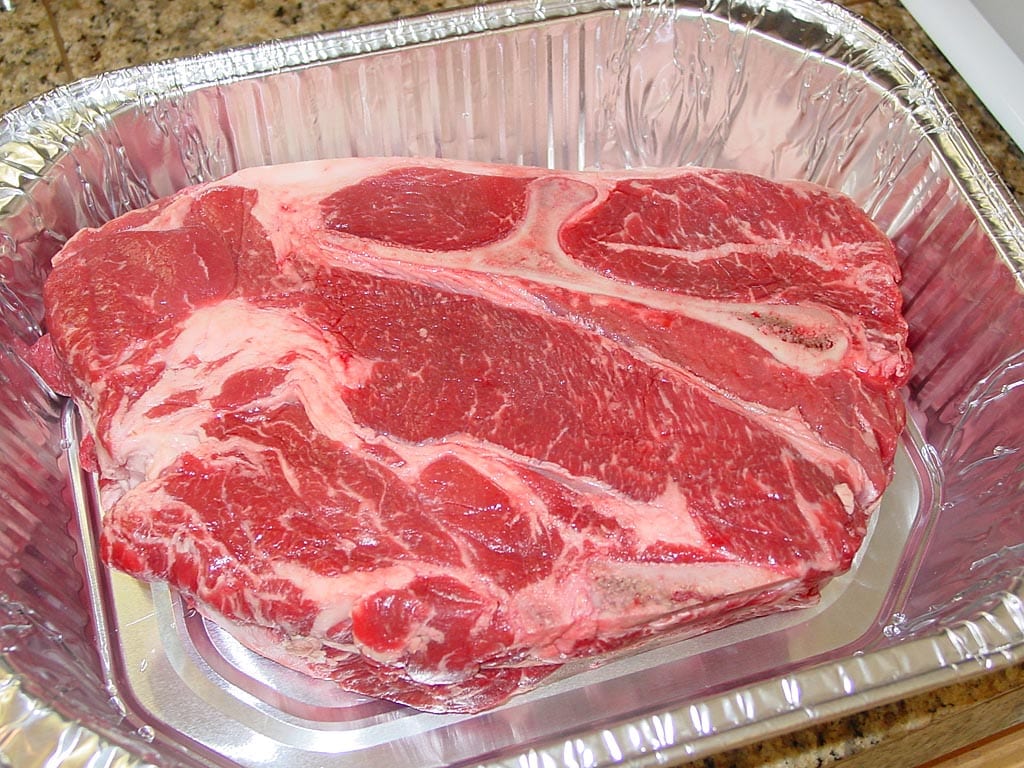
You’ll find a variety of chuck roasts at the supermarket, some boneless, some bone-in, with lots of different names.
For best results, follow these chuck roast selection tips from Food Network celebrity Alton Brown:
- It should contain the word “blade” in the name, indicating that it came from the shoulder blade.
- It should be cross-cut, like a really big steak.
- It should have some piece of bone in it…in fact, the longer the bone, the better.
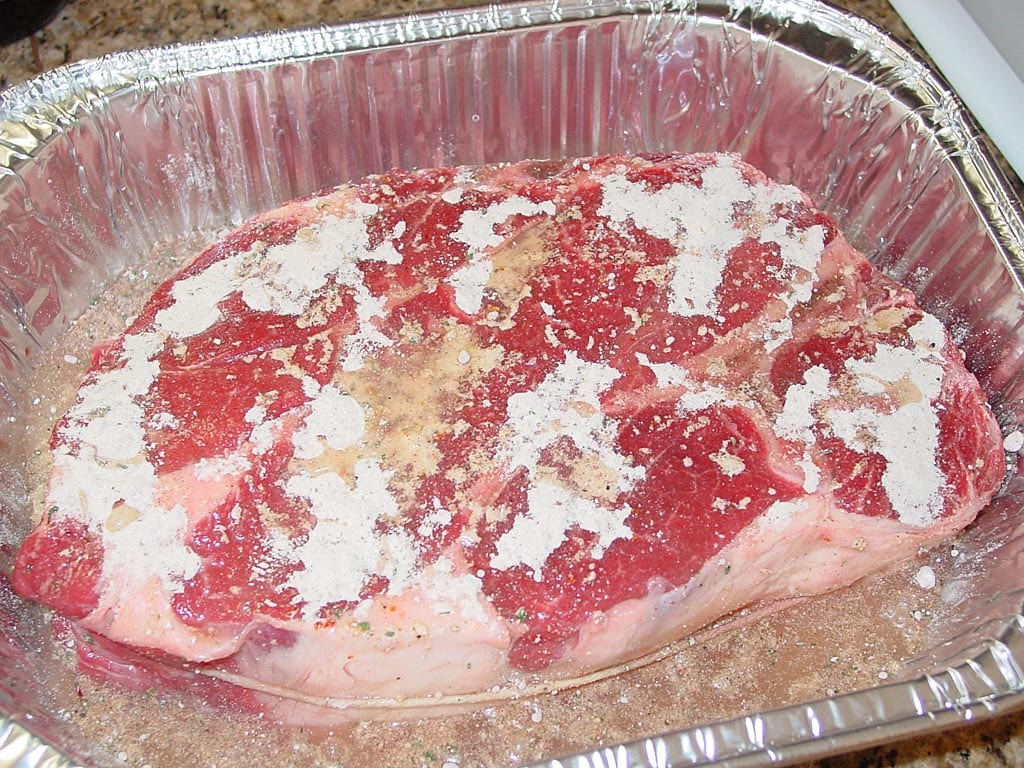
I used a USDA Choice, 7-bone chuck roast for this recipe, so called not because it contains seven bones, but because the piece of shoulder blade bone it contains looks like the number seven. These roasts are getting harder to find in many supermarkets, but any good butcher will know what you want if you ask for a “7-bone roast” and should be able to accommodate your request.
The roast shown above weighed 5.45 pounds. Choose something in the 5-6 pound range for this recipe.
You’ll also need a disposable foil pan and aluminum foil wide enough to cover the pan. Make sure to buy a pan that measures 18″ or less diagonally so it fits on the WSM top cooking grate.
Season The Meat
My grandfather seasoned his pot roasts very simply—with garlic salt and lots of black pepper. You can season your pot roast any way you like, but Stogie does something interesting by using pre-packaged seasoning mixes—brown gravy, Ranch dressing, and Italian seasoning.
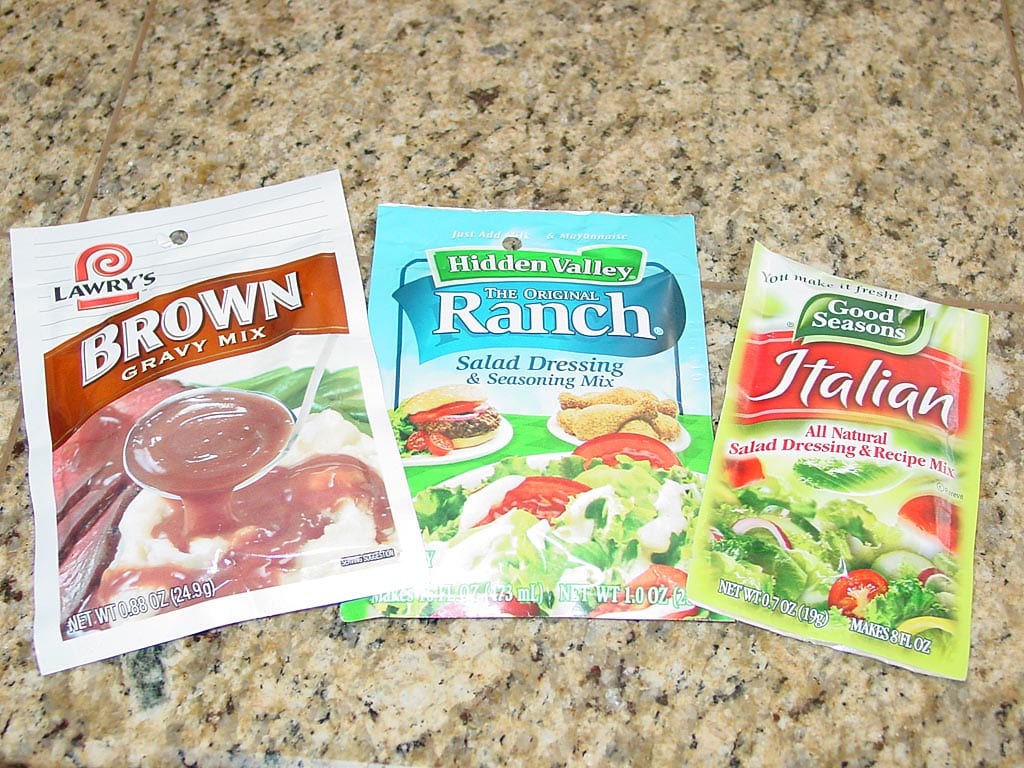
Now, I know this sounds like a weird combination, but if you look at the ingredients list on each packet, you see some flavor combinations that start to make sense:
- Brown Gravy: Starch, whey, salt, oils, beef flavor, onion powder, granulated garlic powder, spices, etc.
- Ranch Dressing: Sugar, buttermilk, salt, MSG, granulated garlic powder, onion powder, spices, etc.
- Italian Seasoning: Sugar, salt, garlic, onion, spices, bell pepper, carrots, parsley, etc.
The etcetera part of each packet includes things you can’t pronounce and don’t know the purpose of, and if you’re OK with that, I think you’ll like the results. If not, just season your roast with salt, pepper, and maybe some granulated garlic powder.
Pour the contents of each packet into a small bowl and mix together. This makes enough seasoning for two roasts, so divide the mixture in half and save half for future use.
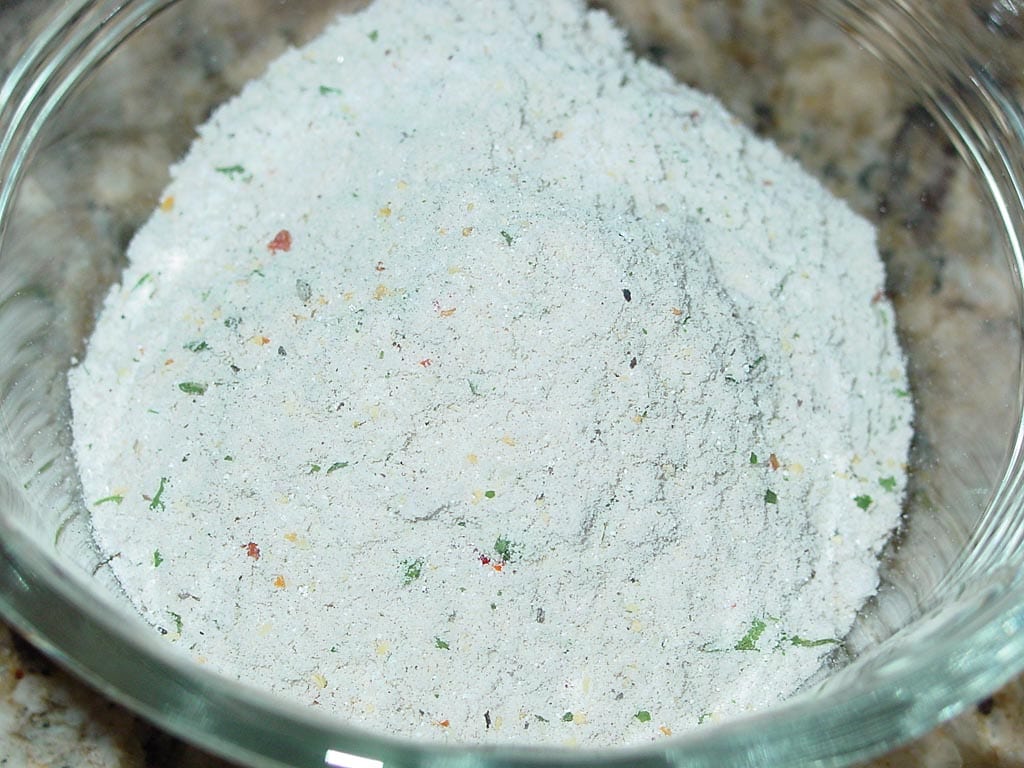
Apply the remaining mixture evenly to both sides of the roast.
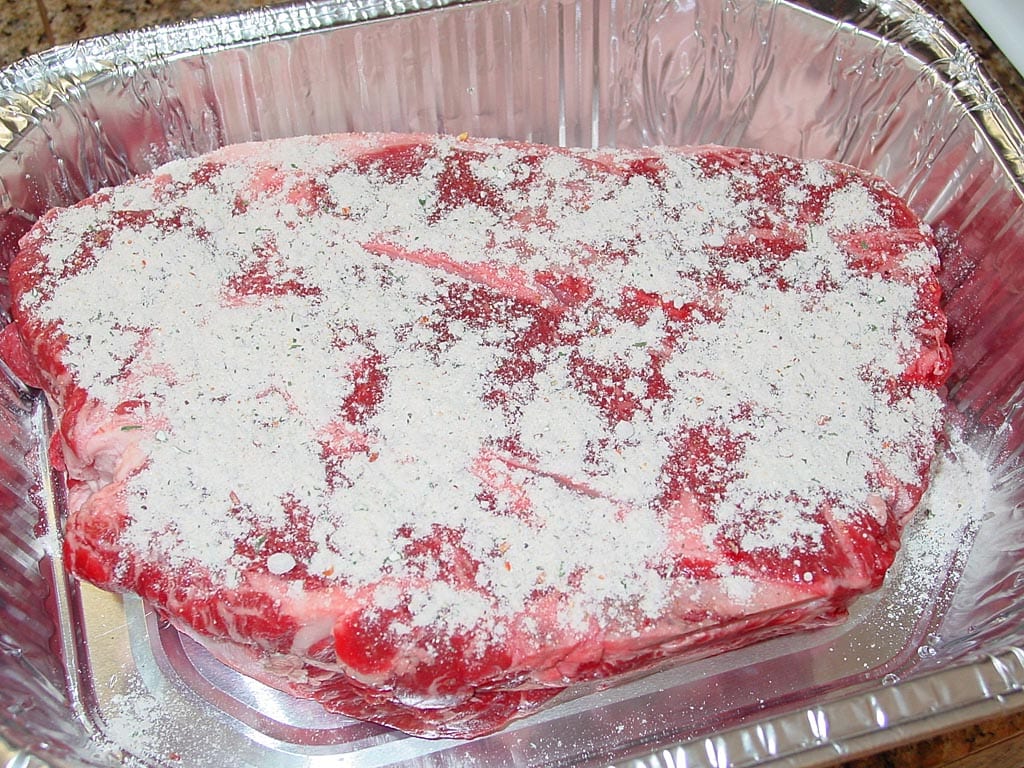
Pour 1 cup of beef broth or water over the roast. No stirring is necessary.
Fire The WSM
Fire-up the cooker using the Minion Method. Fill the charcoal chamber 3/4 full with unlit Kingsford Charcoal Briquets, then use a Weber chimney starter to light 20-40 briquettes and place them on top of the unlit charcoal.
Put the water pan in the cooker and fill it with cold tap water to help with temperature control.
Cook The Roast
Place 2-3 medium-sized chunks of dry smoke wood on the coals. Use a mild wood—I used three chunks of apple wood.
Assemble the cooker and place the foil pan on the top grate. Set the three bottom vents to 100% open. Open the top vent fully and leave it that way throughout the entire cook.
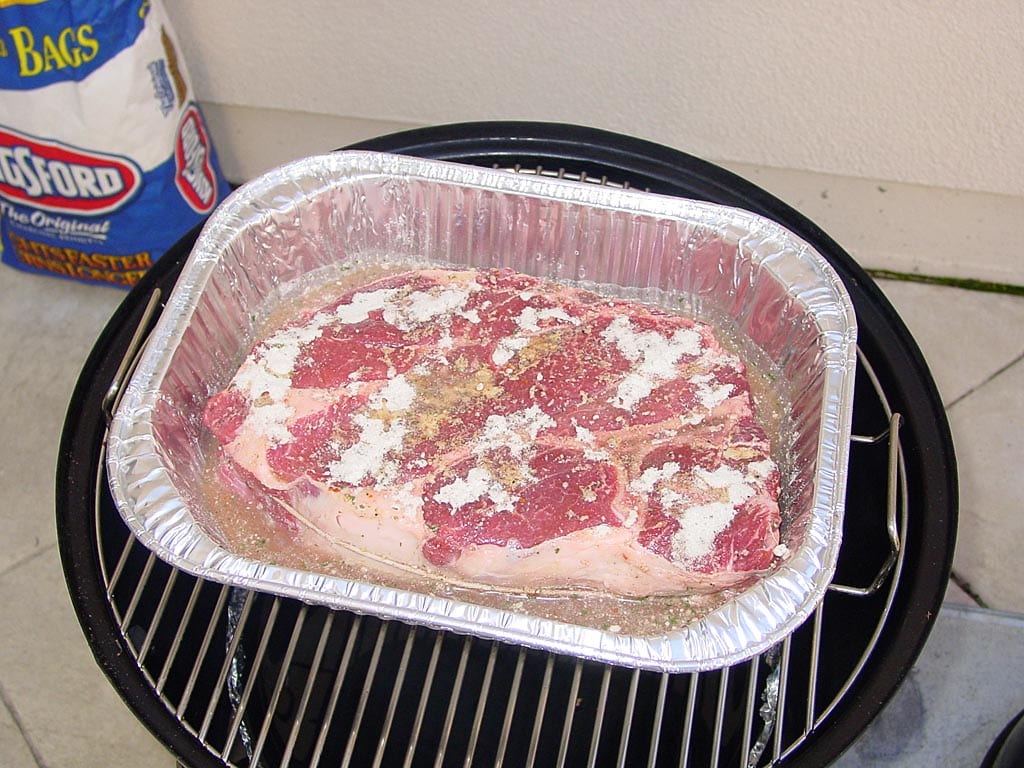
When the cooker reaches about 240°F, set the three bottom vents to 25% open so the cooker settles in at 240-260°F measured at the lid. Adjust the three bottom vents as necessary to maintain this temperature range throughout the cooking session.
Cook the roast uncovered for two hours, then cover with foil and cook for another 5-6 hours until fork tender. Add vegetables and a sprinkling of black pepper during the last 2 hours of cooking.
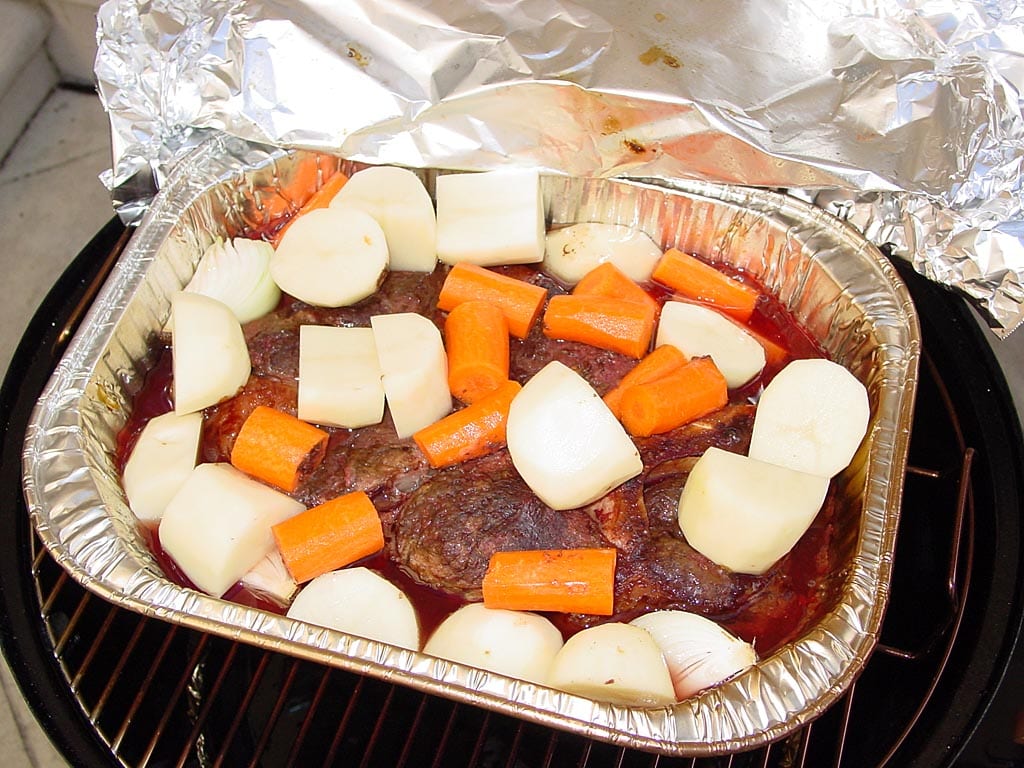
I added four medium-sized potatoes and three carrots that were peeled and cut into large pieces. I also added one yellow onion that I prepared by cutting off the stem end, leaving the root end intact, then cutting into quarters lengthwise and peeling off the outside skin.
Add hot water to the water pan once after three hours of cooking, then leave the pan alone during the remainder of the cooking session to help keep the WSM temperature up.
Here’s how the cooker temperatures and vent settings went during my cook:
| Time | Lid Temp | Vent 1 % | Vent 2 % | Vent 3 % |
| 10:15 am | – | 100 | 100 | 100 |
| 10:30 am | 180 | 100 | 100 | 100 |
| 10:45 am | 211 | 100 | 100 | 100 |
| 11:00 am | 232 | 100 | 100 | 100 |
| 11:15 am | 256 | 100 | 0 | 0 |
| 11:30 am | 246 | 100 | 20 | 20 |
| 11:45 am | 255 | 100 | 20 | 20 |
| 12:00 pm | 260 | 100 | 20 | 0 |
| 12:15 pm | 267 | 100 | 0 | 0 |
| 1:00 pm (w) | 255 | 100 | 0 | 0 |
| 2:15 pm | 255 | 100 | 0 | 0 |
| 3:00 pm | 248 | 100 | 0 | 0 |
| 4:00 pm (v) | 240 | 100 | 100 | 100 |
| 4:45 pm | 252 | 100 | 100 | 100 |
| 5:15 pm | 245 | 100 | 100 | 100 |
| 6:00 pm | 230 | 100 | 100 | 100 |
(w) added hot water to water pan
(v) added vegetables
Note that the vent percentages represent the way I set the vents at the time indicated.
Rest Then Serve The Pot Roast
To check the tenderness of the meat, poke it with a fork in several spots and twist. The meat should yield easily to the fork. It will also pull away cleanly from the bone.
Remove the roast from the cooker. Leave covered with foil and let rest for 10 minutes before serving.
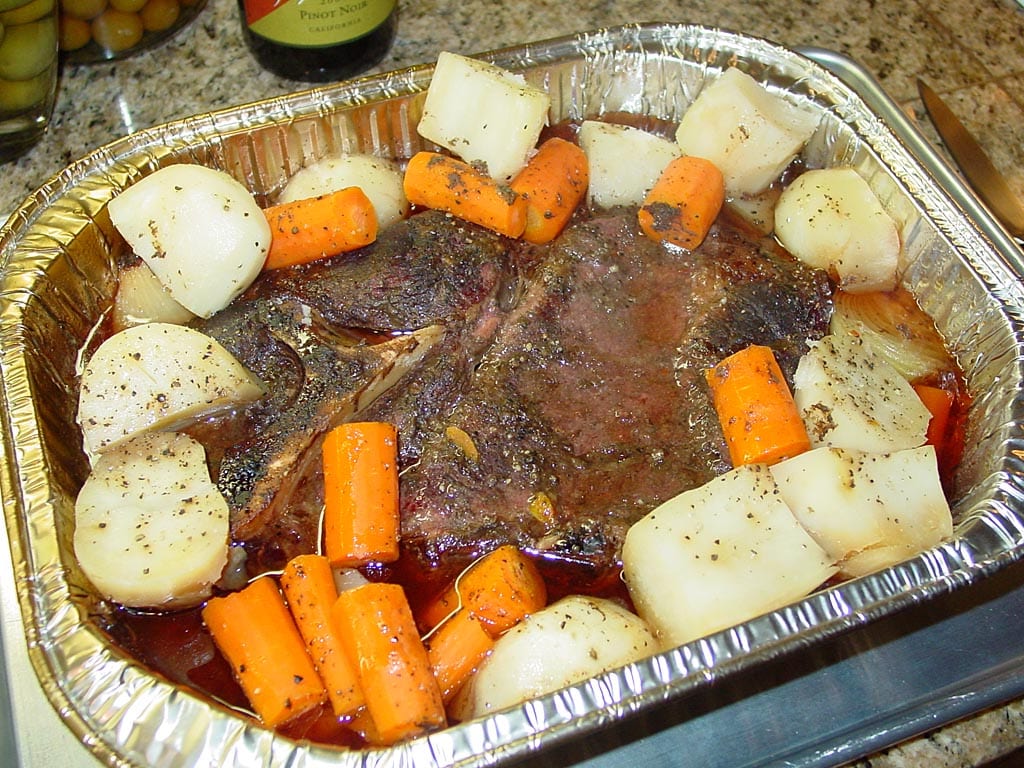
Use a fat separator to de-fat the the liquid in the bottom of the pan and serve as a thin gravy with the meat.
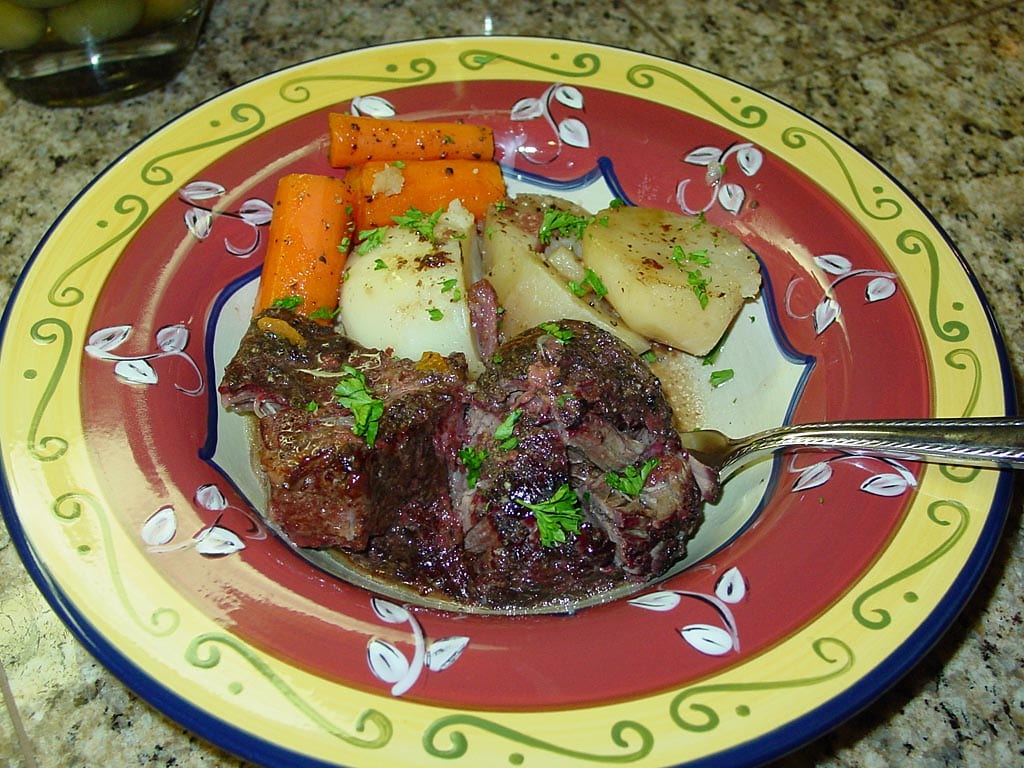
This photo shows the pot roast served with potatoes and carrots.
This photo shows a close-up view of the meat—dark, tender, and succulent.
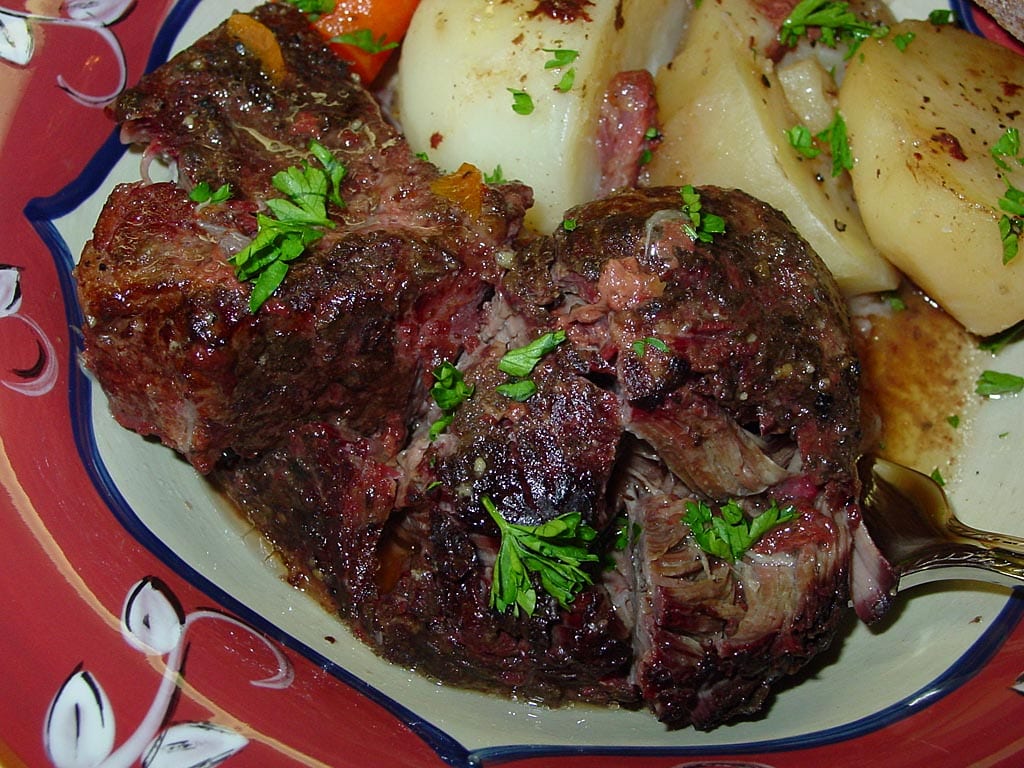
I noted in my cooking log that the pot roast looked dark, moist, and very tender. There was a small smoke ring in the meat and plenty of thin gravy in the bottom of the pan. The meat had a subtle smoky flavor, the potatoes were tender, and the carrots were done perfectly and not mushy.


