This article shows how to assemble the 22.5″ Weber Smokey Mountain Cooker. The process for assembling the 18.5″ WSM is virtually identical. As for the 14.5″ WSM, the only major difference is that the heat shield is not connected to the legs, as shown in these photos. Instead, it rests in the bottom of the charcoal bowl.
Assembly only takes about 20 minutes and couldn’t be easier!
Unpacking The Box
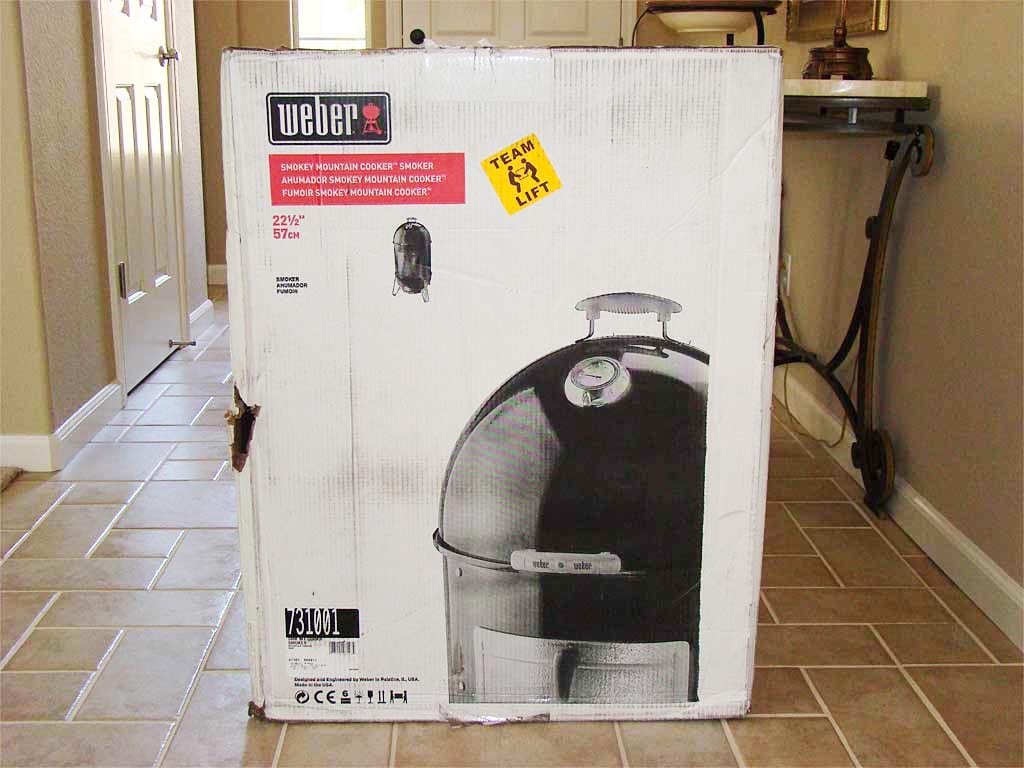
I’ve documented the out of box experience in the WSM Out Of Box Experience article (including videos) and explained all of the WSM parts in the Component Parts article, so you should already know what to expect when you unpack the box.
Just to refresh your memory, here’s what you’ll find inside:
- Lid + Thermometer
- Middle Cooking Section + Access Door
- Charcoal Bowl
- Top Cooking Grate
- Bottom Cooking Grate
- Charcoal Grate
- Charcoal Chamber
- Water Pan
- Heat Shield
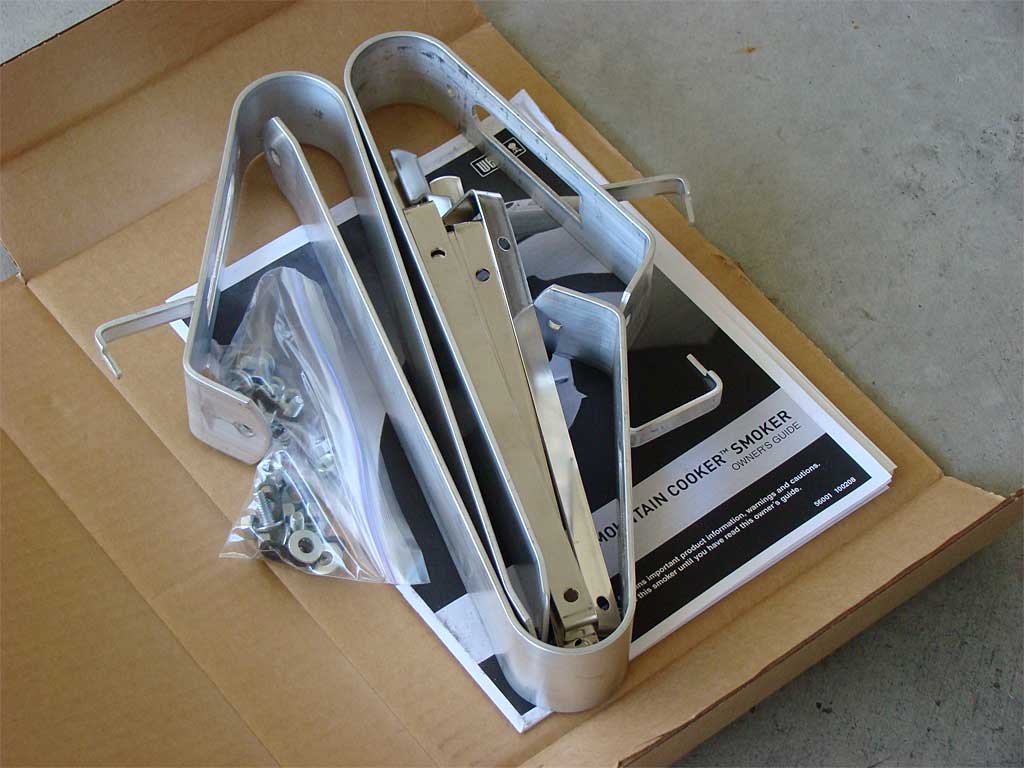
- Hardware Pack
- Legs (3)
- Grill Straps (4)
- 1/4-20 x 5/8 Inch Screws (14)
- 1/4-20 Nuts (14)
- Fiber Washers (8)
- 1/4 Inch Steel Washers (6)
- Owner’s Manual & Registration Card
- Vinyl Cover
If you find that any parts are missing or damaged, contact Weber Customer Service at 800-446-1071 for assistance. In most cases, you will get a faster resolution of your problem if you contact Weber directly instead of going back to the retailer that sold you the cooker.
Tools Needed
To assemble the Weber Bullet you only need two tools:
Assembly Video
Here’s a short video that shows how to assemble the 22.5″ Weber Smokey Mountain Cooker.
Assembling The Charcoal Bowl
Start by setting up the three legs and heat shield to accept the charcoal bowl.
Insert the tab on each leg into the heat shield.
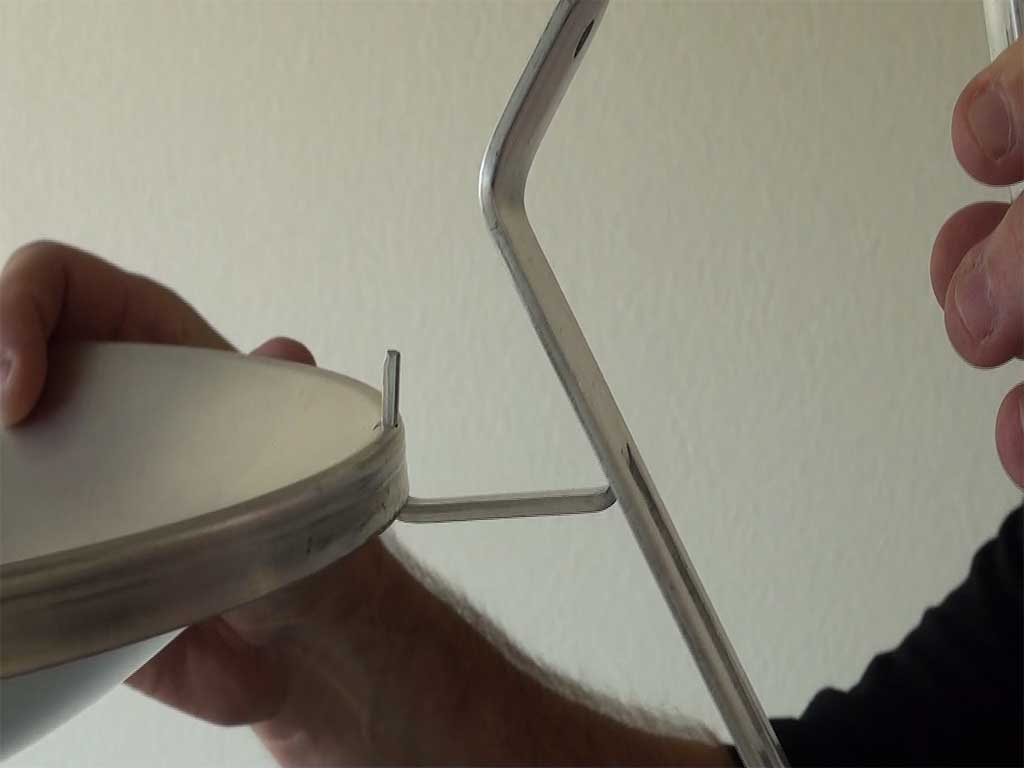
Place the leg/heat shield assembly on the ground.
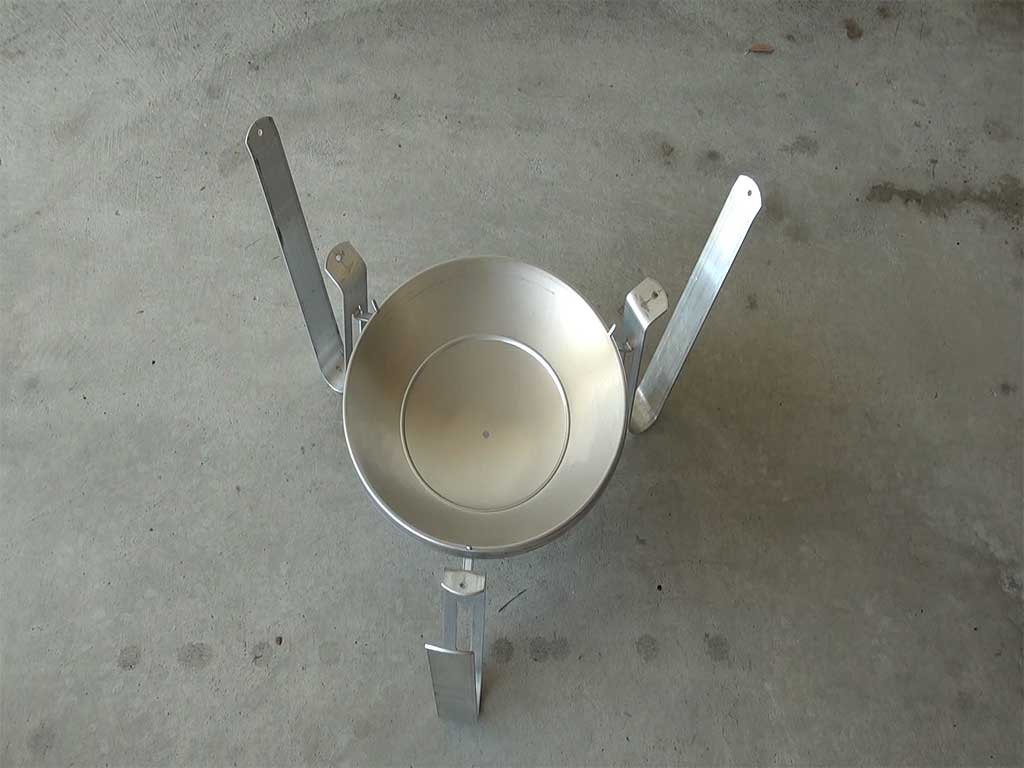
Place the charcoal bowl on top, aligning the holes in the bowl with the holes in each leg.
Attach the three legs to the charcoal bowl using two nuts, two screws, and two steel washers per leg. The washers go on the inside of the charcoal bowl.
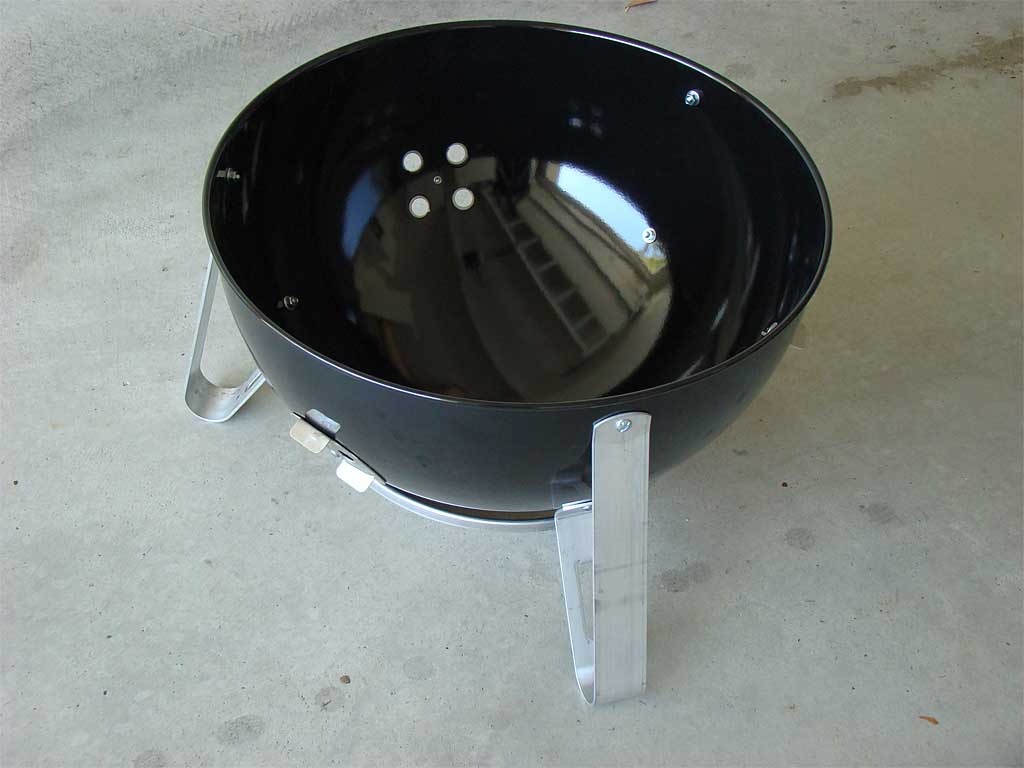
You may have to flex each leg a bit to get the holes to line up with those in the charcoal bowl.
Assembling The Middle Cooking Section
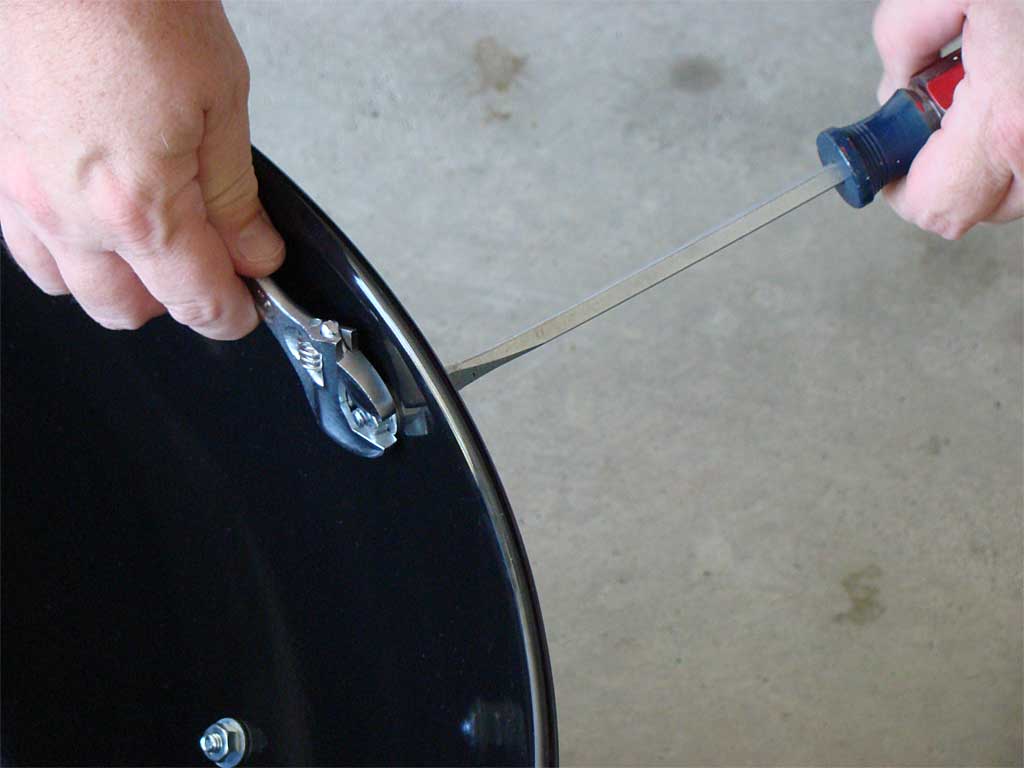
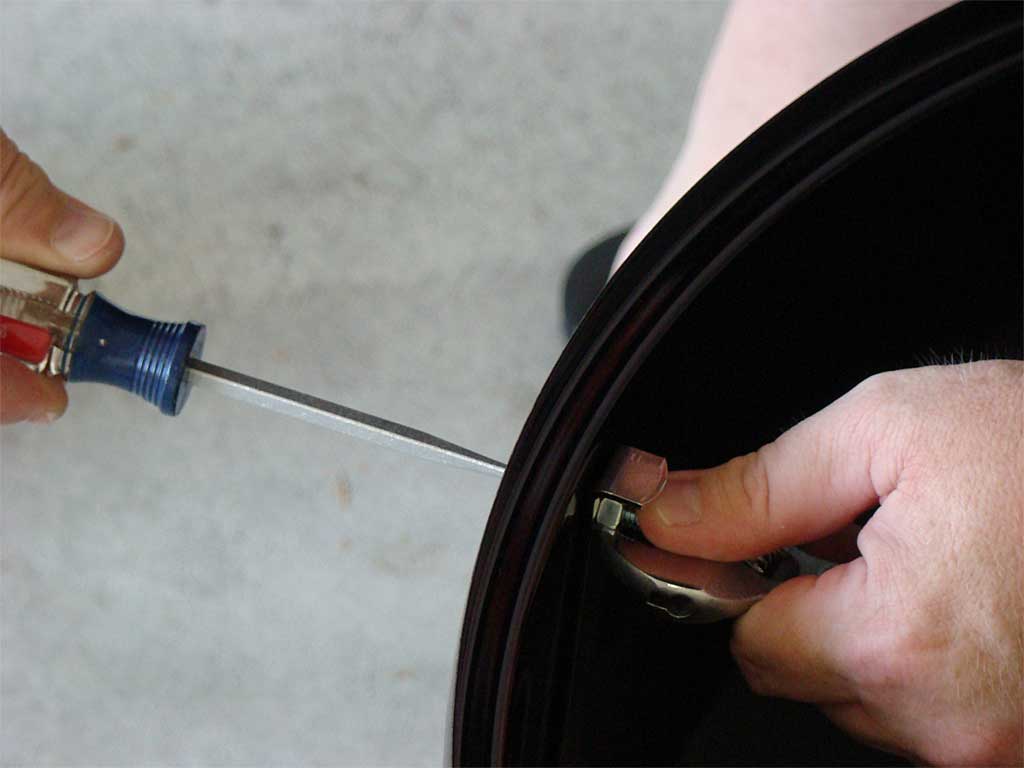
Remove the access door and discard the protective plastic bag, then replace the door. If the door seems to fit poorly, see Parts Troubleshooting.

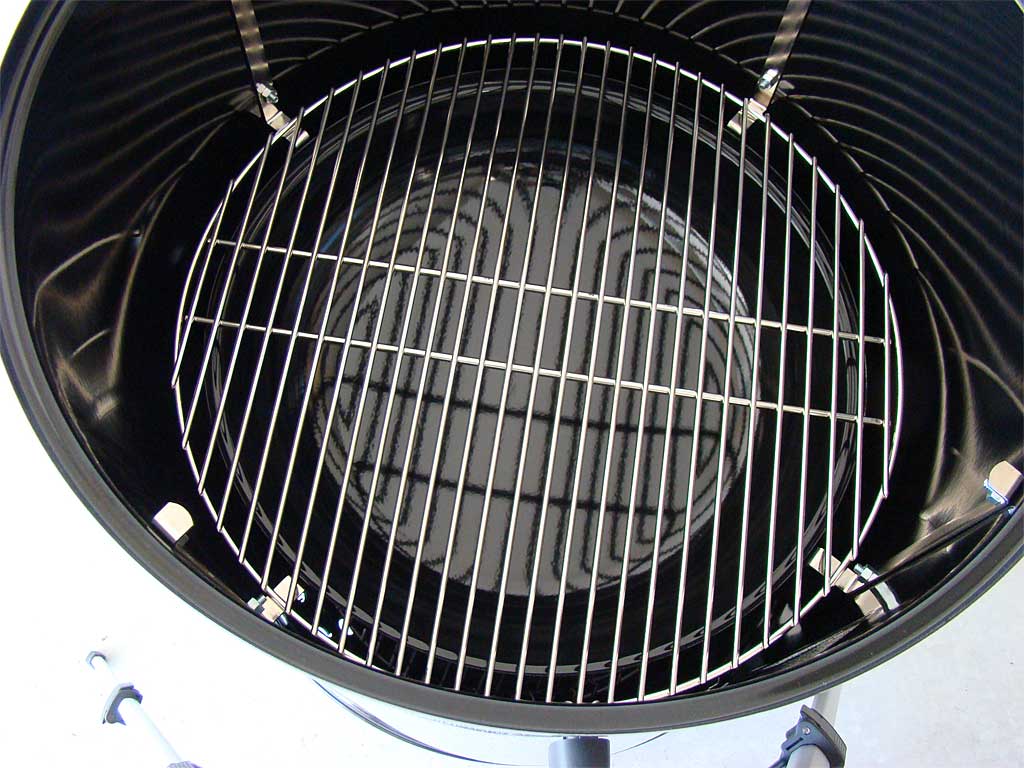
Attach the four grill straps inside the middle cooking section using two nuts, two screws, and two fiber washers per strap.
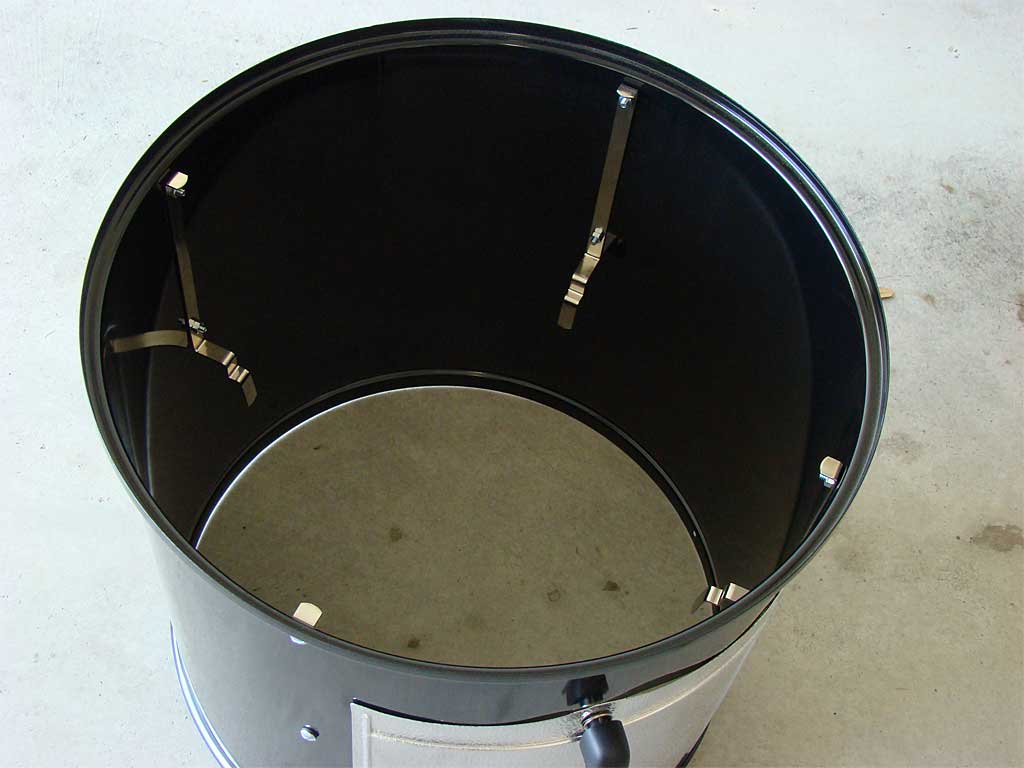
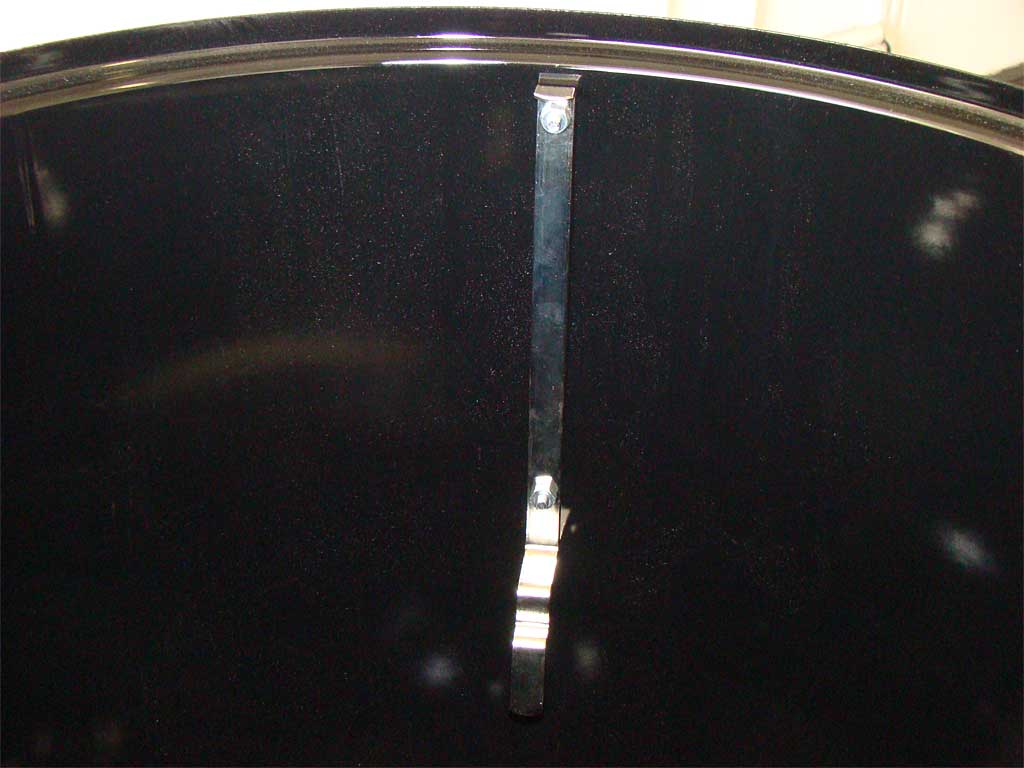
Each strap is positioned so that the end with two “ledges” is at the bottom. The fiber washers go on the outside of the middle cooking section.
Installing Grates And Water Pan
With the heat shield and hardware pack installed, now put the remaining pieces in their proper place.
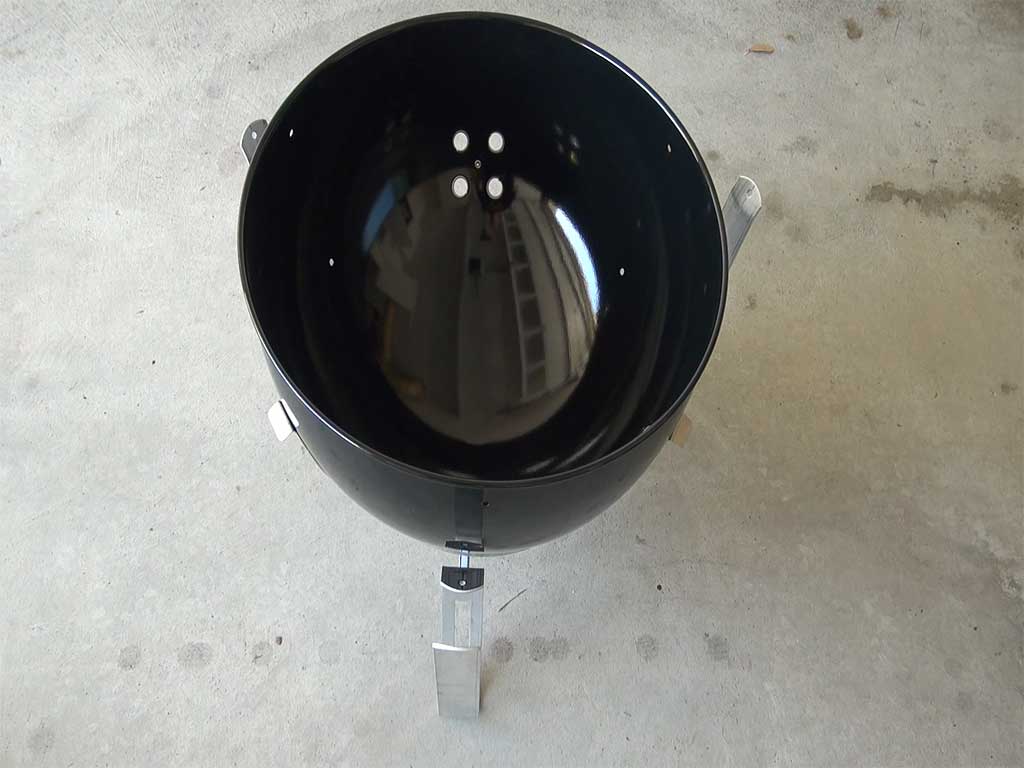
Put the charcoal grate in the bottom of the charcoal bowl, resting on the leg bolts. Place the charcoal chamber in the center of the charcoal grate. This completes the charcoal bowl assembly.
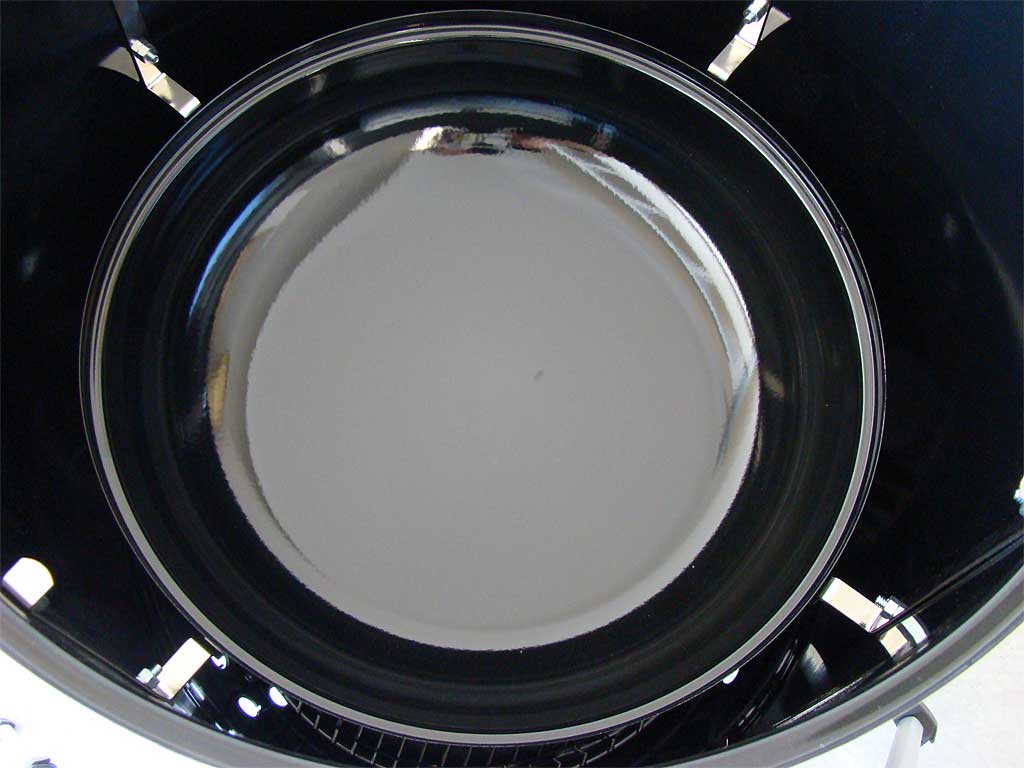
Place the water pan on the lowest level flanges in the middle cooking section.
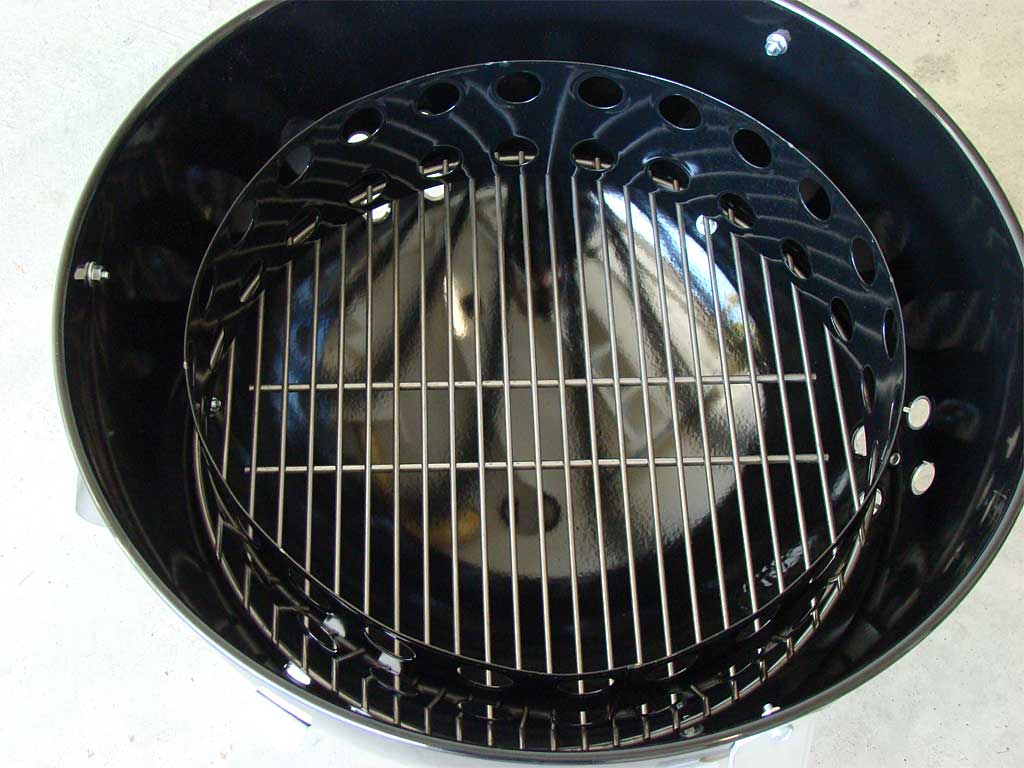
Put the bottom cooking grate (the smaller of the two grates) on the flanges just above the water pan.
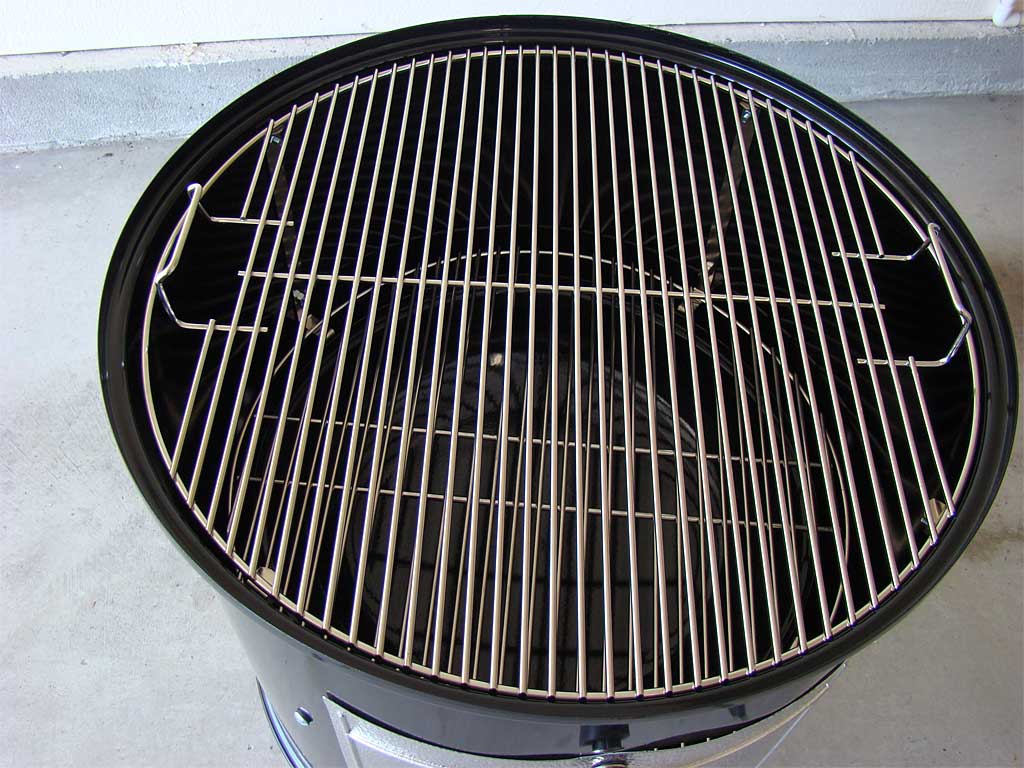
Place the top cooking grate (the larger of the two grates) on the flanges at the top of the middle cooking section. This completes the cooking section assembly.
 Putting It All Together
Now it’s simply a matter of putting the three major sections together.
- Place the charcoal bowl assembly on a level surface.
- Insert the middle cooking section into the charcoal bowl assembly.
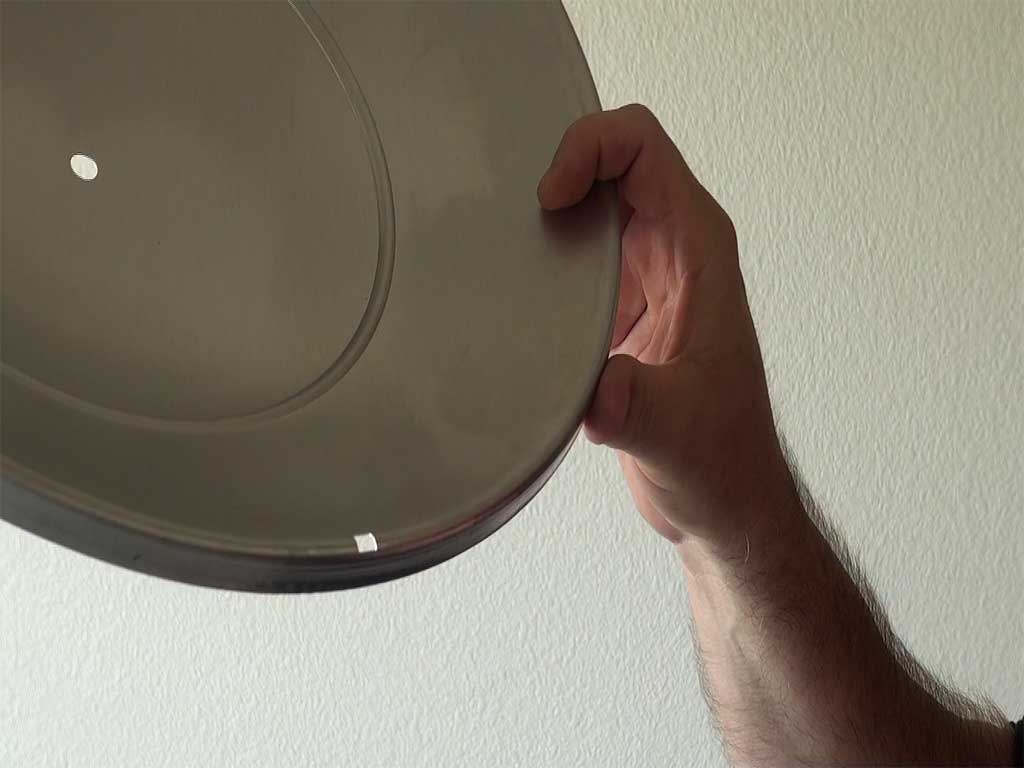
- Place the lid on top of the middle cooking section.
This completes the assembly of the Weber Smokey Mountain Cooker.
Visit Parts Troubleshooting for problem areas to look out for when unpacking and assembling a new Weber Bullet.
Weber Bullet Undercover
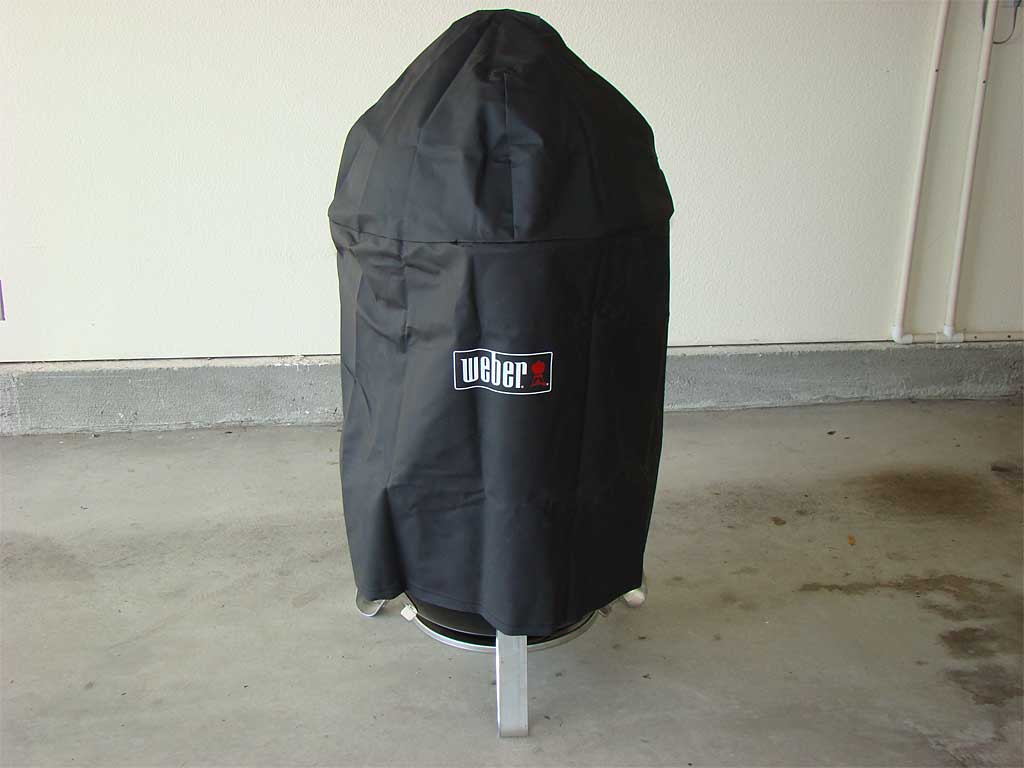 One of the most important things you can do to protect your investment in Weber quality is to keep your WSM covered when not in use.
Don’t Season Your New Weber Smokey Mountain Cooker
Despite what you may have heard, you don’t need to season a new Weber Smokey Mountain Cooker. Read this article to learn why it’s not necessary.


